SketchUp is one of the CAD (computer-aided design) industry giants, used by professionals and hobbyists. You can use SketchUp’s software to create 3D models easily and efficiently but with no loss in detail. Whether you are designing landscapes, buildings, or even furniture, SketchUp has the right combination of tools to help you throughout the lifecycle of your design process.
We have provided you with a comprehensive guide on ‘how to extrude in SketchUp’, guiding you through the basics, moving on to more advanced techniques such as using plugins, creating complex shapes, and extruding along a path.
What is extrusion?
Extrusion is the process of creating a 3D shape by pulling or stretching a previously drawn 2D shape along a straight line. Extrusion is a key tool that designers need to create anything from furniture models, roofs on houses, or even highly detailed ornaments.
Whether you are a beginner or an experienced professional, we have a whole host of tips and tricks to build up your extrusion knowledge giving you mastery over your future designs.
Getting Started: Basic Extrusions
Before throwing you off the deep end, let’s go over some of the basic techniques of extrusion. Here’s how to create a simple extrusion in SketchUp:
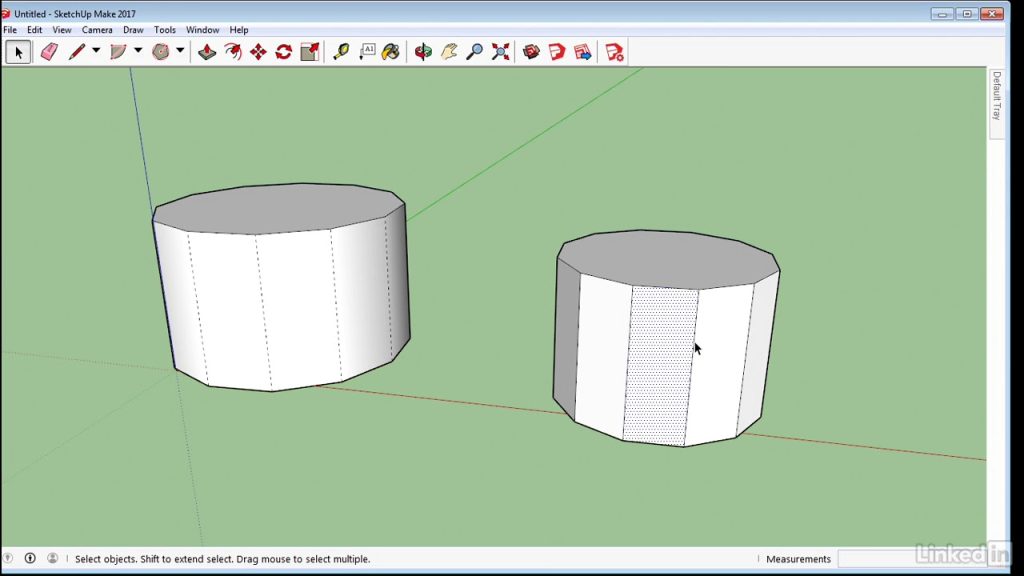
- Start with a simple 2D shape, you should create this shape in SketchUp. You can choose a circle, a rectangle, a triangle, or any other shape that takes your fancy.
- Navigate to the toolbar on the left-hand side of the screen and select the Push/Pull tool.
- Go back to your previously drawn shape and click on its face and then drag the cursor either up or down. Your shape will then start to extrude along with your cursor in the direction you are pulling in.
- Once you are satisfied with your shape’s height, release your cursor. You now have a 3D model of your shape!
Congratulations! You can now extrude 2D shapes to create a 3D version.
Now you have mastered this skill, let’s move on to some more advanced techniques.
Advanced Extrusion Techniques
Extruding Along a Path
You now know how to extrude a basic shape from a flat line. But, what happens if you want to extrude your shape using a curved or angled path? Well, SketchUp makes this easy. Follow the instructions below to learn this technique:
- Firstly, think about the shape of the path that you want to follow, whether it is a curve, multiple connecting lines, or an angular line.
- Next, create the 2D shape that you want to extrude. Make sure it is roughly the same size as the path you created in the previous step.
- Select both your shape and your path.
- Right-click, and in the options box select ‘Follow Me’.
- Sit back and watch as your shape extrudes along the path you created.
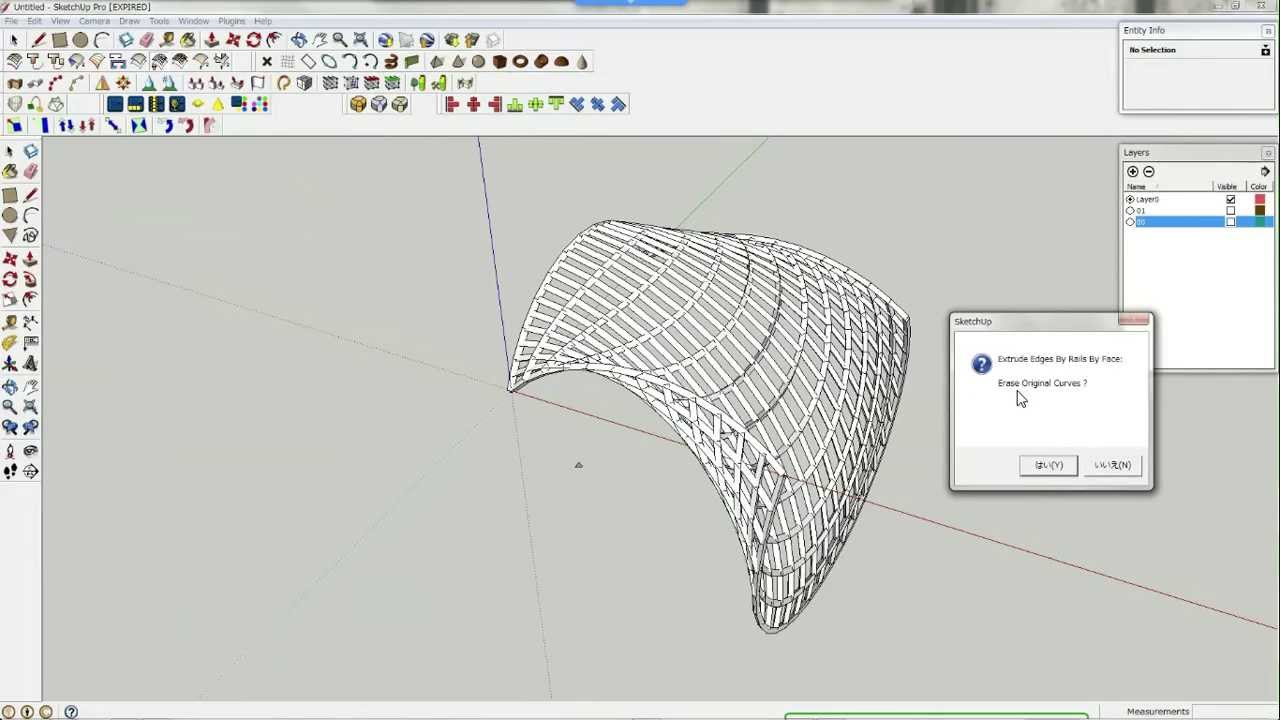
Creating Complex Shapes
Extruding can be a creative and fun process, allowing you to create complex shapes to fit your desired outcome. To extrude more complex shapes follow the instructions below:
- Draw a simple shape, such as a rectangle, or even a triangle.
- Much like the basic extrusion, select the Push/Pull tool from the left-hand toolbar.
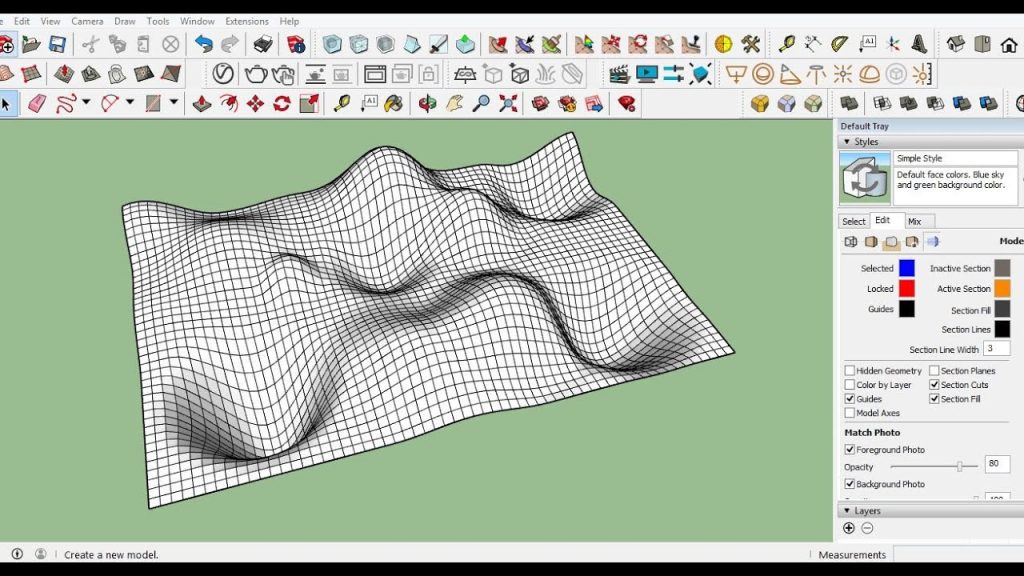
- Use the Push/Pull tool to extrude the shape in different directions, creating organic curves and complex lines.
- You can move the tool to adjust different positions of the shape. Keep going until you have the shape that you want.
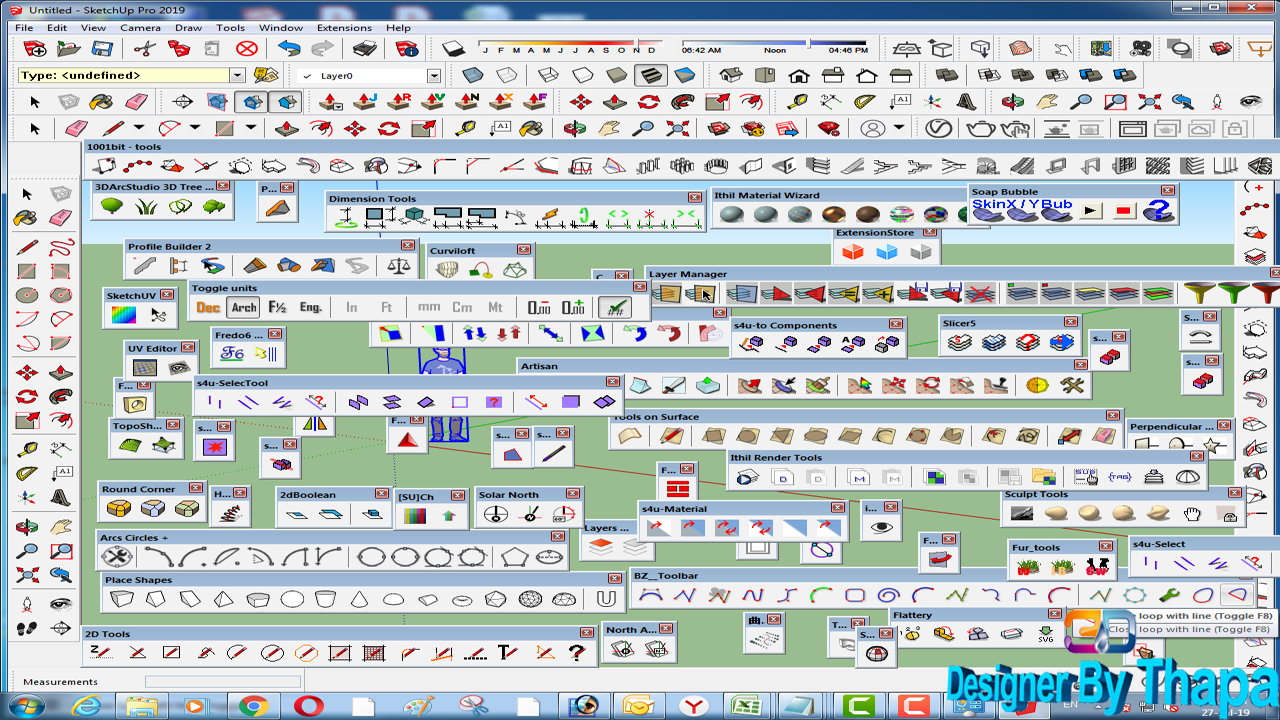
Using Plugins
SketchUp benefits from its dynamic community of developers who create plugins that can help you to extrude shapes, as well as enhance other 3D modelling techniques. There are a number of them that you can check out:
- ExtrudeTools: This one is particularly useful for extruding along a curve as well as extruding to a point. Plus, it adds a variety of new tools to your SketchUp toolbar.
- JointPushPull: With this plugin you can simultaneously extrude multiple faces, allowing you to create complex shapes with ease.
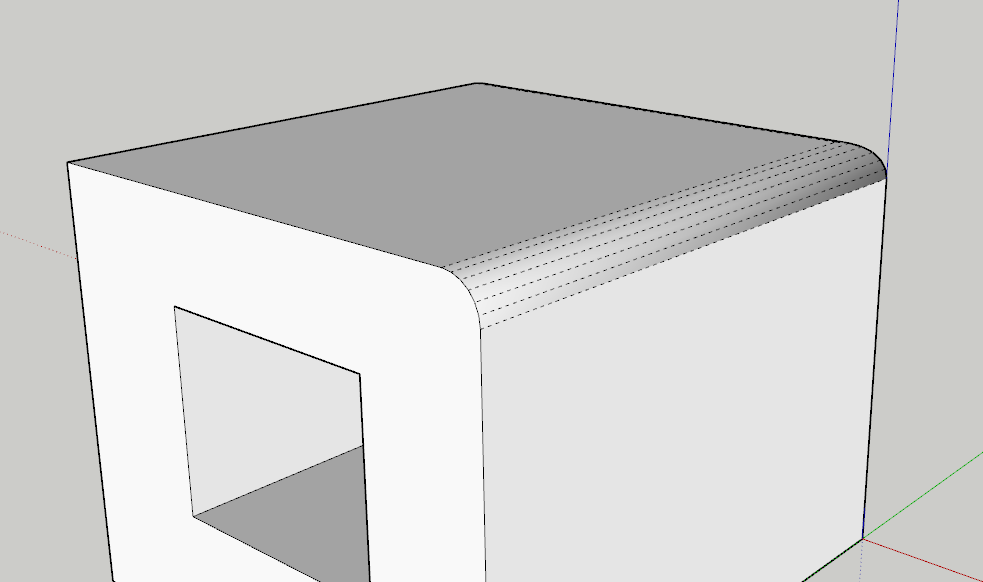
- RoundCorner: If you are struggling with sharp corners on your design, this plugin creates rounded corners and edges on your extruded shapes.
FAQs
Is SketchUp easy to learn?
Can I import my own 2D shapes to extrude in SketchUp?
Can I animate my extrusions in SketchUp?
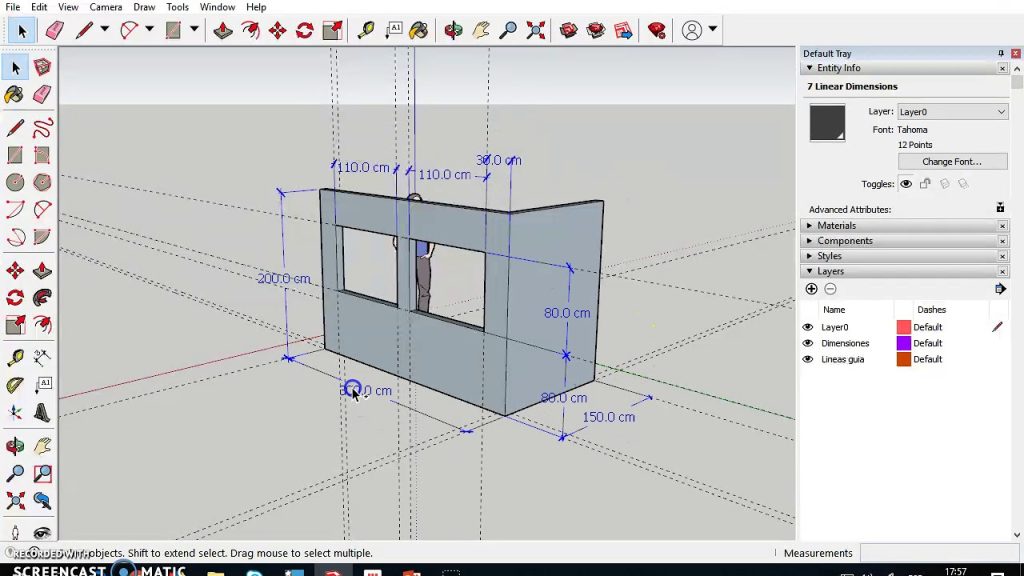
Extruding is an essential skill for any designer, whether they are an architect, landscaper, interior designer or even a hobbyist. Learning how to extrude with SketchUp allows you to create in-depth 3D models of your designs, bringing your vision to life.
With our guide, you should now be able to extrude simple and complex shapes, including extruding along a curved or even angled path. You have the power to create even the most complex shapes. SketchUp can assist you on your design journey through either its free or premium version of the software.
Don’t be afraid to experiment and explore the possibilities of your vision, and don’t worry, our online community and team of developers are here to help you push the boundaries of your 3D modelling journey.