
Import a Revit file from local drive
Once you have completed the installation of SketchUp 2023 and the Revit Importer you can launch SketchUp Pro and import a .rvt file by following one of the options below:
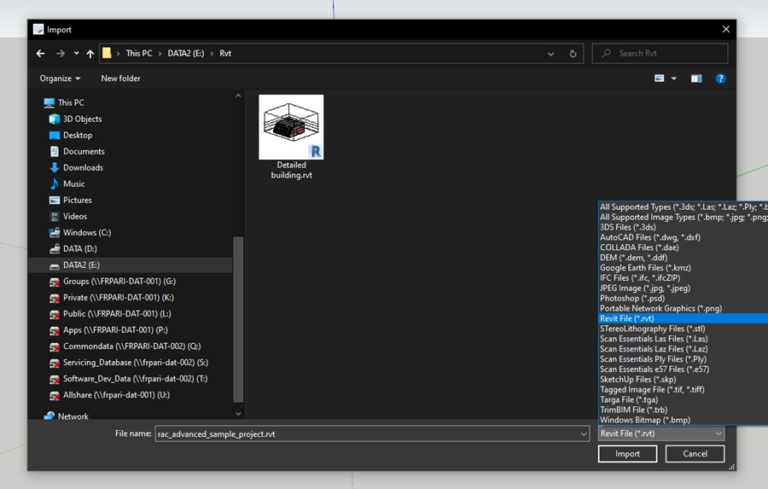
OPTION A: Click on File > Import and you will find the additional ‘Revit File (*.rvt)’ option in the list of supported file formats. Simply select a .rvt file from your local disk, and click Import.
OPTION B: With SketchUp Pro open, simply drag and drop any .rvt file from Windows Explorer directly inside the SketchUp Pro viewport.
Import a Revit file from Trimble Connect
The Revit Importer also allows you to import .rvt files that are published in Trimble Connect inside SketchUp Pro using the native Trimble Connect Extension.
STEP 1 – Upload a .rvt file in a Trimble Connect project
STEP 2 – Import or reference a .rvt file in SketchUp from Trimble Connect
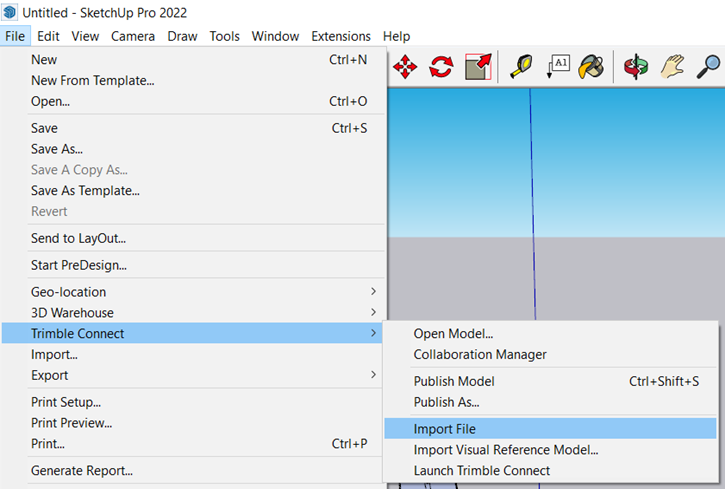
OPTION A – via the Trimble Connect File Menu
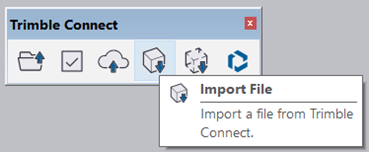
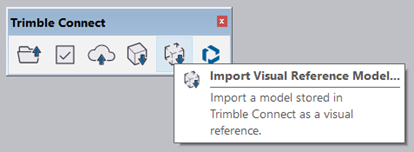
OPTION B – via the Trimble Connect toolbar.
The Revit Importer automatically:
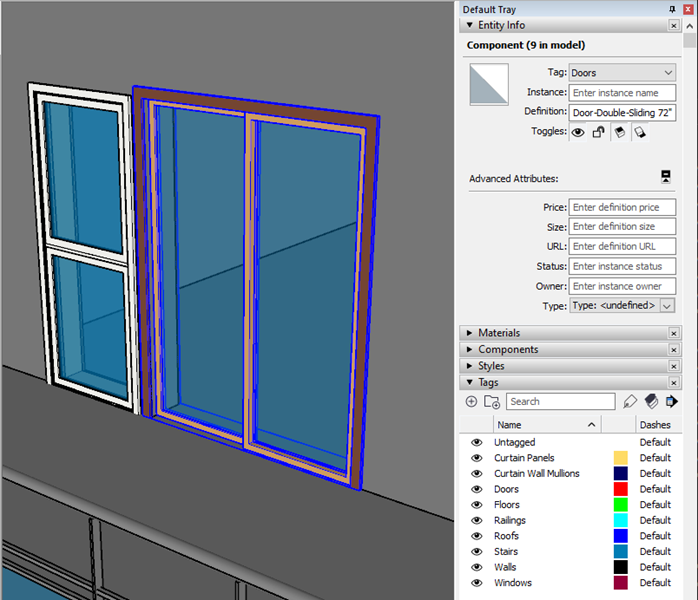
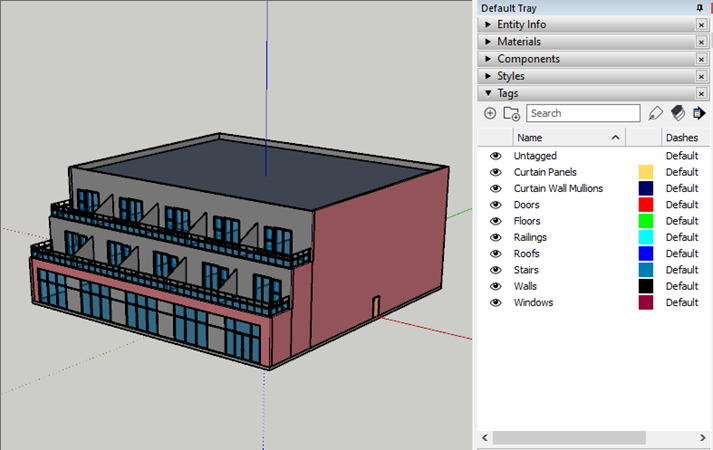
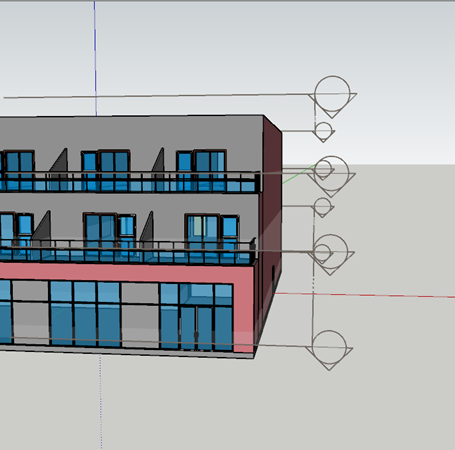
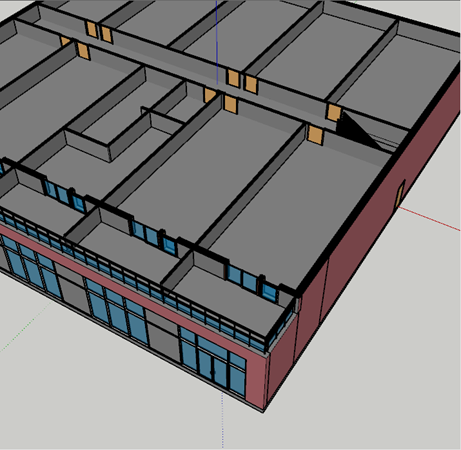
The Revit Importer optimizes redundant triangulation (merge coplanar faces) and lowers the segment count on curves.
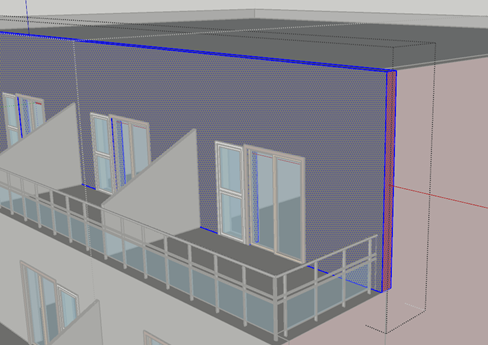
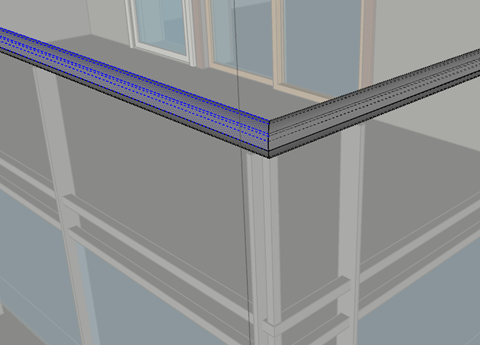
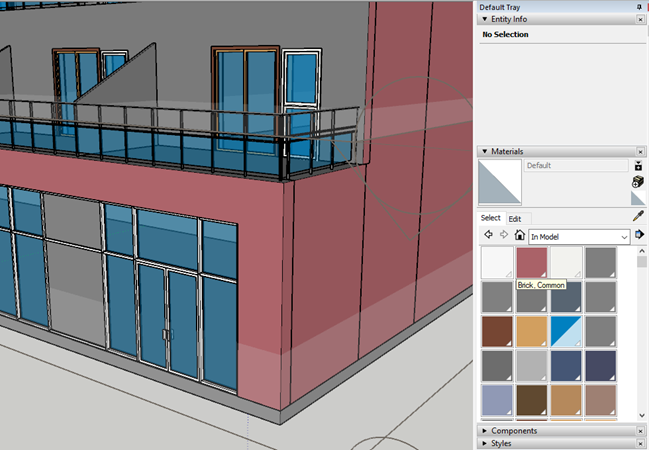
SketchUp materials are created from Revit Materials.
SketchUp Materials take the appearance of Revit materials rendered with the “Consistent Colors” option.
Transparent materials are supported.
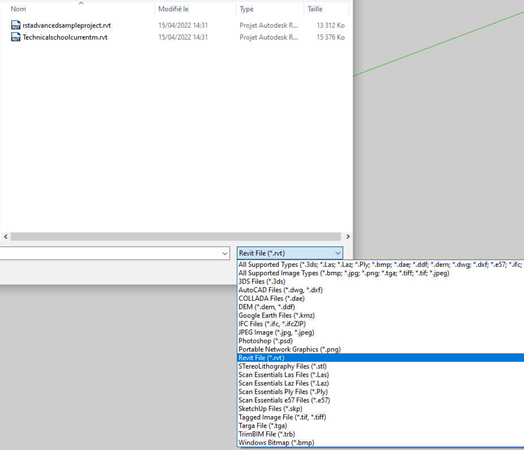
File/Import/Revit File (*.rvt)
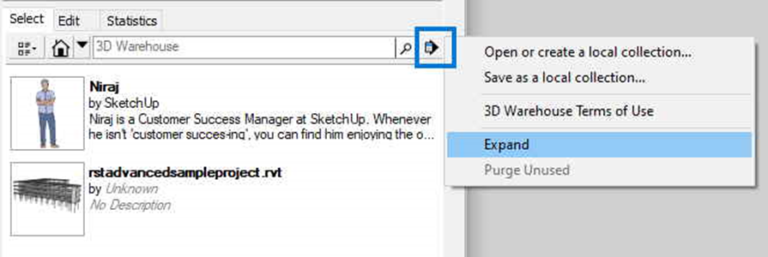
Note : All objects from Revit have been grouped in one main component upon import. In the Components tray, you can use the “expand” option to list all sub-components imported from Revit families and categories
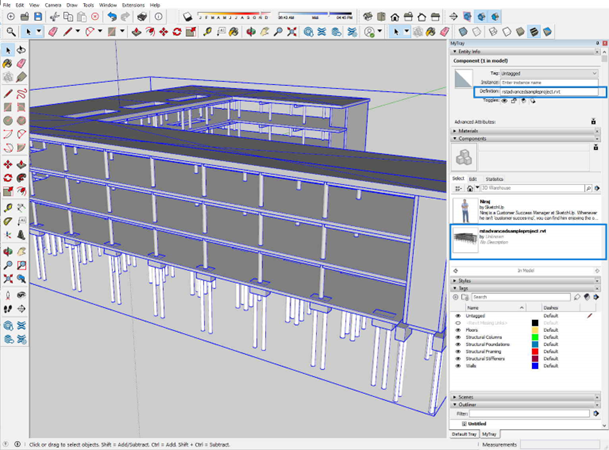
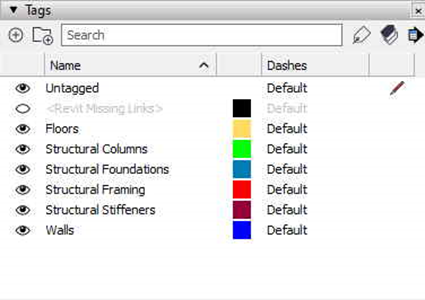
After the import, Tags are created in SketchUp to reflect the various families of objects existing in the Revit project :
Within these Tags list, you will find one named .
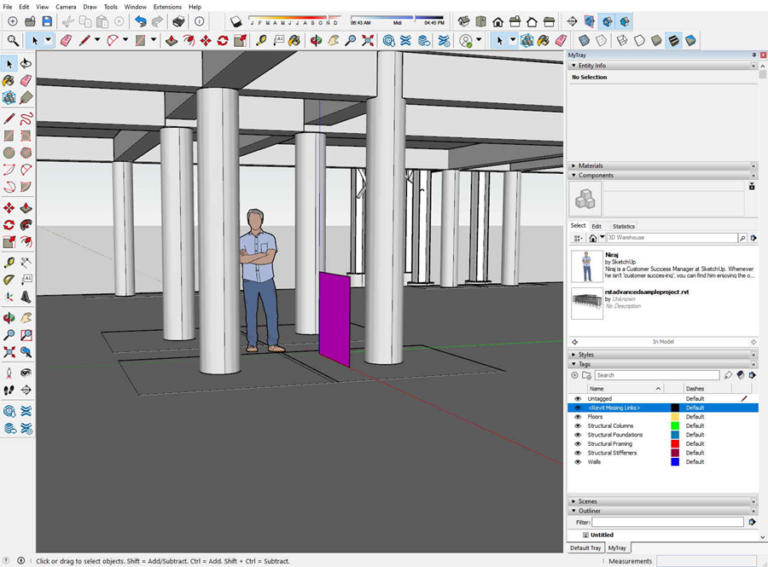
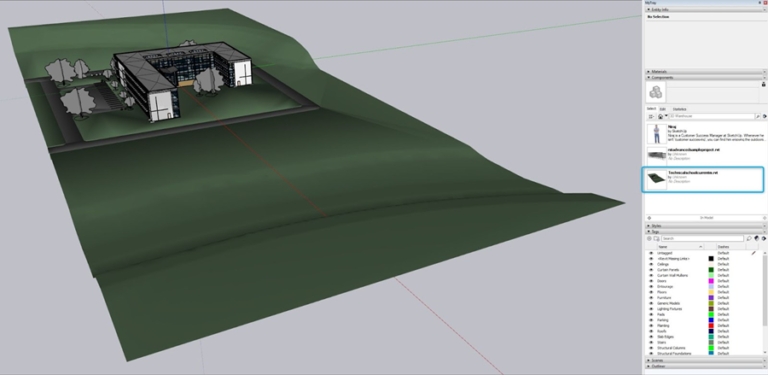
If applicable, this tag will contain a “Proxy” object for each instance of a linked RVT project to the imported one. In this case, only one linked project is existing, which means that the Tag will contain only one proxy object, as follow :
At this point, we propose two workflows in order to add this missing link to the main project :
WORKFLOW 1
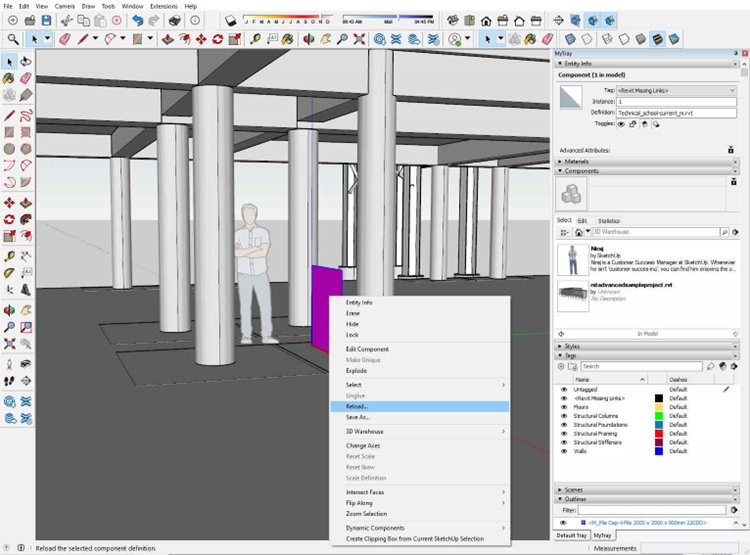
7. Browse to the “Technicalschoolcurrentm.skp” SU project
8. Select and click “Open”: The proxy component (purple square) has been replaced by the secondary SU project
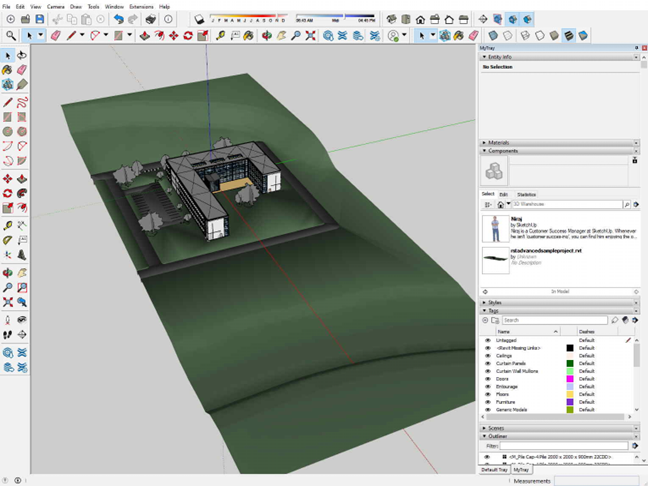
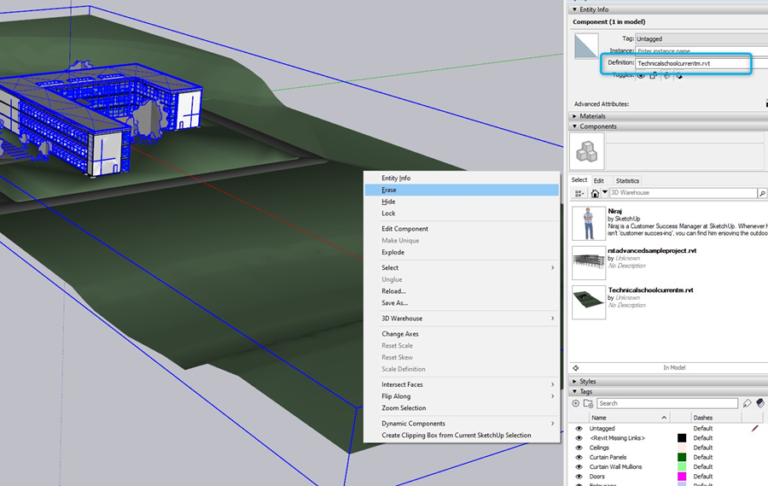
Note : Make sure to enter the main component and select only the Proxy object prior to “reload”. You could by mistake select the main component and replace it by the linked project, instead of adding it.
WORKFLOW 2
Things to know :
On the Revit side, each project is created in its own coordinate system. It means that we can face 2 options.
First, both the main RVT project and a linked RVT project can actually share the same coordinate system, meaning they have been created (even separately) using the same absolute coordinates. In that case, importing both projects in SU one after the other will just place the linked project at the right place according to the main one : That will be the first option for workflow 2.
Second, the linked RVT project has been created in its own local coordinate system, which is different from the main RVT project. This means that they don’t share the same absolute coordinates and that the linked project has a position relative to the main project, which is different from its local coordinate system. In that case, importing both projects in SU one after the other will place the linked RVT at a wrong position according to the main one, and we will have a few more manipulations to place it at the right position : That will be the second option for workflow 2.
Tip : Once the main RVT project is imported within SU, the position of the proxy object (purple square) may give the information about “is the linked project in the same coordinate system ?”
Basically, if the proxy (purple square) is located at the origin of the SU project, it means it shares the same coordinate system as the main project. If the proxy is located somewhere else in the 3D, it means it was in a different coordinate system and its position in the SU project reflects its real relative position according to the main project.
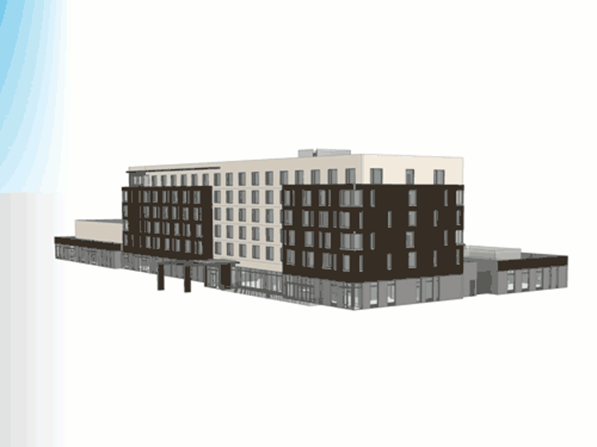
A new component has been added in the project, and created in the 3D at the right position according to the main one. A couple of new tags have been created too, for all the new families coming from the second RVT imported.
At this point, a new component (related to the linked RVT project) is added to the project and is also created in the 3D but at the wrong position according to the main component (from the main RVT project). Still, a Proxy component (purple square) exists and reflects the real relative position of the linked project to the main one.
In the “Components” tray : Right-click the imported linked component then use “Replace selection”
With over 25 years’ experience in the digital design community, Elmtec is one of the leading suppliers of professional hardware and software. Our specialists offer product knowledge, industry experience and support to ensure we save your business time and money.

Get your Free 7-Day trial here


© 2023 Copyright Elmtec. Elmtec is a trading division of Man and Machine Ltd