SketchUp Pro is a powerhouse in the world of CAD software. It offers designers and architects a versatile platform that helps them bring their creative visions to life – creating stunning 3D models and designs.
In this guide, we’ll delve deep into using SketchUp Pro as CAD software, showcasing why it’s regarded as a leading solution amongst design professionals worldwide.
We’ll explore its key features, examine how it enhances design workflows, and explore the advantages of incorporating SketchUp Pro into your design toolkit.
Whether you’re a professional architect or a budding designer, read on to discover the potential of SketchUp Pro and how it could help improve your approach to design.
Unleashing the Capabilities of SketchUp Pro
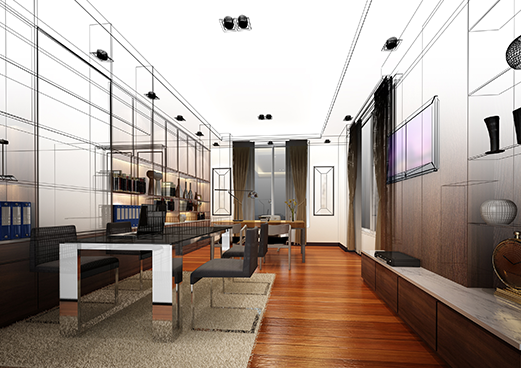
SketchUp Pro is an innovative platform that’s ideal for designing, documenting, and showcasing design concepts in 3D. What began as a simple 3D modelling tool has grown into a user-friendly platform that supports architecture, interior design, landscape, urban planning, and so many more industries.
It’s often the go-to software solution for those seeking an alternative to costly CAD software, and here’s why.
SketchUp Pro boasts a user-friendly interface that is straightforward to use, particularly when compared to complex CAD software. It also offers flexibility and scalability, so designers and firms can scale up as needed.
One of SketchUp Pro’s standout features is its compatibility with various file formats, making it a great choice for collaborative design projects. Whether importing CAD files, exporting to 3D printing formats, or integrating with other design software, it integrates seamlessly across different platforms. Let’s look closer into the key features of SketchUp Pro.
Key Features of SketchUp Pro as CAD Software
If you’re searching for an alternative to expensive and complex CAD software, here are some key features of SketchUp Pro that we think you’ll find useful.
Powerful Modelling Tools
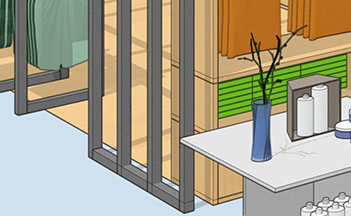
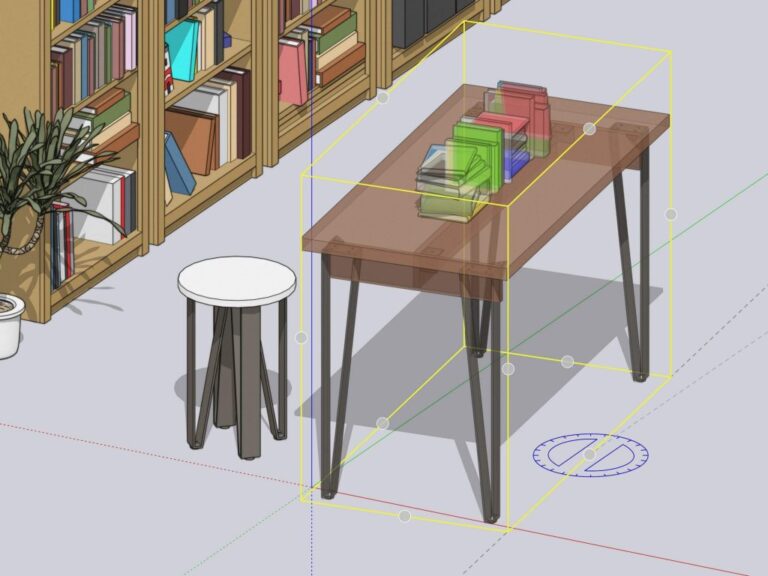
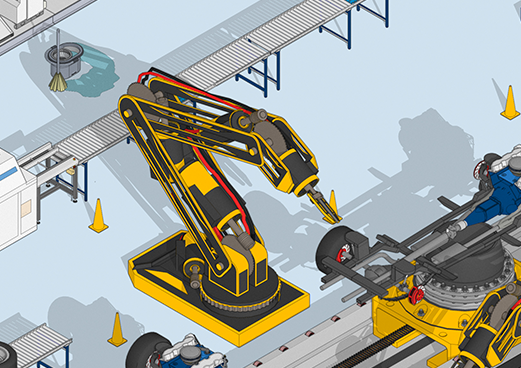
SketchUp Pro offers powerful modelling tools that empower designers to easily create intricate geometries, organic shapes, and detailed architectural elements. Easily create designs by drawing lines and organic shapes, or push and pull surfaces to create realistic 3D drawings.
These powerful modelling tools make it suitable for a range of industries – from game design to furniture design.
It’s also super easy to present and document using SketchUp Pro, and even share your designs with key stakeholders for feedback.
Strong Rendering Capabilities
Rendering is super simple yet effective when it comes to SketchUp Pro. The software integrates seamlessly with rendering plugins, including V-Ray, Enscape, and SU Podium, among many others to take your 3D designs to the next level.
These plugins elevate designs with lifelike visualisations and presentations, saving valuable time and enhancing productivity. From photo-realistic renders to industry-specific productivity plugins like Dibac, Profile Builder, and PlaceMaker, SketchUp Pro comes with a comprehensive suite of tools to enhance your next 3D design project.
Parametric Design Features and Extensions
It also offers cutting-edge parametric design features and extensions that add a layer of sophistication and flexibility to the design process.
These features enable designers to create dynamic, adaptable models that respond intelligently to changes in parameters, improving productivity and design iterations early on.
Whether manipulating dimensions, adjusting components, or exploring alternative design options, SketchUp Pro empowers designers and architects to explore the full potential of their creations with ease.
Support for BIM Workflows and Interoperability
SketchUp Pro embraces the principles of Building Information Modeling (BIM), facilitating collaborative design and construction projects.
The software seamlessly integrates with BIM software, allowing for consistency across different platforms. Evolve your projects in other applications by exporting to a wide range of formats, including DXF, DWG, OBJ, 3DS, DAE, and more.
This support ensures that your designs can seamlessly transition between different stages of the design and construction process, encouraging collaboration throughout the entire process.
Enhancing Design Workflows with SketchUp Pro
Case study: digital transformation in construction
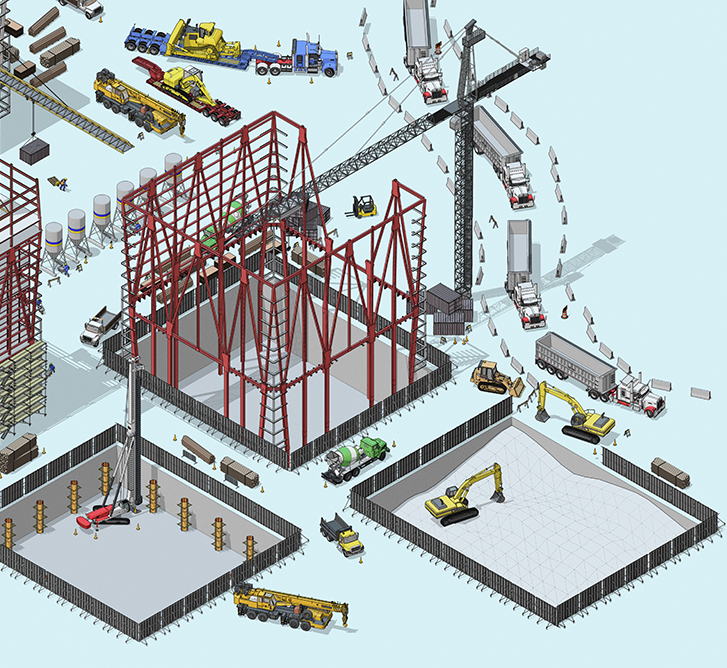
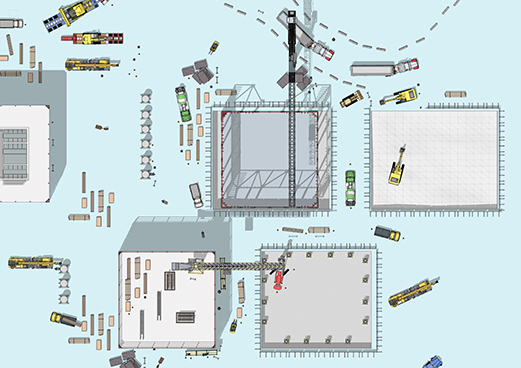
SketchUp Pro is reshaping project management practices in the construction industry. Professionals are using the tool to optimise planning, scheduling and coordinate efforts.
Construction teams are using the software to facilitate real-time sharing of project data alongside BIM methods, ensuring consistent communication and collaboration. This digitalisation not only manages expectations but also mitigates errors caused by miscommunication, leading to more efficient project delivery in the world of construction.
This transformation is also helping construction companies to become more sustainable, utilising eco-friendly materials and building energy-efficient systems. SketchUp Pro allows firms to plan precisely, rescue waste, and optimise resources, helping designers and builders create more environmentally friendly focused projects.
Learn more in our Digital Transformation in Construction case study.
Getting the most out of SketchUp Pro
To optimise SketchUp Pro’s performance and streamline workflows, here are a few tips and best practices to get you started:
- Customise your workspace. It’s easy to tailor SketchUp Pro’s workspace to suit your specific needs and preferences, optimising efficiency and productivity.
- Automate your workflow. SketchUp Pro offers automation features that will help you streamline repetitive tasks, freeing up time for more creative design and innovation processes.
- It also offers cloud collaboration tools and mobile apps that enable designers to access and edit designs on the go. Whether collaborating with team members remotely or presenting designs to clients on-site, SketchUp Pro’s cloud and mobile capabilities will help you get the most out of the software.
- Unlock industry standards and certifications. SketchUp Pro also supports building codes and regulations, so designers and architects can deliver high-quality designs that meet industry standards.
Browse our tutorials to get started.
Advantages of Using SketchUp Pro as CAD Software
Let’s explore some of the key benefits of SketchUp Pro as a CAD software solution.
Compared to other CAD software, SketchUp Pro is well-known for its intuitive interface and array of design capabilities. It’s user-friendly and accessible for all skill levels, from beginners to industry professionals.
However, it’s more than just CAD software – it’s a dynamic platform that empowers designers to design and innovate like never before.
SketchUp Pro also offers exceptional value for money, especially for freelancers and small design firms. Compared to traditional CAD software licences, SketchUp Pro offers a cost-effective alternative that doesn’t compromise functionality or performance.
It’s a common misconception that SketchUp Pro is limited in terms of scalability and industry compatibility. However, with proper optimisation – and integration with plugins like Enscape and V-Ray – it’s easy to see why SketchUp Pro is becoming an industry leader in the world of CAD design.
Karina Reid, an architect and designer with over 20 years of experience, attests to the power of SketchUp Pro, Enscape, and V-Ray in creating real-time designs for her clients. In our case study, Karina describes the combination of real-time and photo-realistic designs as a “killer combo” that never fails to impress clients.
You’ll find extensive resources to help you integrate it properly – from community forums, online tutorials, and training resources. We also offer user training for designers, helping teams unlock even more from SketchUp Pro.
Conclusion: Embracing SketchUp Pro as Your Ultimate CAD Software
Are you ready to embrace SketchUp Pro as your ultimate CAD software companion?
As we’ve discussed, this versatile platform comes with a whole host of features and benefits making it an ideal alternative to traditional CAD software.
Whether you’re a designer, architect, or an aspiring professional, take advantage of SketchUp Pro’s free trial to try it out firsthand.
To support you on your SketchUp Pro journey, we’ve provided links to resources, video tutorials, and support channels where you can get started, master its features, and stay updated with new developments.
We’d also love to hear your experiences, tips and insights when using SketchUp Pro. Send us a message to share them on the community forum