
SketchUp offers a variety of helpful tools. Layers in SketchUp is one of them.
Using layers, you can organise a variety of model components. There are some key things to learn, however.
We’ve created this layers in SketchUp guide to walk you through the concept of layers and how to manage and organise different layers – including how to use them to optimise your design workflow.
Understanding SketchUp Layers: Unique Features and Benefits
At its core, the premise of layers in SketchUp is to control and manage the visibility of entities.
Similar to custom attributes, you assign layers to objects in SketchUp and group related objects to bring a design workflow together effectively. From there, you can toggle different layers on and off to alter the visibility of each. This is helpful when you want to zone in on certain design elements in your project.
To use layers effectively, there are some best practices to follow. These include layer organisation techniques such as specific (and memorable) naming conventions and managing layer visibility correctly.
How to Create and Manage Layers in SketchUp
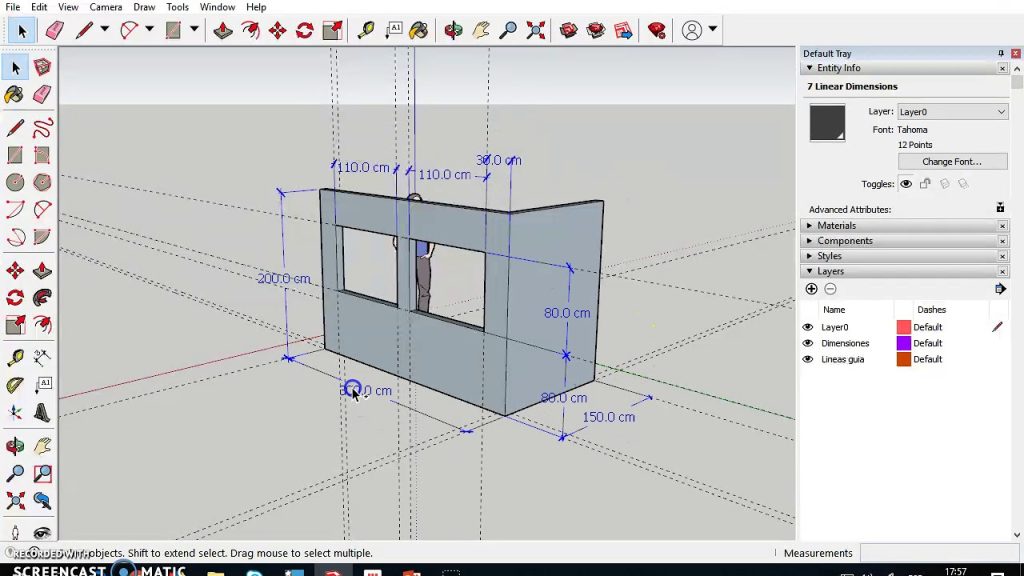
Head to the Layers panel to begin creating and managing layers. The Layers panel is located by choosing Window > Layers.
The default layer is called Layer 0. It’s important to remember this detail, as it’s the layer that should remain active at all times. The red pencil icon next to the layer shows you which one is active.
Creating new layers:
- Select Add Layer at the bottom of the Layers panel (shown as the + icon).
- Rename the new layer by double-clicking it – then press Enter.
Note: Use a descriptive name that makes sense with the object types you plan to assign to the layer. For example, you might name a layer containing headings – Headings.
- To delete a layer, select the layer in the Layers panel and click the Delete Selected Layer icon (the – sign).
To assign an object to a layer:
- Select the layer that you want to contain an object in the Layers panel.
- Using the Select tool, choose the object you want to assign to the layer (a dot will appear next to the selected object’s current layer) by selecting it.
- Go ahead and choose the layer you want to assign the selected object to.
To change layer properties:
- Locate the layer you want to change in the Layers panel.
- Click the eye icon next to the layer name to change the visibility of the layer.
- Click the pencil icon next to the eye icon to change the selectability of the layer.
- Click the colour box next to the layer name to change the colour of a layer.
To organise layers in a hierarchical structure:
- Right-click in the Layers panel.
- Select Add Layer Folder.
- Name the folder.
- Drag and drop existing layers into the folder to organise them.
Note: You can also choose to nest folders within folders for a deeper hierarchy level of organisation.
Let’s now turn to the different layers in SketchUp, and what they do.
Controlling visibility
The main function of layers is to control the visibility of objects assigned to them. Show or hide the objects assigned to that layer by toggling the visibility of a layer on or off.
Locking
By locking a layer, you stop any accidental changes to the objects on that layer. For example, you may choose to lock layers with background elements that you don’t want to move in error while you’re working on other elements of your model. When a layer is locked, the closed padlock icon is displayed.
Colour
You can change the colour of a layer, and it doesn’t affect the appearance of the contained objects. What it does is help you to visually differentiate layers for categorisation. Choose to assign colours to layers by importance or function, for example.
To efficiently manage your layers in SketchUp, you can change a setting for multiple layers at once. To do this, select all the layers you want to change, and shift-click to select a range of adjacent layers.
For more in-depth information, check out the SketchUp tutorials.
Using Layers for Efficient Workflows and Design Flexibility
Now we’ve covered the basics, it’s time to get efficient.
If you want to create different design options, layers make it easy. Create various design versions within the same model. For example, create variants of a room layout on separate layers. Doing this allows you to compare different design options without generating many distinct models.
To make your workflows more efficient with layers, best practice is to:
- Set your project’s aims, plans, and deliverables.
- Collate all your assets and tools before you start your project.
- Create a logical asset file system using names that make sense to you for easy access.
- Establish a standard set of templates for various types of projects – such as styles, layers, and pre-set settings.
- Be sure to toggle visibility on certain components and switch layers on and off to compare design differences.
- Consider assigning layers to different team members for easy collaboration.
When you’re in presenting mode, using layers in SketchUp makes your projects simple to understand. Show only the relevant parts of your design as you’re talking through them to ensure your audience focuses on the specific elements.
Iterations are quicker, too. You don’t need to make amends to the entire design, just modify the layers you want based on the feedback you receive.
Conclusion: Optimising Design Workflow with Layers in SketchUp
This article shows how you can master using layers in SketchUp and significantly simplify and improve your design process.
Go forth and implement the tips and best practices to optimise your design workflows in SketchUp. By effectively using layers, you improve design flexibility, simplify collaboration, and boost your overall efficiency.
Get started with SketchUp with Elmtec. As your trusted digital distribution partner, we have more than a quarter of a century’s experience serving the digital design community, and we’re known and loved for being one of the leading distributors of professional hardware and software.
Compare the free vs pro versions of SketchUp here.

