

Imagine taking clients on a tour of your newly designed architectural wonder before it is even built in the real world. With SketchUp, you can. Today, you will learn how to create a walkthrough in SketchUp, which extensions to use for animation and how to share your designs.
Understanding the Power of Walkthroughs in SketchUp
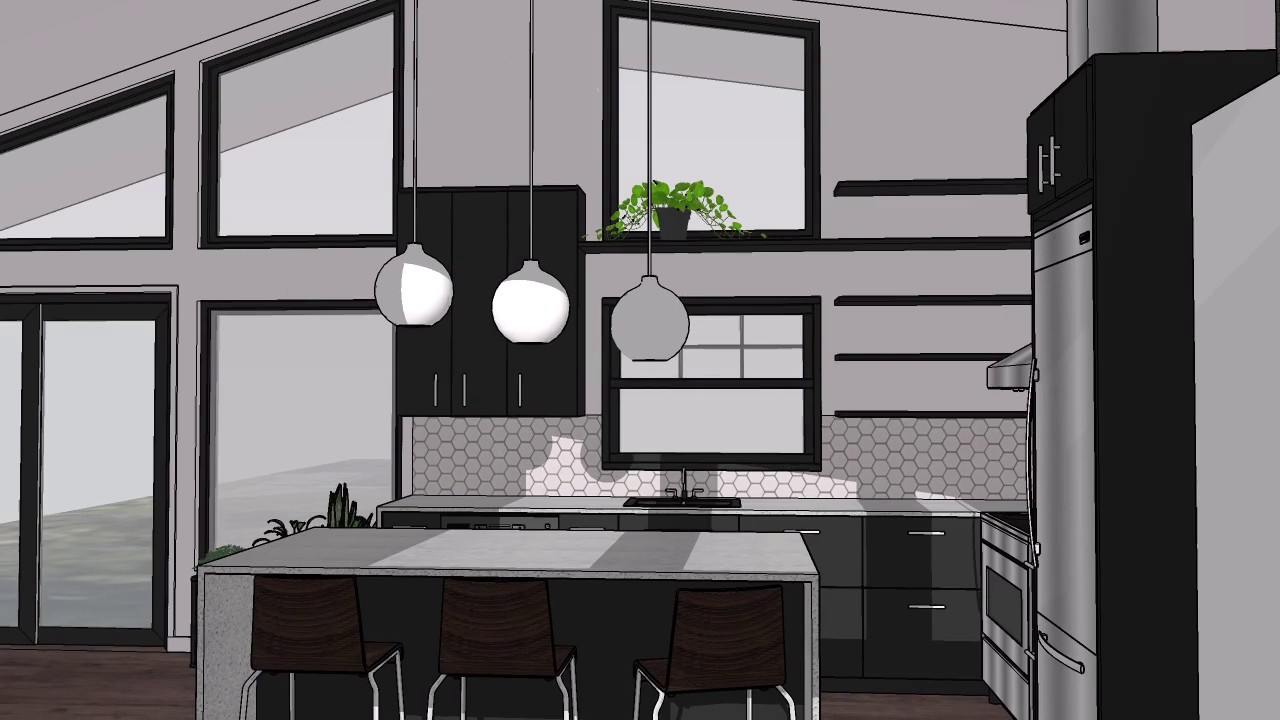
The SketchUp walkthrough feature gives a virtual tour to viewers, providing a realistic sense of scenery, space, and design flow. Now, your clients, stakeholders, and team members can become even more immersed and engaged with your project by seeing what you do up close and fostering communication that helps clients visualise the outcome.
Walkthroughs are key for architectural designs, urban or facility planning, or museum settings as they help viewers better understand how the concepts will behave in the real world.
Step-by-Step Guide to Creating a Walkthrough in SketchUp
Here’s how to organise a walkthrough of a SketchUp model:
- Click the Position Camera tool
- Set viewing height at eye level (type the height value on the keyboard)
- Place the Camera, focus on a specific point
- Wait for the Look Around to activate
- Move the camera with the Look Around tool
- Use the Walk tool to move the Camera in different directions (click and drag the cursor)
All the tools you need to create a walkthrough in SketchUp are clustered in the Camera menu, Camera toolbar (Windows) or Navigation Tools (Mac) and Large tool set.
Walkthroughs work best when the Camera has a wide field of view. To change it, select the Zoom tool, press the Z key or go to Camera – Field of view in the Menu bar. Type a value in degrees and millimetres; “deg” will set a degree field and “mm” will set the focal length of the camera.
The Measurement box is automatically set to accept height value, so you can just type it in. The Camera will be oriented toward the north (top of the screen) by default, so you’ll want to click and hold the mouse where you want to position it. Once you’re in the Walk mode, you can switch to Look around by clicking and holding the scroll wheel.
Refine your SketchUp walkthrough even more with scene transitions, annotations, and text which will guide the viewers. Find the scene transitions in the View – Animation – Settings section. If you’re looking for a smooth animation, set the scene delay to 0 seconds.
Add text to your scenes by creating a layer for each scene and adding the comment to a layer you’ll show. Alternatively, group comments and use the Outliner tool to control their visibility.
Enhancing Your Walkthroughs with Captivating Visual Elements
While creating a walkthrough in SketchUp, make sure to include tactile textures and materials (glass, metal, carpets), lighting, reflections, realistic shadows, or weather. Captivating foreground and background elements like other buildings or vehicles will create depth and visual impact, while interactive elements will increase engagement and improve experience.
Animated elements, like fountains or fireplaces, will add a sense of movement and a hyper-realistic environment. Place these elements strategically, and pay attention to clusters and groups and how they flow. Simulate natural movement with repetition or variation of objects.
Utilise some of the best walkthrough plugins for SketchUp such as Animator or Keyframe Animation plugins. Animator is a powerful tool that lets you create moving objects, camera animation, and more. Keyframe extension helps you animate individual objects with interpolated keyframes. This tool is ideal for animating realistic vegetation and weather effects.
Alternatively, there’s an SU Animate extension you can use to create scenes that play as animations when you need your objects to move along a path. All these tools offer an array of options to help you transform the walkthrough experience by introducing lively objects.
Presenting and Sharing Your Walkthroughs in SketchUp
Once you’re done with your design, it’s time to show it to others. There are various ways to present your work:
- Video export for direct walkthrough showcase
- Image export that you can compile into a slideshow via external software
- SketchUp online viewer for sharing 3D models
- Third-party cloud-based solutions and other platforms (Unity, UnrealEngine)
- SketchUp VR Export
- Other VR platforms (Oculus, HTC Vive)
- Enscape plugin for real-time rendering
Video files can be exported as:
- .mp4 – a compressed but the most supported video file type
- .avi – gives a large video file for all devices
- .webm – works with web browsers or VLC
- .ogv – also works with web browsers of VLC
To export on Windows:
- Go to File – Export – Animation – Video
- Choose where to save it
- Name the file
- Select the format from the Save As Type
- Check Options for resolution, aspect ratio, frame size, frame rate
- Click OK once you’re done
- Click Export
To download on Mac:
- Go to File – Export – Animation
- Repeat the steps above
Virtual reality applications and video hosting platforms are especially beneficial for the walkthrough of a SketchUp model, as they provide a more immersive experience. You can also include music and sound effects, which will bring out the maximum in your design.
By sharing walkthroughs via these platforms, you improve client communication and allow for better feedback. Finally, walkthroughs act as robust marketing materials that bring realistic experiences to clients and stakeholders, which is why they should be incorporated into client presentations and websites.
Mastering Walkthroughs to Bring Designs to Life in SketchUp
SketchUp walkthroughs have immense significance when it comes to accurately presenting your work. They bring designs to life, facilitate decision-making, and boost the engagement of the stakeholders, positively affecting the success of the project and client satisfaction.
Luckily, creating a walkthrough in SketchUp takes just a few clicks, pointing the Camera, and utilising the Look Around and Walk tools. Utilise Animator or Keyframe Animation to make elements move and bring another layer of realism. Include music or sounds to further immerse the viewers into the scene, show design intent and push the boundaries of design communication.
Elmtech has over 20 years of experience and all the tools you need to start using walkthroughs as a tool to enhance design presentations and captivate clients and stakeholders. Compare what SketchUp Free and Pro can do for your projects today and explore tutorials to learn more.


