As design and construction projects become increasingly complex, professionals need more than just powerful 3D modelling tools. They need connected workflows that streamline collaboration, improve accuracy, accelerate project delivery, and maximise productivity across every stage of the design process.
That’s where SketchUp Advanced Workflows come in.
At Elmtec, a trusted SketchUp Gold Reseller in the UK, we’re helping architects, interior designers, landscape architects, engineers, contractors, and construction professionals take their SketchUp projects further by embracing advanced workflows that go beyond traditional modelling.
What Are SketchUp Advanced Workflows?
SketchUp has long been recognised for its intuitive approach to 3D design. However, today’s SketchUp ecosystem offers far more than modelling alone. Advanced workflows connect design, visualisation, documentation, collaboration, reality capture, and project management into a seamless digital process.
By integrating powerful tools and connected workflows, professionals can reduce repetitive tasks, improve project accuracy, and make faster, more informed decisions.
Whether you’re designing a residential extension, a commercial development, a landscape project, or a large-scale construction scheme, advanced workflows help teams work smarter and deliver better outcomes.

Moving Beyond Basic 3D Modelling
Many organisations initially adopt SketchUp for conceptual design and visual communication. As projects grow in complexity, however, there is an opportunity to unlock significantly greater value from the platform.
Advanced workflows enable users to:
- Collaborate more effectively across project teams
- Streamline design reviews and stakeholder approvals
- Integrate reality capture and existing conditions data
- Improve design accuracy and coordination
- Create higher-quality visualisations and presentations
- Enhance documentation and project communication
- Reduce rework and costly project delays
The result is a more connected workflow that supports every stage of the project lifecycle.

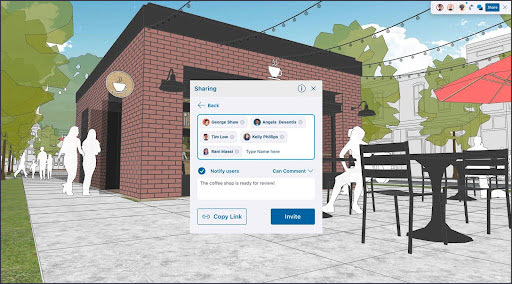
Connecting Design, Data and Collaboration
Modern projects require teams to work across multiple disciplines and locations. SketchUp’s advanced workflow capabilities allow designers to move beyond isolated files and disconnected processes.
By leveraging cloud-based collaboration tools, model sharing, and connected project environments, teams can ensure stakeholders are always working from the latest information.
This improved transparency helps reduce communication gaps, accelerate decision-making, and improve project coordination from concept through to completion.
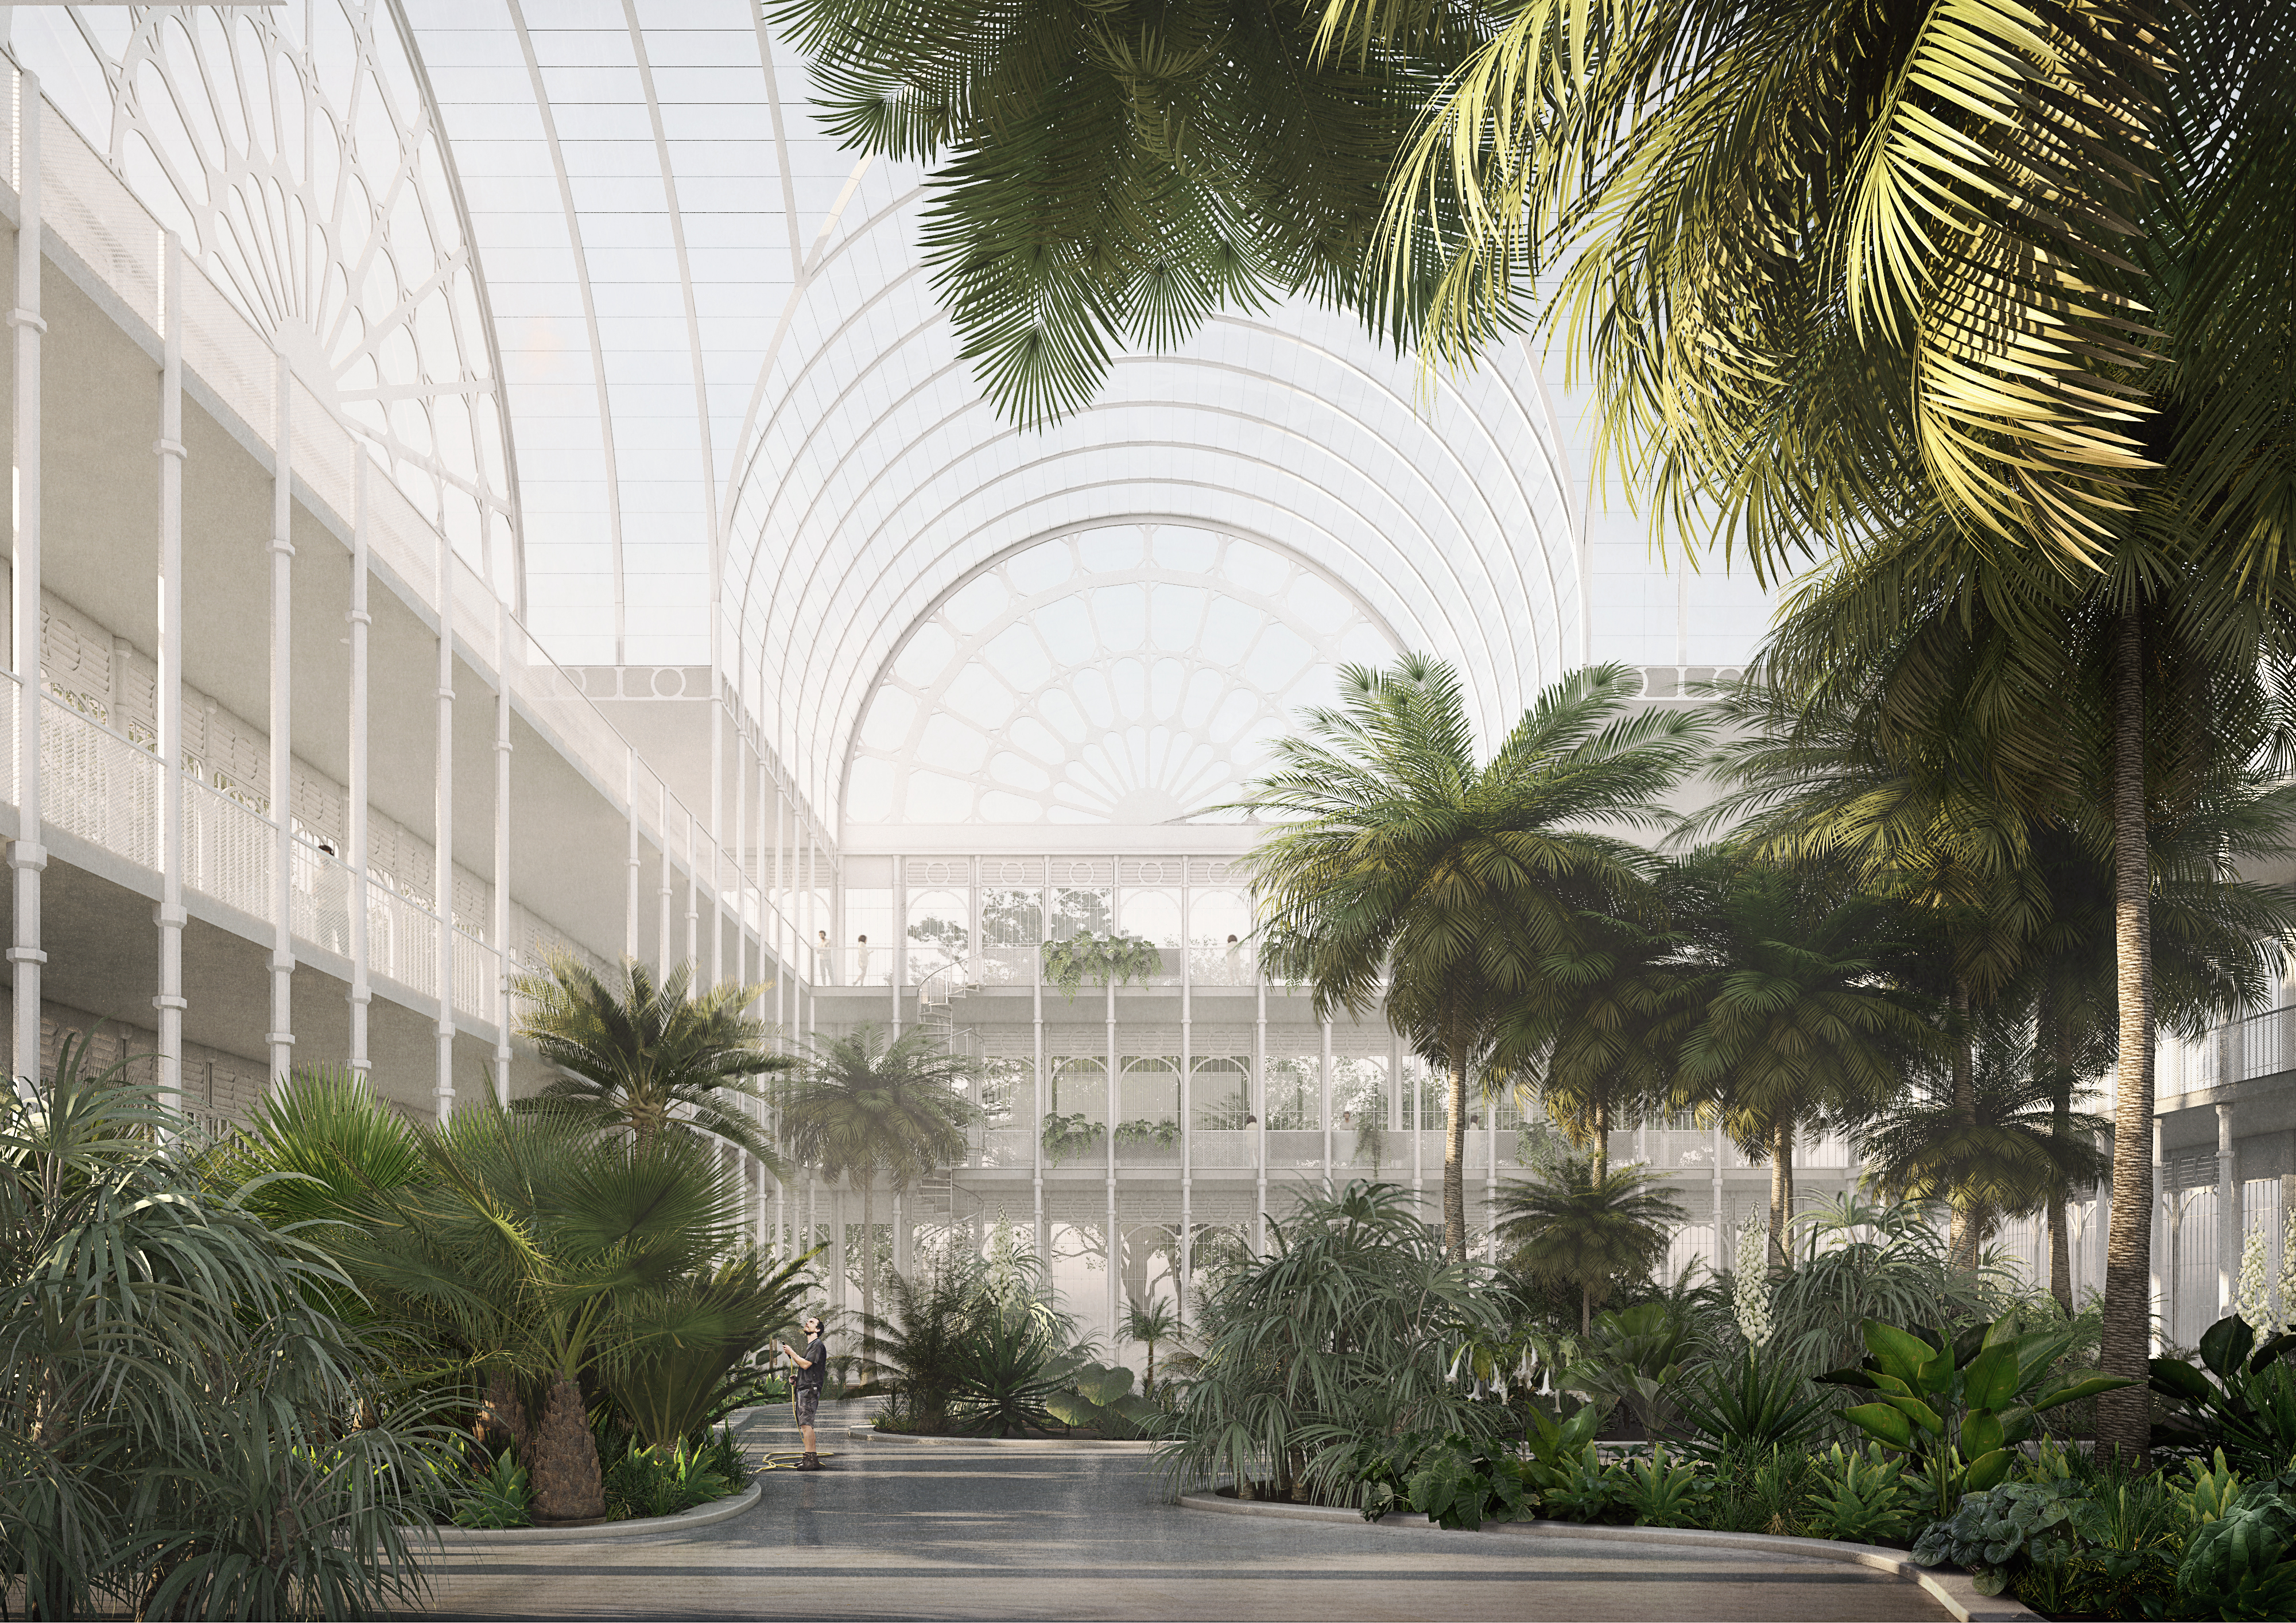
Accelerating Existing Conditions and Renovation Projects
One of the most significant developments in modern design workflows is the integration of reality capture technologies.
Advanced SketchUp workflows now allow professionals to incorporate scan-to-design processes, point cloud data, and existing conditions modelling into their projects. This enables teams to create highly accurate digital representations of real-world spaces, reducing site visits and improving design confidence.
For refurbishment, retrofit, and renovation projects, these capabilities can dramatically improve efficiency and minimise risk.
Whether you’re exploring scan-to-design for the first time or looking to optimise existing workflows, our specialists can help you identify the right SketchUp solution for your organisation.
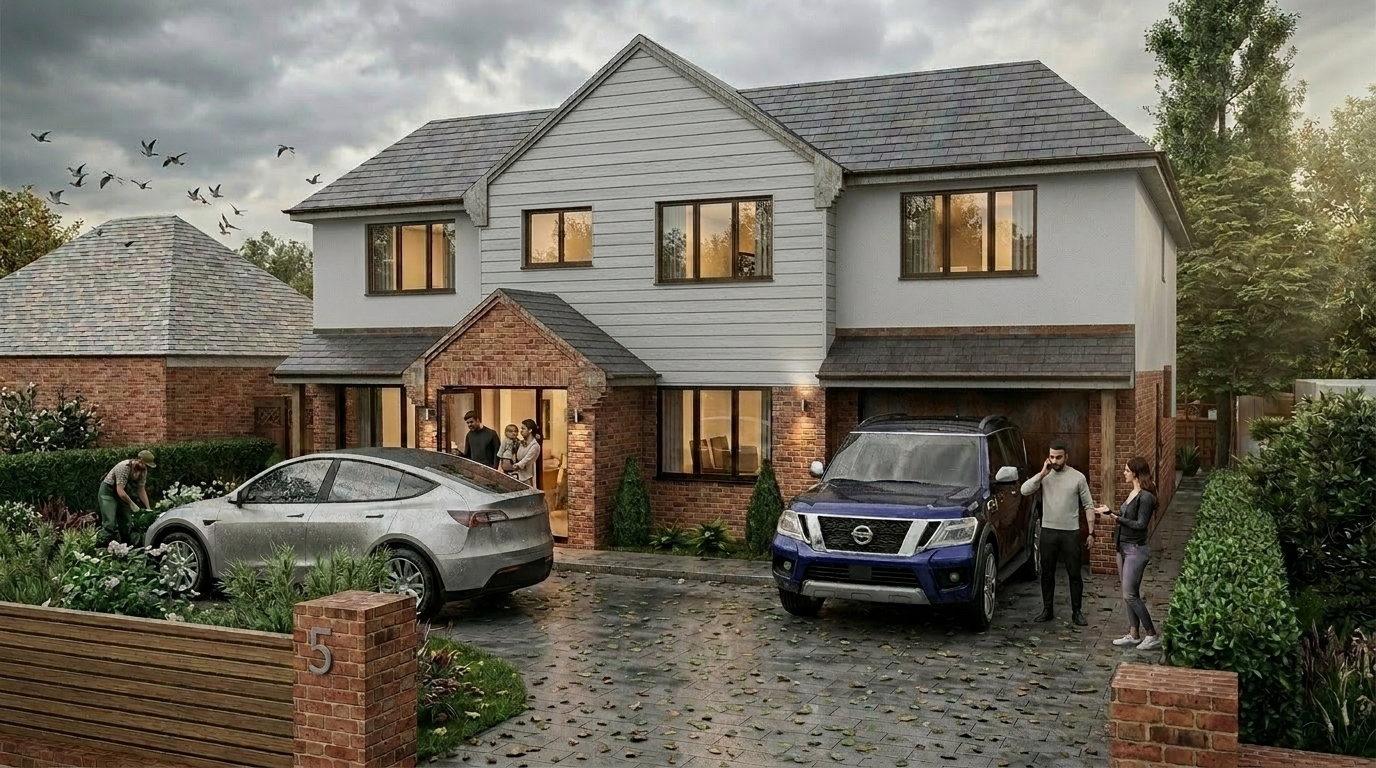
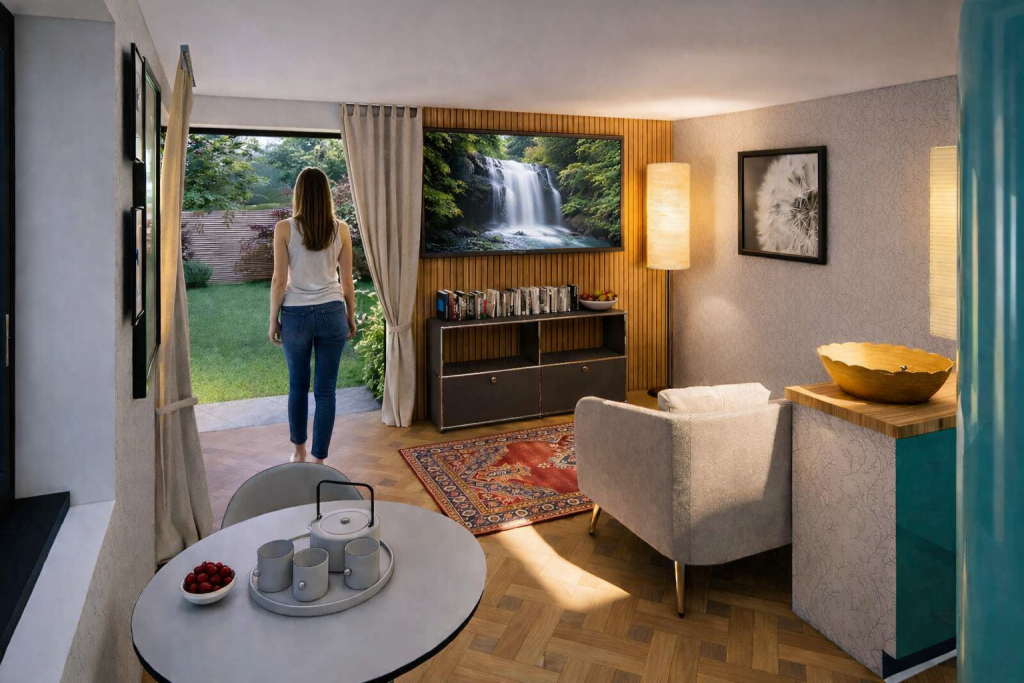
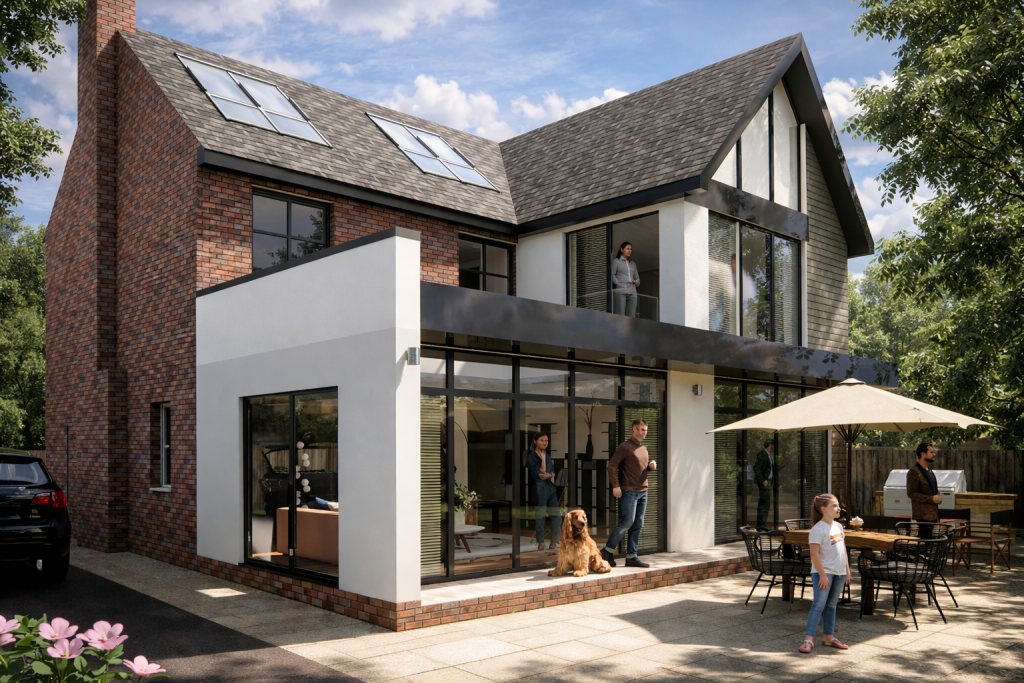
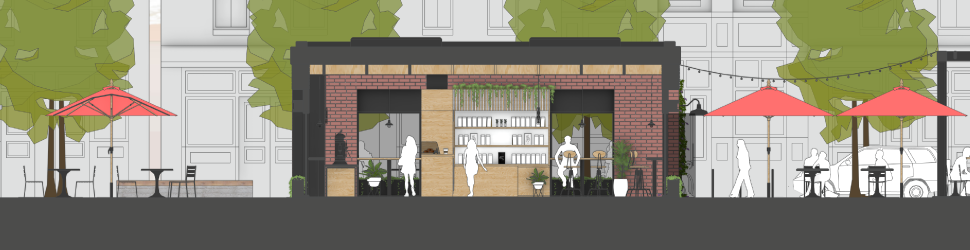
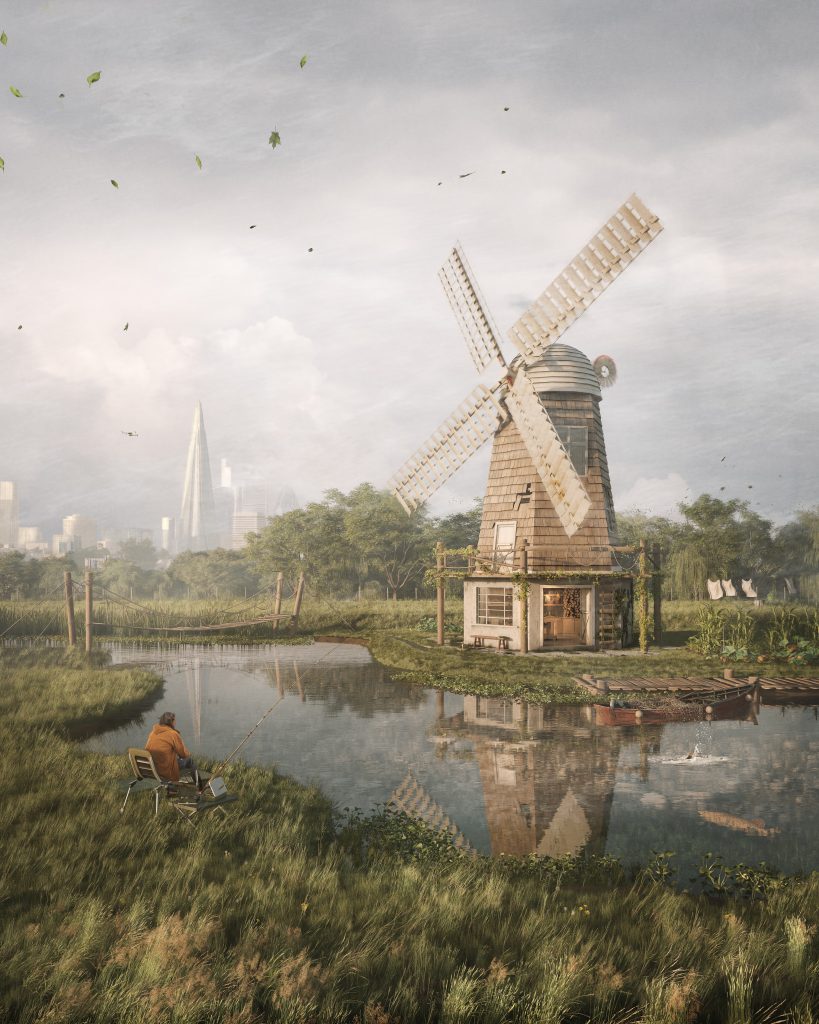
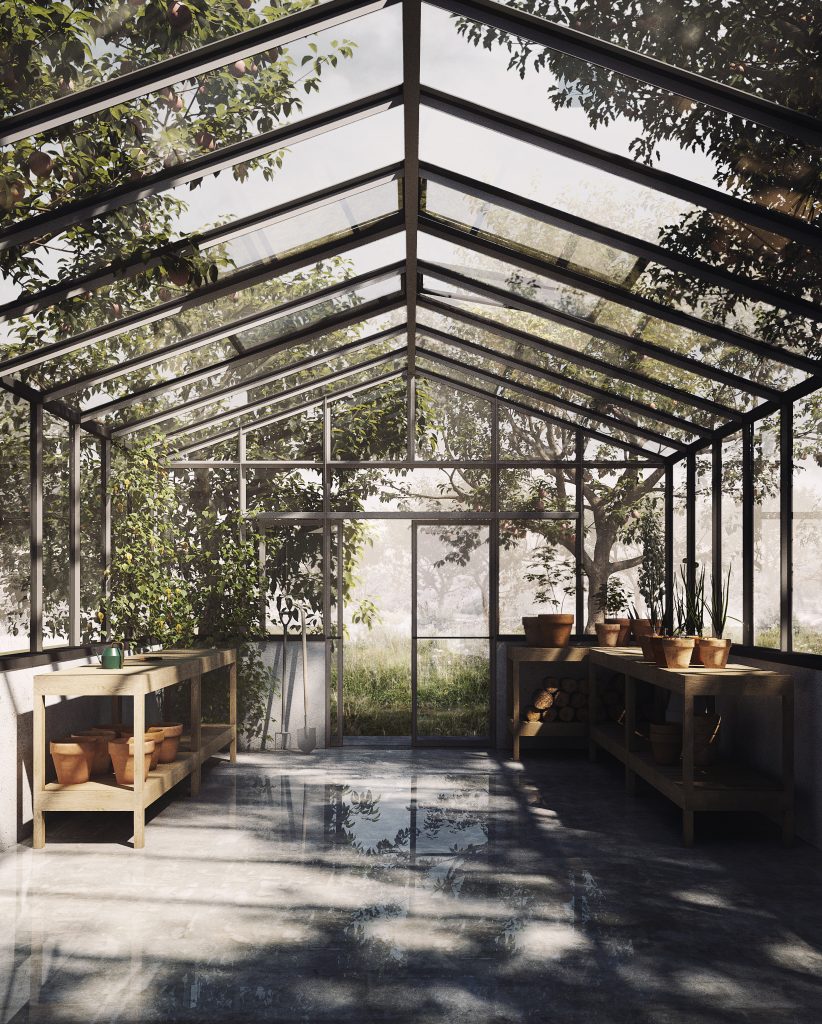
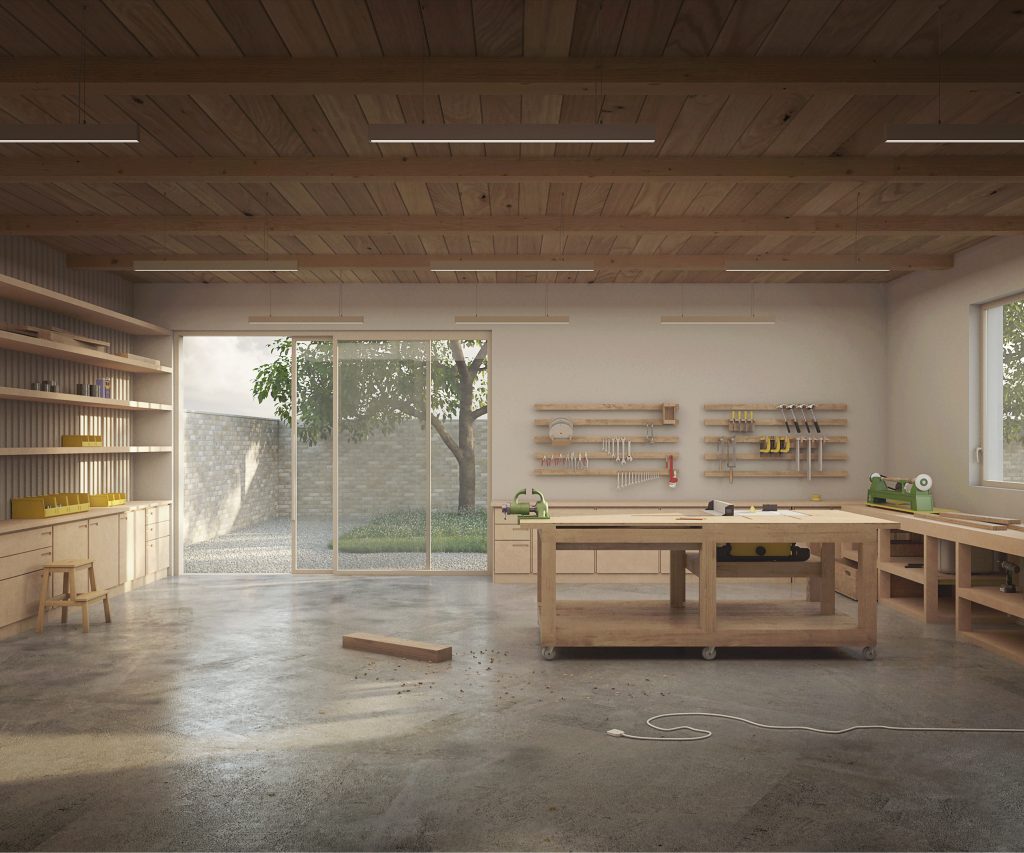
Enhancing Visualisation and Client Engagement
Successful projects rely on clear communication. Advanced workflows make it easier to transform design concepts into compelling visual experiences that clients and stakeholders can understand.
From photorealistic rendering and immersive presentations to interactive design reviews, SketchUp’s ecosystem enables professionals to communicate ideas more effectively, secure approvals faster, and reduce misunderstandings throughout the design process.
Better visualisation often leads to stronger client engagement and more confident decision-making.
Improving Productivity Through Automation
Many design teams spend valuable time on repetitive manual tasks that slow project delivery.
Advanced SketchUp workflows can help automate key processes, standardise project outputs, and improve consistency across teams. By reducing manual effort, designers can focus more time on creativity, innovation, and solving project challenges rather than administrative tasks.
This increased efficiency can lead to significant productivity gains across projects of all sizes.
Why Advanced Workflows Matter
The design and construction industry continues to evolve rapidly. Organisations that embrace connected digital workflows are better positioned to deliver projects faster, reduce errors, improve collaboration, and remain competitive in an increasingly demanding marketplace.
SketchUp Advanced Workflows provide a practical pathway towards greater project efficiency without sacrificing the simplicity and flexibility that have made SketchUp one of the world’s most popular design platforms.
How Elmtec Can Help
As a leading SketchUp Gold Reseller, Elmtec works closely with organisations across architecture, engineering, construction, landscape design, and interior design to help them maximise the value of their SketchUp investment.
From software licensing and implementation to training, consultancy, and technical support, our specialists can help you identify and adopt the advanced workflows that best fit your business needs.
Future-Proof Your Design Process
SketchUp is no longer just a modelling tool, it’s a connected design platform that supports smarter ways of working across the entire project lifecycle.
By embracing advanced workflows, design professionals can improve collaboration, increase efficiency, enhance project outcomes, and unlock new opportunities for growth.
Contact Elmtec today to discover how SketchUp Advanced Workflows can help transform the way your team designs, collaborates, and delivers projects.