
Water features bring life and fluidity to design. They evoke a strong emotional response and lure people into the scenery you created. Incorporating water is easy with SketchUp and V-Ray and today you’ll explore a V-Ray water tutorial which will make renders a breeze.
The Art of Water Design in SketchUp
Some of the most prominent designs in the world include water; Bellagio Fountain (Paradise, Nevada), Fallingwater (Mill Run, Pennsylvania), and The Dubai Fountain (Dubai, United Arab Emirates) demonstrate the transformative power of water in design. Today, we will explore how to apply water transparency and more with V-Ray and SketchUp tools.
Mastering Water Rendering Techniques in V-Ray for SketchUp
Once you’re ready to render water with SketchUp and V-Ray, launch the software, ensure all the menus are there and proceed to:
- Import scene
- Apply water material from the V-Ray Asset Editor
- Use Texture Placement to manipulate the position
- Adjust the Reflection and Refraction parameters
- Adjust Environment
- Adjust the depth, colour, and opacity for a convincing water effect
Use the Caustics simulation feature for water transparency, reflection, refraction, and other water properties.
Experiment with camera angles and note that the absorption distance parameters change how light interacts with water. Use the Displacement map from the Asset Editor to generate detailed, realistic water textures.
Pay attention to the surroundings when you apply water reflection in V-Ray. Set up proper lighting setups, time of the day, and weather to enhance realism and create the desired atmosphere. Furthermore, add landscape and architectural elements to improve the balance of your design.
Creating Realistic Water Environments with V-Ray for SketchUp
Some techniques for designing realistic water in SketchUp using V-Ray include the use of proxies and displacement maps. Proxies are low-polygon replicas of original models that speed up the rendering process yet still show complex geometry.
Displacement maps help you add intricate details to water by actually changing its surface as you design it. These are ideal for creating ripples, foam, splashes, and waves.
Alternatively, V-Ray’s Material editor can help you make water material and fine-tune reflections, colour, and glossiness. You will also have control over how light penetrates the water.
On the other hand, the Refraction tab lets you add water reflection in SketchUp. With it, you can alter the Index of Refraction, and adjust refraction colours. For a more realistic effect, there’s the Displacement tab with a noise map that simulates surface tension and ripples.
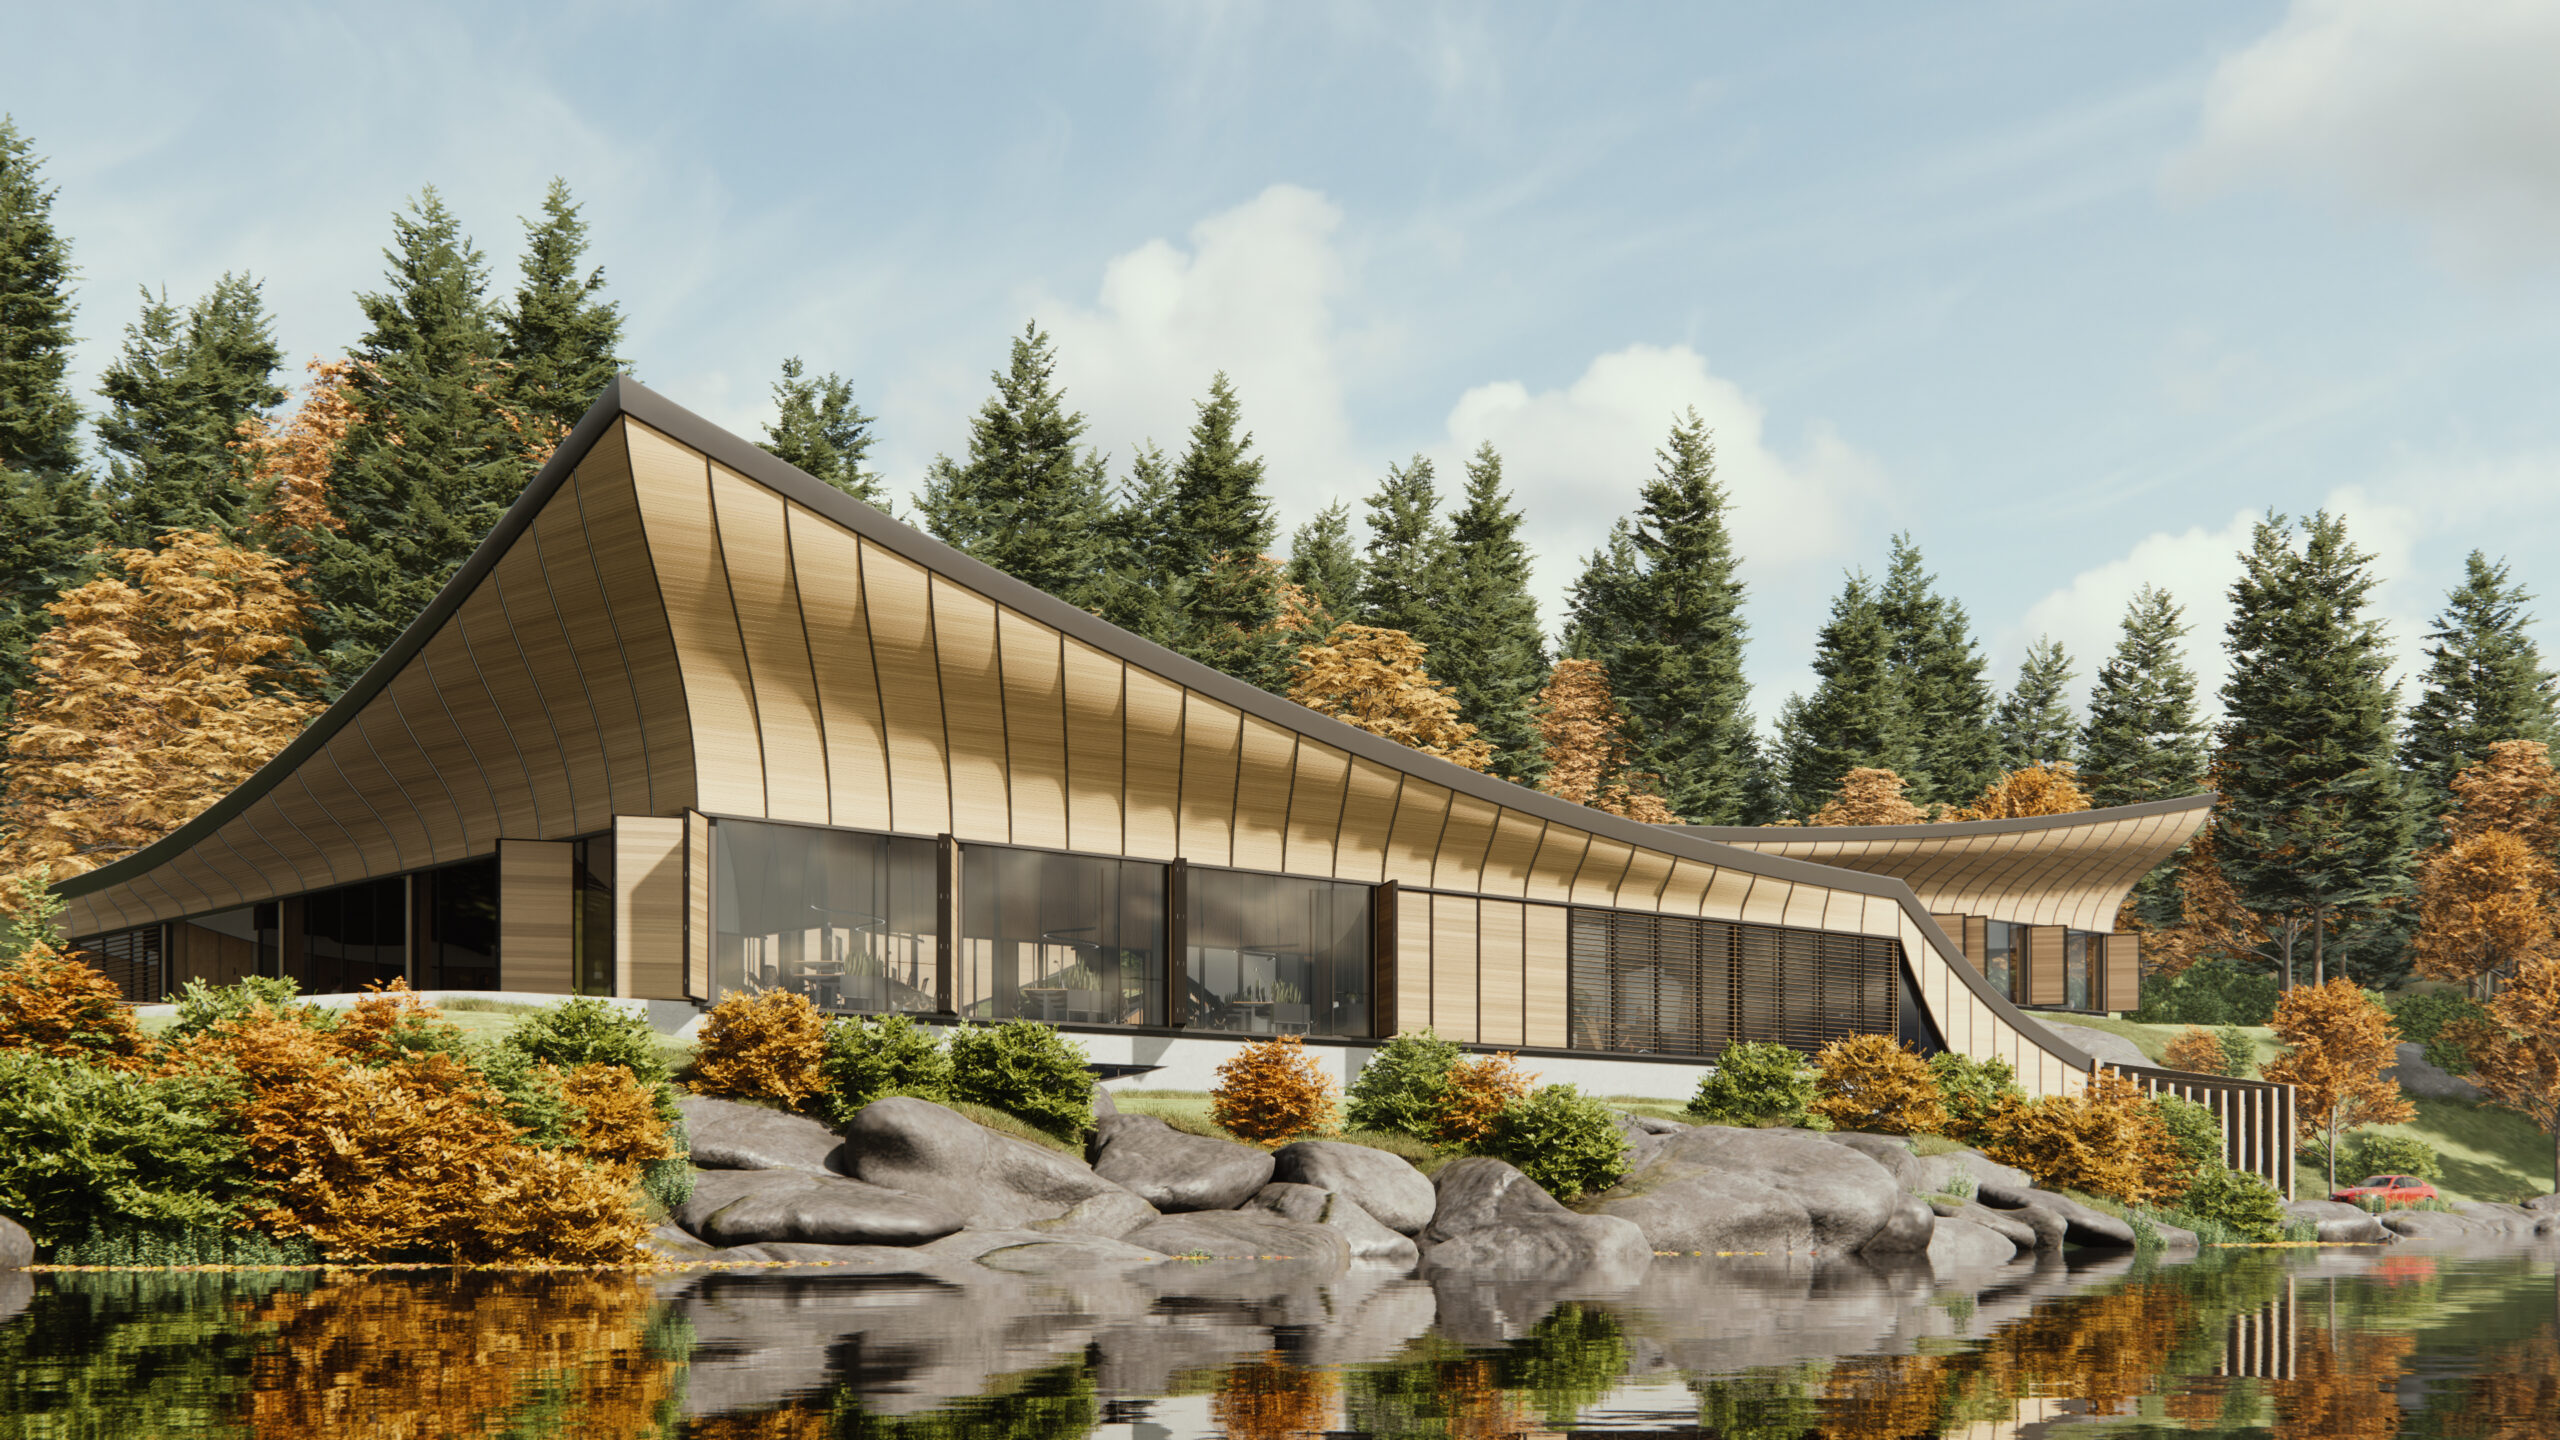
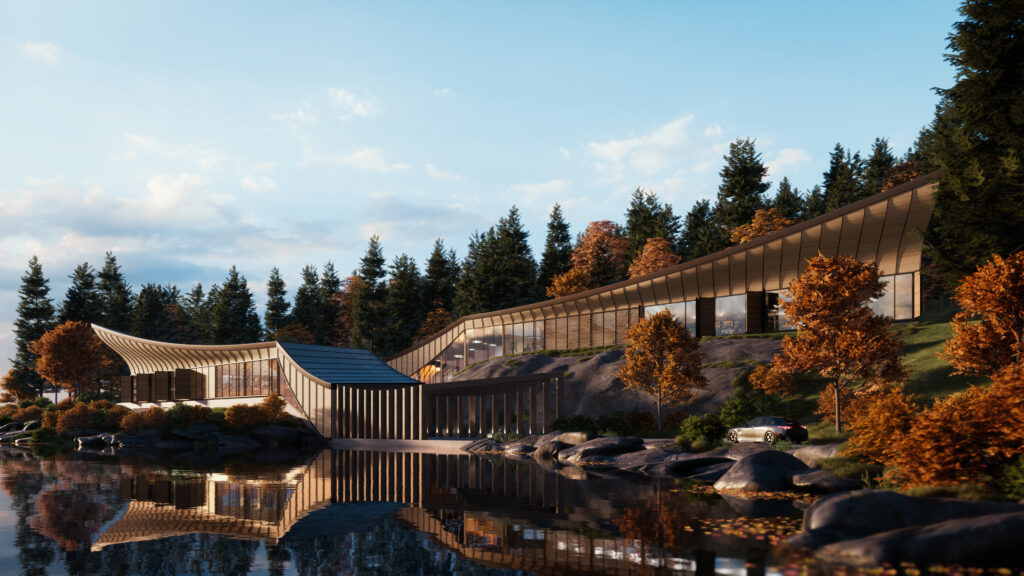
SketchUp and V-Ray features can help you design a modern urban plaza, combining architectural details with a fountain as the visual focal point. Or, you can work on a coastal resort landscape, which successfully pairs natural elements like water and trees, with the resort’s design, to achieve harmony and enhance the visual impact of the designs.
Adding Water Motion and Animation in SketchUp
SketchUp and V-Ray water tools help you animate water elements to create spectacular visual effects and enhance the dynamic nature of the design. You can either use a water texture map or Asset Editor to create realistic water from scratch and animate it with:
- A displacement map
- Caustics effect
- V-Ray wind options
Animating scenes in SketchUp is simple. Once you’ve created and organised frames, you can play them in two ways:
- Context-click the scene tab and select Play Animation
- Via Scene Manager, then View – Animation – Play
You can also use the Animator plugin, which controls the movement of objects in a specified timeline. Comprehensive materials and water setting in V-Ray for SketchUp combined with movement will bring water to life and create immersive and engaging scenery.
Adjust the texture animation speed, explore particle settings and Displacement map, intensity and colour for stunning water animations.
Try to create a seamless loop to maintain fluidity – match starting and ending frames to avoid abrupt transitions. Finally, synchronise water with surrounding elements. Bring in light, shadows, and objects that will reflect on the surface for increased realism.
Test your skills by creating hotel resorts or water theme park projects to enhance the overall design narrative and learn more in the SketchUp and V-Ray water tutorial.
Elevating Designs with Water and V-Ray in SketchUp
There’s nothing like a calming water feature to improve aesthetics and atmosphere in your designs. Bringing water into your scene will evoke emotions in viewers, harmonise sharp architecture with the natural world, and create memorable experiences.
Utilising intuitive tools and rendering capabilities of V-Ray and SketchUp, you too, can achieve realistic and lively water representations. Whether a still water surface in one image or water ripples in an animation video, SketchUp and V-Ray water features give you all you need to achieve lifelike water representations. Explore displacement maps, caustics effect, and V-Ray wind for endless possibilities to create stunning water elements.
Next time you feel something is missing from your design, try including a water element to elevate your render, bring your creativity to a higher level, and leave a lasting impact on viewers. Elmtec is here to help uplift your designs with more than 25 years of industry experience. Head over to their site to explore free trial options and pro versions of SketchUp.


