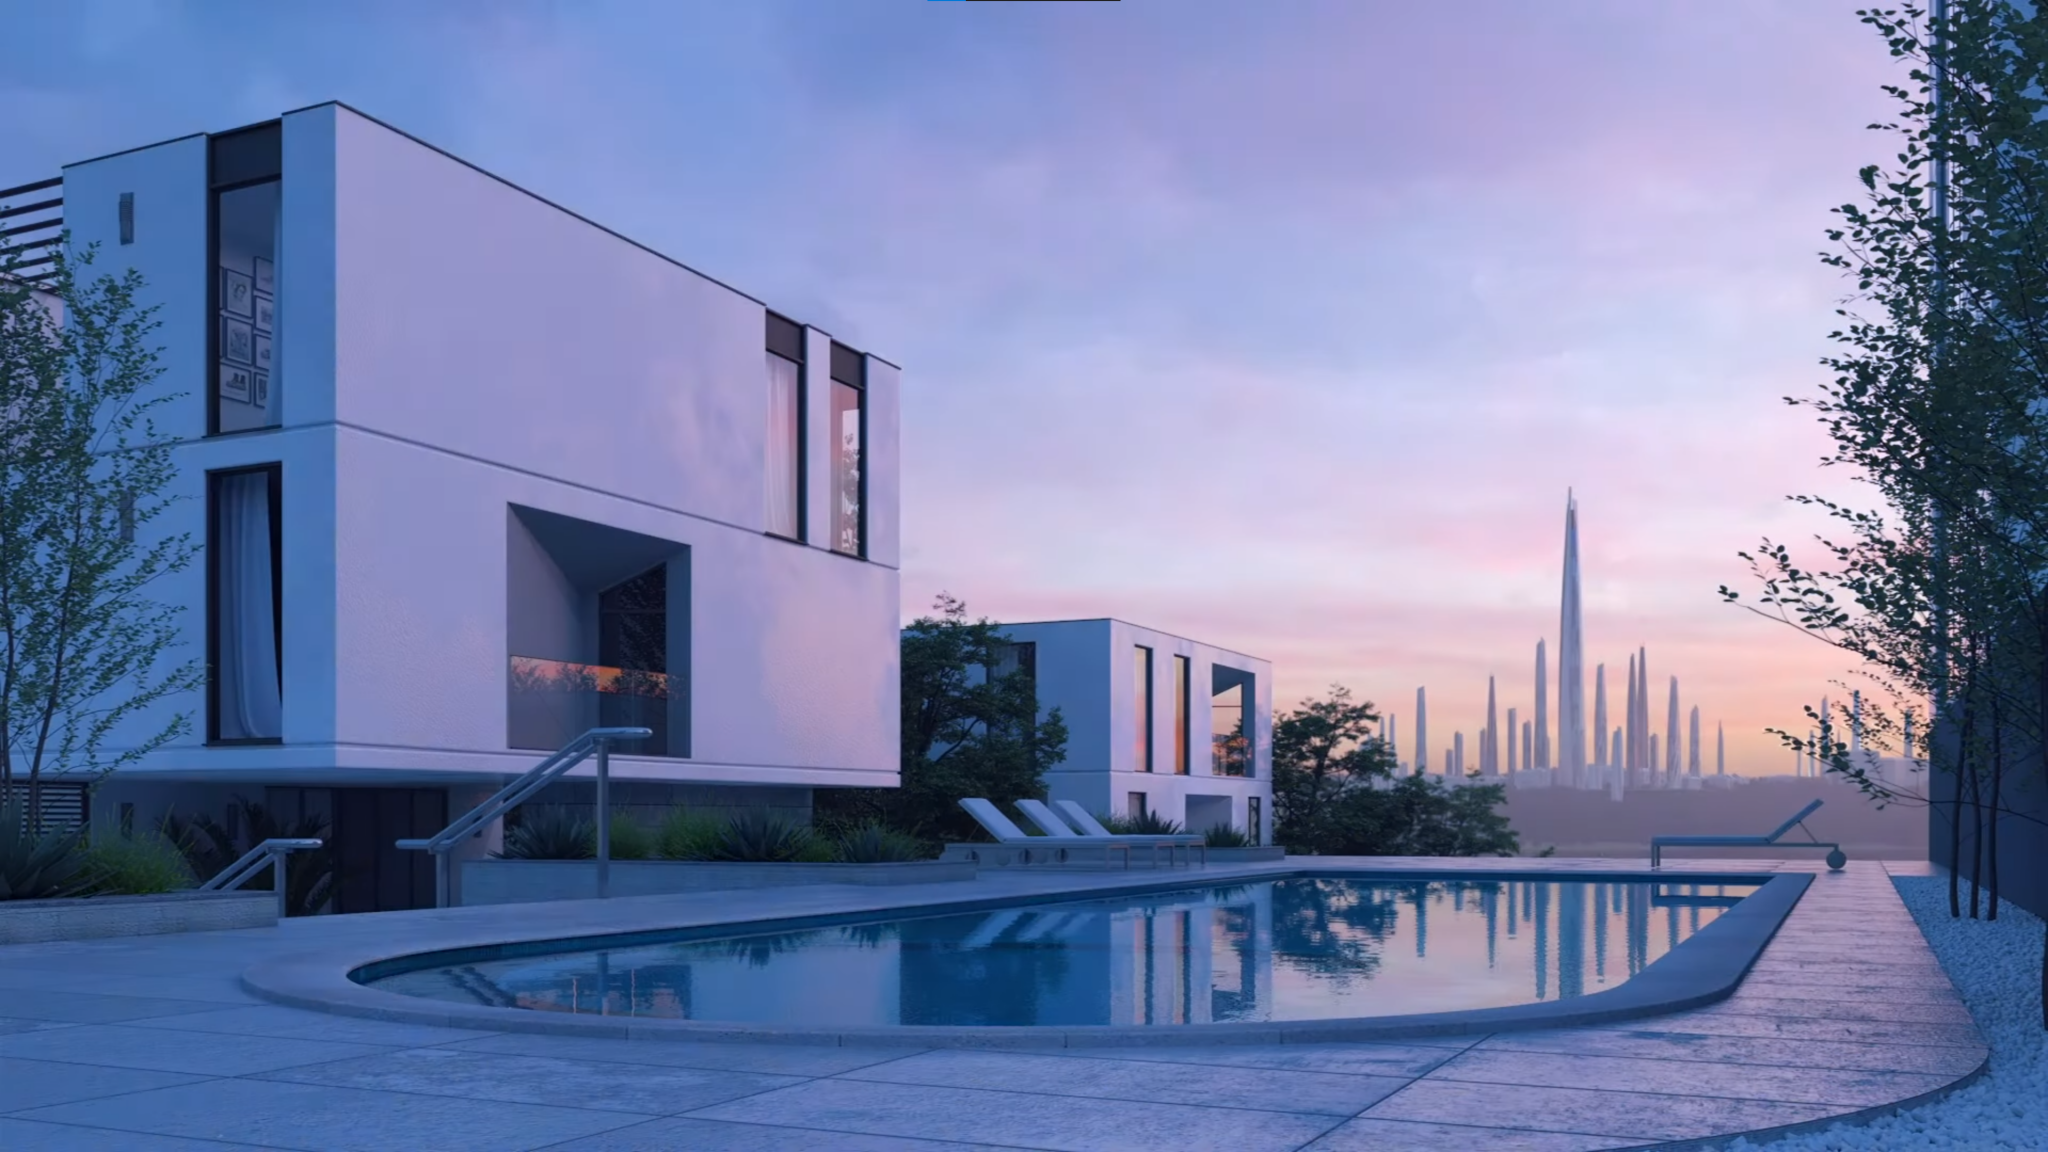

The V-Ray 3D rendering engine is so revolutionary, it won both an engineering Emmy and an Oscar for advancing the use of ray-traced rendering. It’s the go-to choice for the world’s finest architectural designers, CGI experts, landscape designers, VFX professionals, and many other creative artists.
At the same time, V-Ray is so beginner-friendly, you don’t need to be a 3D pro to take advantage of its features.
Using V-Ray with SketchUp makes it even easier to bring your designs to life since the two applications integrate seamlessly.
With that in mind, observing a few V-Ray render tips will help you get the most realistic results, streamline your workflow, and have fun while you’re at it.
Let’s get started!
V-Ray Rendering Tips
The top mistake among new V-Ray users is diving into 3D rendering without proper research or preparation.
With these V-Ray render tips, you can avoid making the same mistake and make sure you set yourself up for success:
1. Ensure more than adequate system resources
V-Ray 3D rendering is a resource-intensive program – this means it requires a powerful processor and a good amount of RAM to get the job done.
As an example, here are some of the minimum system requirements for installing V-Ray for SketchUp:
- Minimum of 2GB hard disk space
- Minimum of 8GB RAM
- IPv4 TCP/IP
- For GPU support, NVIDIA card(s) such as Volta- and Turing-based units with the latest video driver
- Windows 8.1 for the operating system
- And more
Anything below these specs won’t cut it. If you don’t have enough RAM or even a good graphics card, your renderings will take too long to process, or the quality will be too low.
On top of that, it’s also a good idea to exceed the minimum system requirements so that you can render faster and with higher quality.
For example, 2GB of hard disk space will allow you to run V-Ray for SketchUp, but with 12GB, you can easily download additional content without compromising the performance of your system.
Also, if you’re using a laptop, ensure it has an external power source, as V-Ray’s rendering process can be very energy-intensive. If you’re using a desktop, be sure to sync up the power supply with your graphics card.
2. Use GPU rendering
V-Ray is designed to use either the V-Ray GPU or the V-Ray rendering engine.
GPU rendering is faster and more efficient because it lets V-Ray use your system’s GPU cards to execute the ray-tracing calculations instead of the slower CPU.
To use GPU rendering in V-Ray, you will need to have a supported GPU and enable it in the V-Ray settings.
3. Make the model render-ready
Another overlooked V-Ray rendering tip is ensuring that the initial 3D model is ready to render.
Sure, you can skip this and go straight to rendering, but expect poor results and lengthy rendering times.
Instead, prepare your model by checking that it’s correctly textured, lit, and has all the necessary materials set up.
This means that all relevant objects should have the appropriate materials and textures applied, and that all surface shaders, displacement maps, and other materials have been established properly in SketchUp.
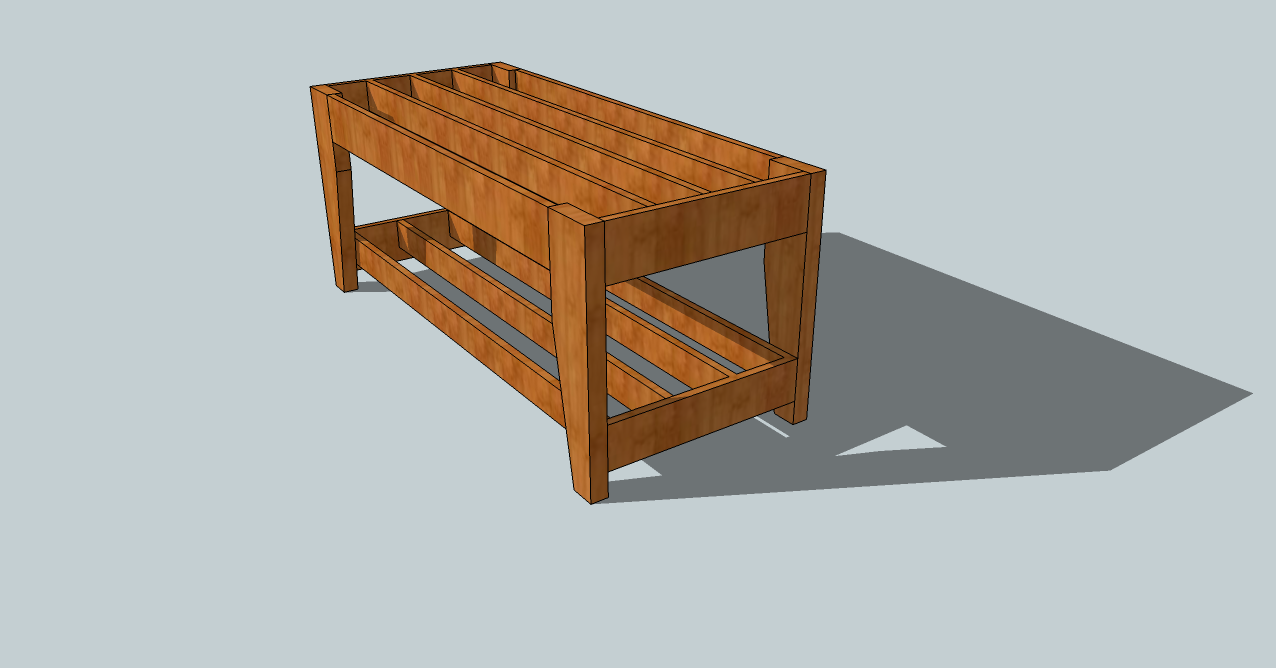
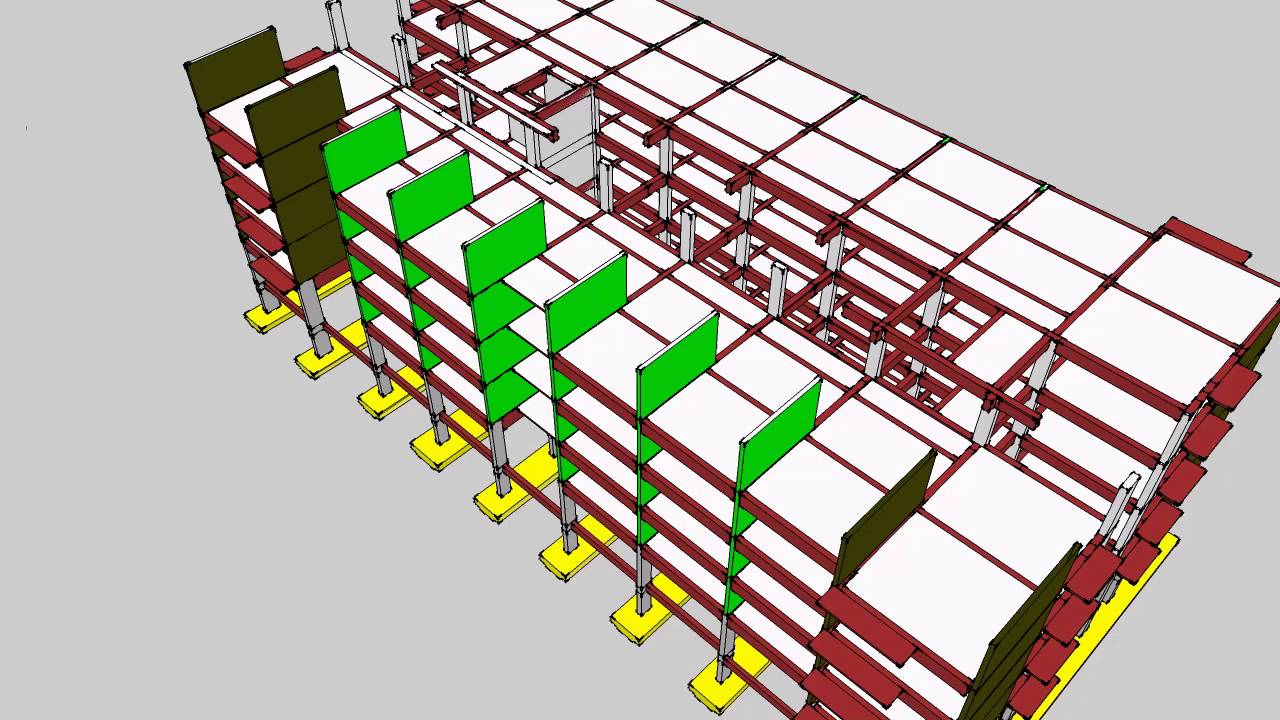
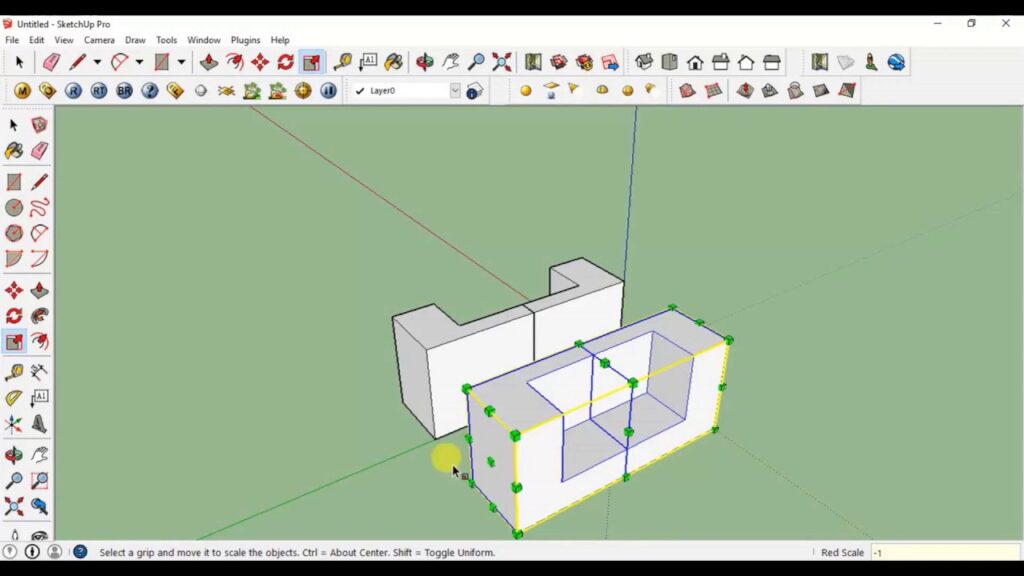
4. Clean up your model design
A big part of preparing your 3D model is cleaning up the design as well as you can.
Any unnecessary detail will bog down the rendering process and use up valuable time and resources.
For instance, look for stray lines that don’t serve any purpose. You can usually find these in the model’s outer faces, hidden edges, and other places.
Aside from that, check that all irrelevant components are removed from the scene. As an example, let’s say you’re rendering a living room. In this case, unused components can be things like a bedroom door, non-essential furniture, and other elements that don’t belong in the scene.
When you’re creating your model, we also recommend separating components into layers and properly labelling each layer. This will help you keep your model organised and make it easier to find any component you may want to adjust. Additionally, create layers for your materials and textures and make sure that each material has its own unique ID.
5. Properly orient faces
A render-ready SketchUp 3D model should observe the proper orientation of faces.
Faces in SketchUp have a front and backside. As a default, the material shows the back as grey and the front as white.
V-Ray and other software may render back faces invisible, which will result in inaccurate renderings and artefacts.
To prevent this, check that faces face inward and that all the normals of the faces point in the same direction. This will help create a cleaner render, as V-Ray will not have to work as hard to render the scene. On top of that, it also helps to remove any hidden faces or objects, as these can cause problems with rendering. Utilising the “Check Intersection” tool can help to quickly identify and fix any issues caused by incorrectly oriented faces.
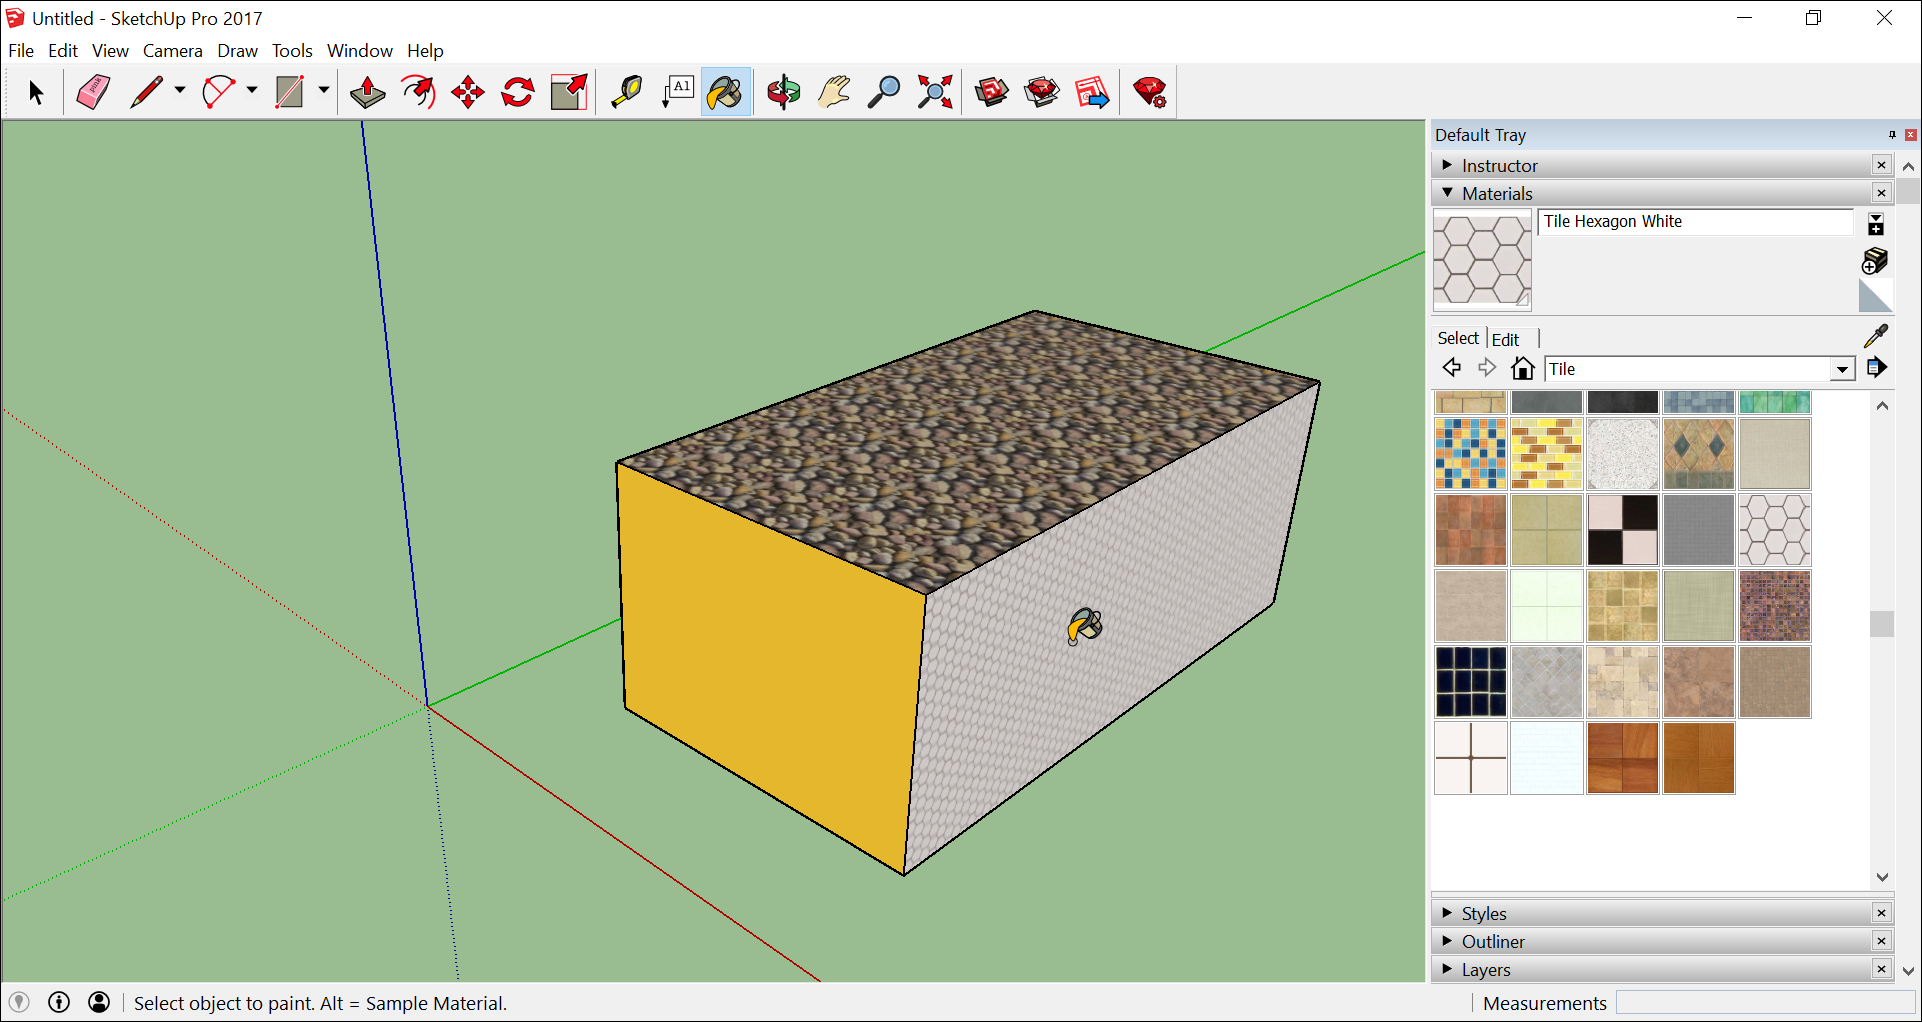
6. Leverage V-Ray materials
You can use SketchUp materials to render in V-Ray, but if you want the best results, use V-Ray materials instead.
Materials in V-ray allow you to manipulate attributes like the glossiness of the surface, the reflection of light, and the opaqueness of the material.
Additionally, the V-Ray material library comes with pre-loaded materials such as wood, metal, glass, and more. Still, you can find even more materials for V-Ray online in the form of downloadable content from various websites, so take time to explore.
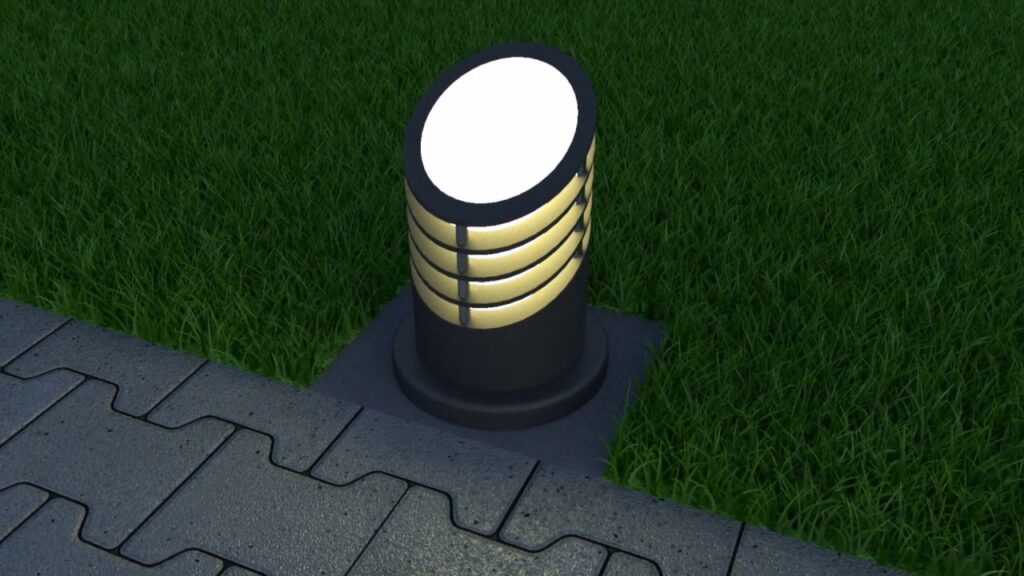
7. Optimise cameras and lighting
In SketchUp, the default settings for 3D models are one camera and one light.
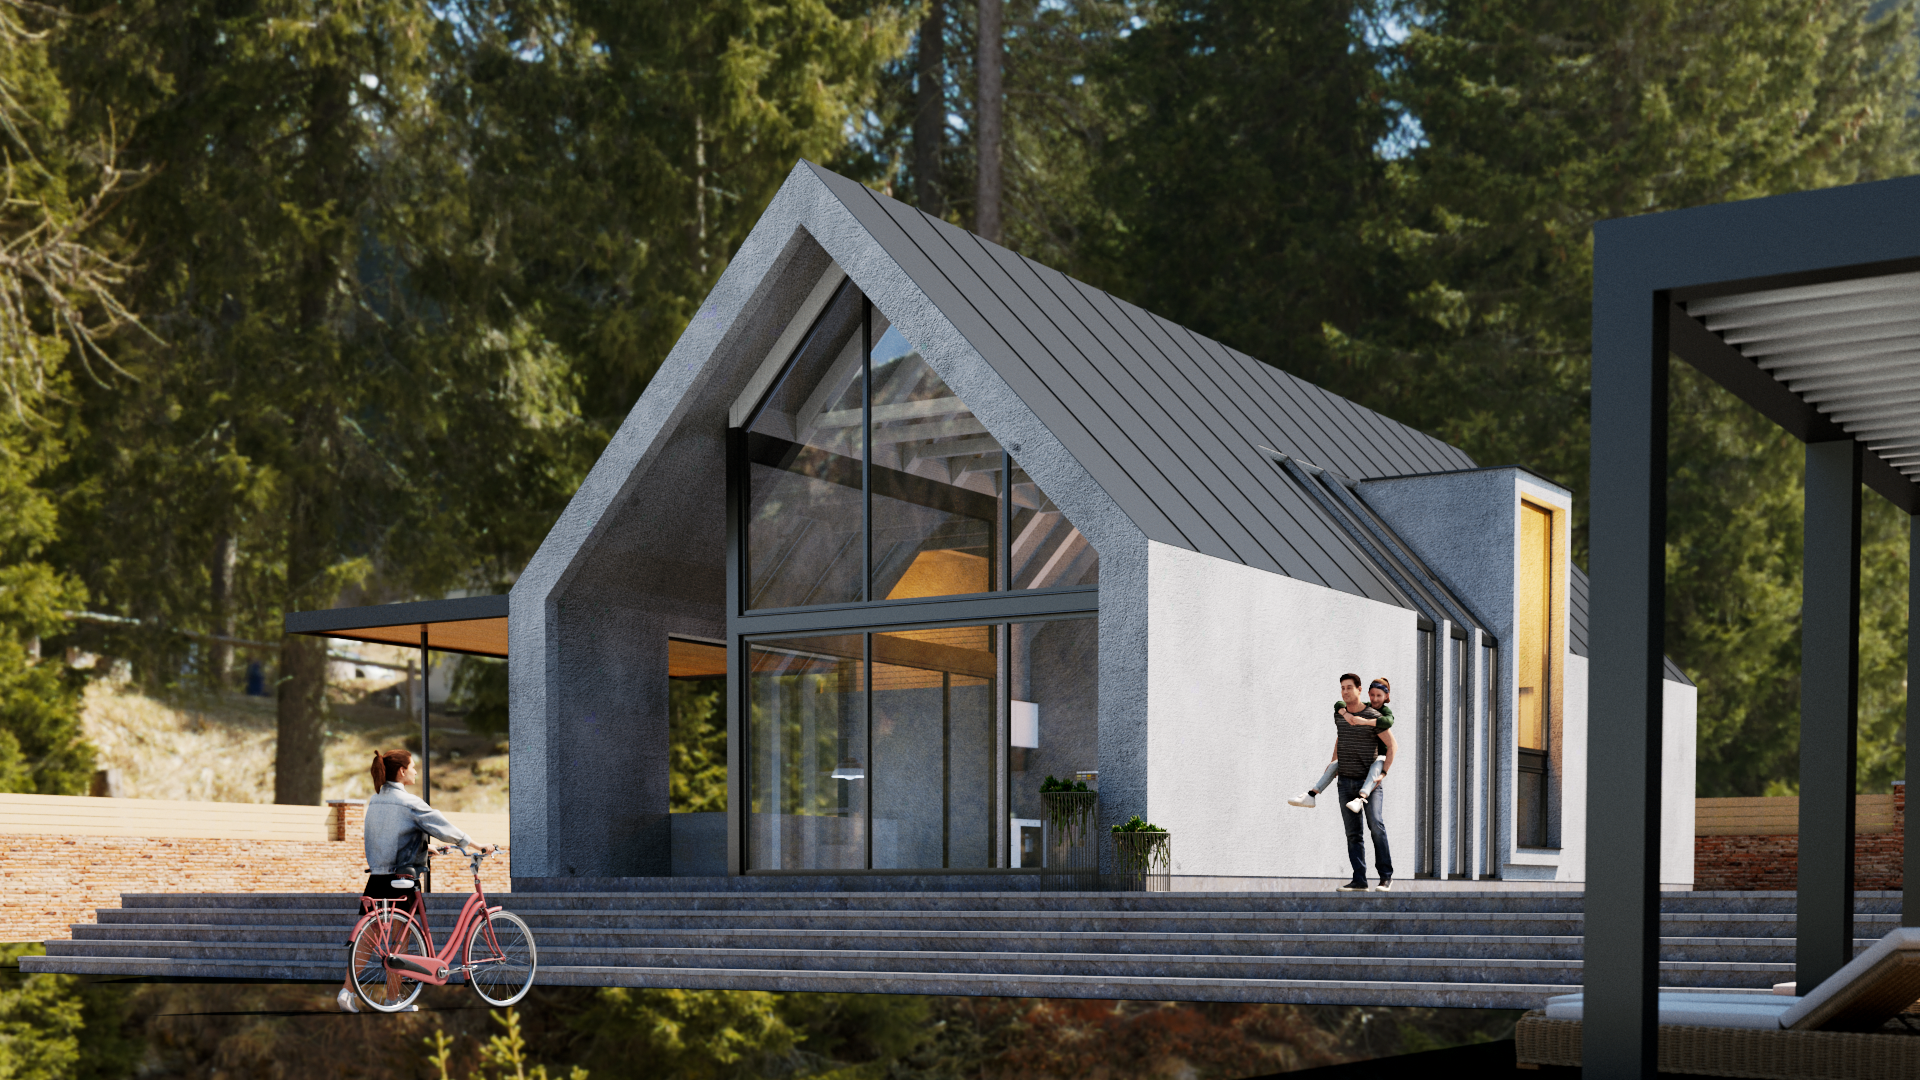
By comparison, V-Ray offers a wider selection of lighting styles and types, along with multiple cameras. Take advantage of these tools to better emulate how the lighting behaves in the real world, including sunlight.
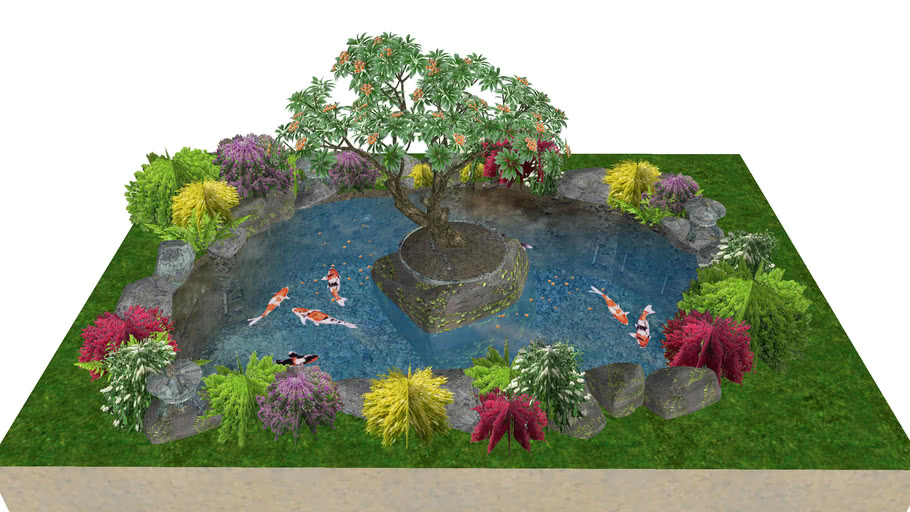
8. Make use of render-ready assets
To save even more rendering time, consider using render-ready assets in your 3D model.
You don’t need to create everything from scratch, nor do you need to clean up these components since they are already prepared for rendering.
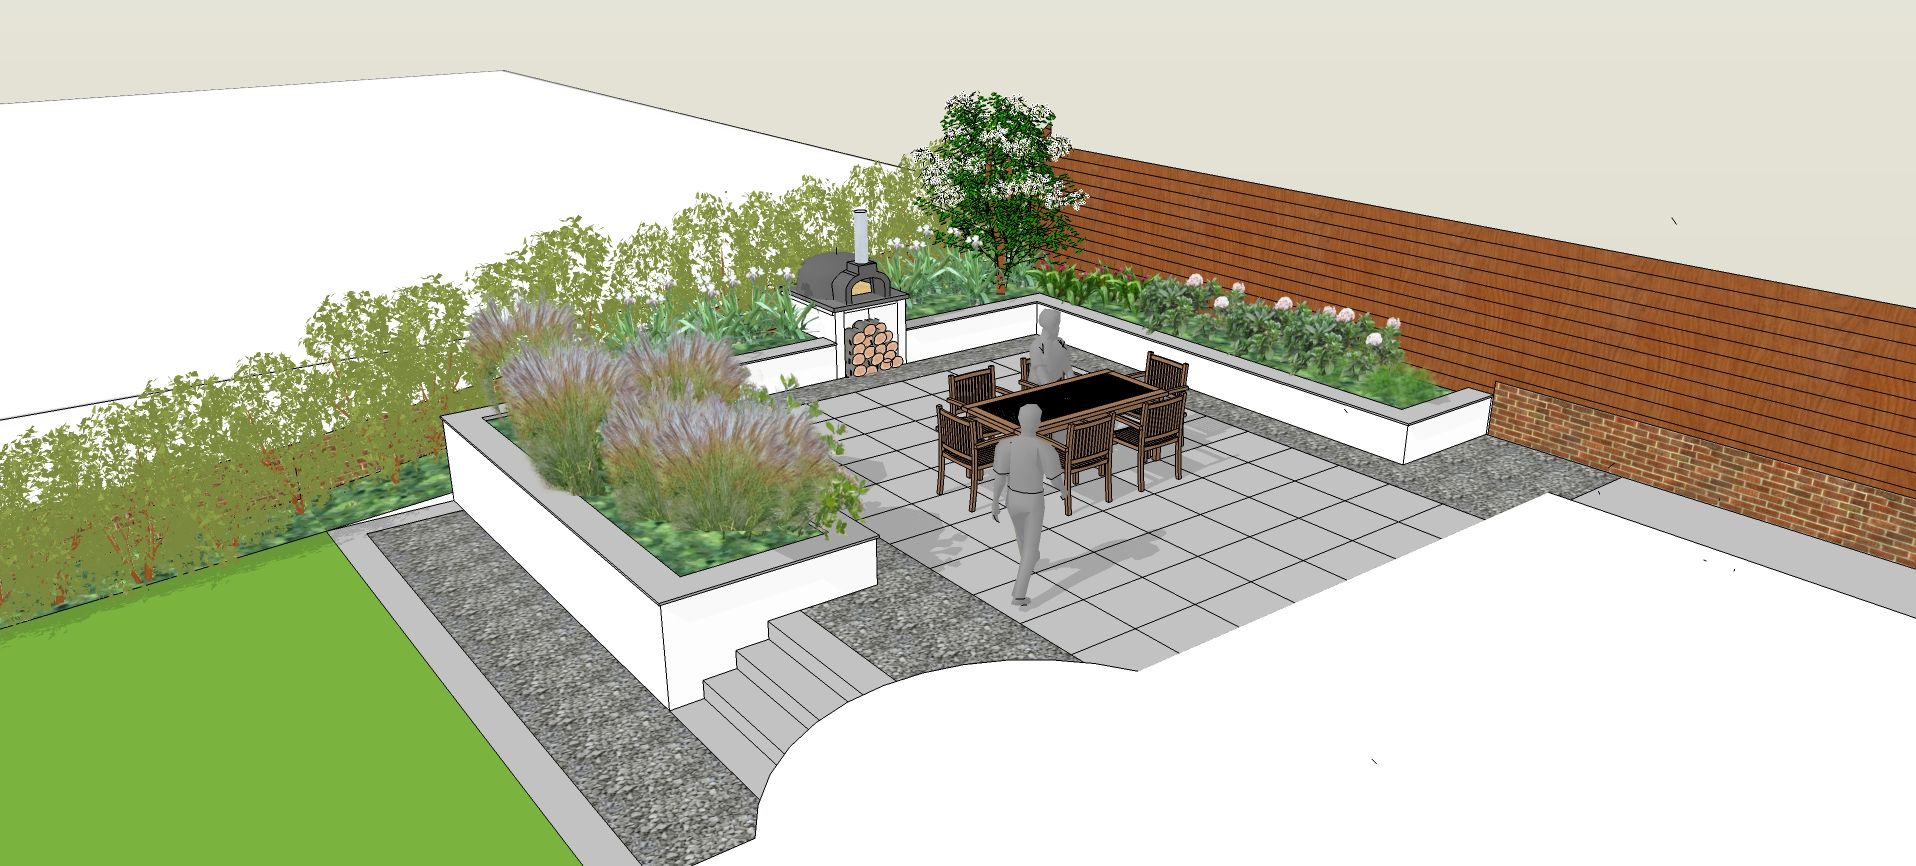
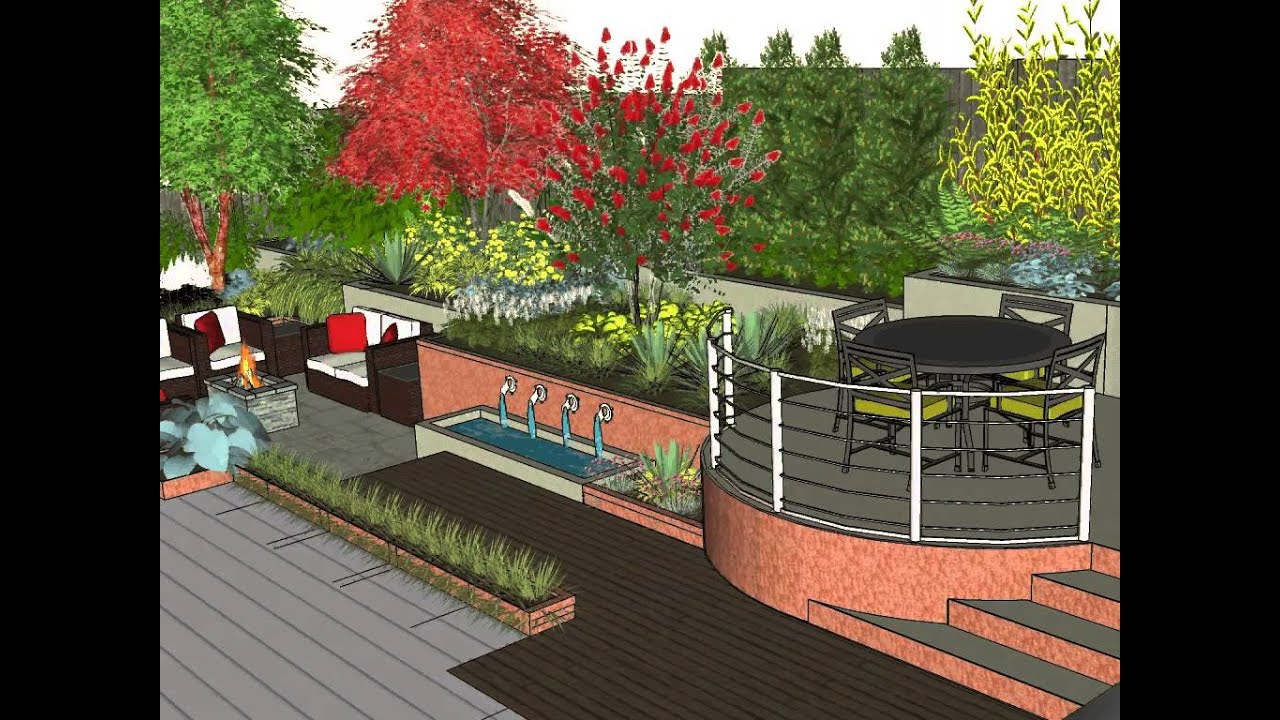
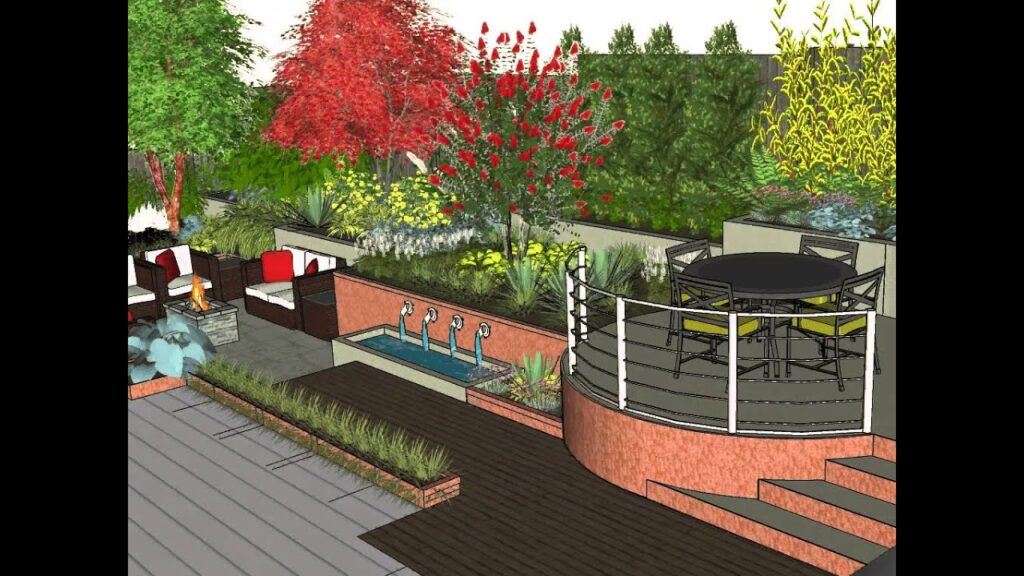
Render-ready assets can include pre-made 3D trees, cars, animals, people, grass, water, and other common elements. With these assets, you can create more complex 3D scenes much faster while saving resources.
9. Optimise materials and colours
The colours you use in your 3D model can also affect the speed and efficiency of rendering in V-Ray. That’s because some colours are simply more demanding for rendering than others.
For example, off-white is easier to render than white because of the less intense colour. Similarly, diffuse materials are easier to render than glossy ones.
So if you’re looking for ways to reduce your rendering time, take a look at the materials and colours in your 3D model and adjust them accordingly.
10. Optimise lighting intensity
Like your colour choices, the intensity of lighting in your 3D model can also affect the rendering process.
Naturally, the brighter the lighting design, the more time and resources it will require to render it. So to optimise your lighting, cut down on the brightness as much as you can without sacrificing visibility and atmosphere.
Aside from that, be sure to use V-Ray’s lighting parameters like exposure, white balance, and light intensity to your advantage. This will help you achieve the best possible lighting while minimising the amount of time it takes to render.
11. Reduce hard edges
SketchUp 3D models use hard edges by default. However, rendering hard edges can lead to a jagged and artificial look, so you may want to smooth them out.
To do this, you can use either a chamfer modifier or a VrayEdgeTex Map to modify the edges. The Chamfer modifier lets you add edges to specific parts of your design, while the VrayEdgeTex Map allows you to customise the edge type, width, and opacity.
12. Add some noise
In terms of 3D modelling, “noise” refers to the variation needed to make a scene look as natural as possible. What noise does is that it helps to break up the monotony of a flat and uniform surface, adding depth and texture.
One way to do this is by using a Quadify Mesh with a noise modifier. You can control the level of detail and the strength of the effect, so you can fine-tune your scene to make it look more realistic.
Now to get rendering
Applying these V-Ray render tips will help you avoid common mistakes that can get in the way of creating beautiful and lifelike 3D scenes out of your SketchUp models.
Practising them consistently will also help you develop a strong foundation for working with the power of V-Ray and using its features to the fullest.
For instance, getting into the habit of cleaning up your 3D models, optimising materials and colours, plus strategically using render-ready assets can help you save time and resources when it comes to rendering with V-Ray.
Now it’s time to put these V-Ray render tips to the test!
Download and install V-Ray for SketchUp and start rendering. Don’t have SketchUp yet? We’re offering a FREE 7-day trial of SketchUp Pro to get you started. Good luck!