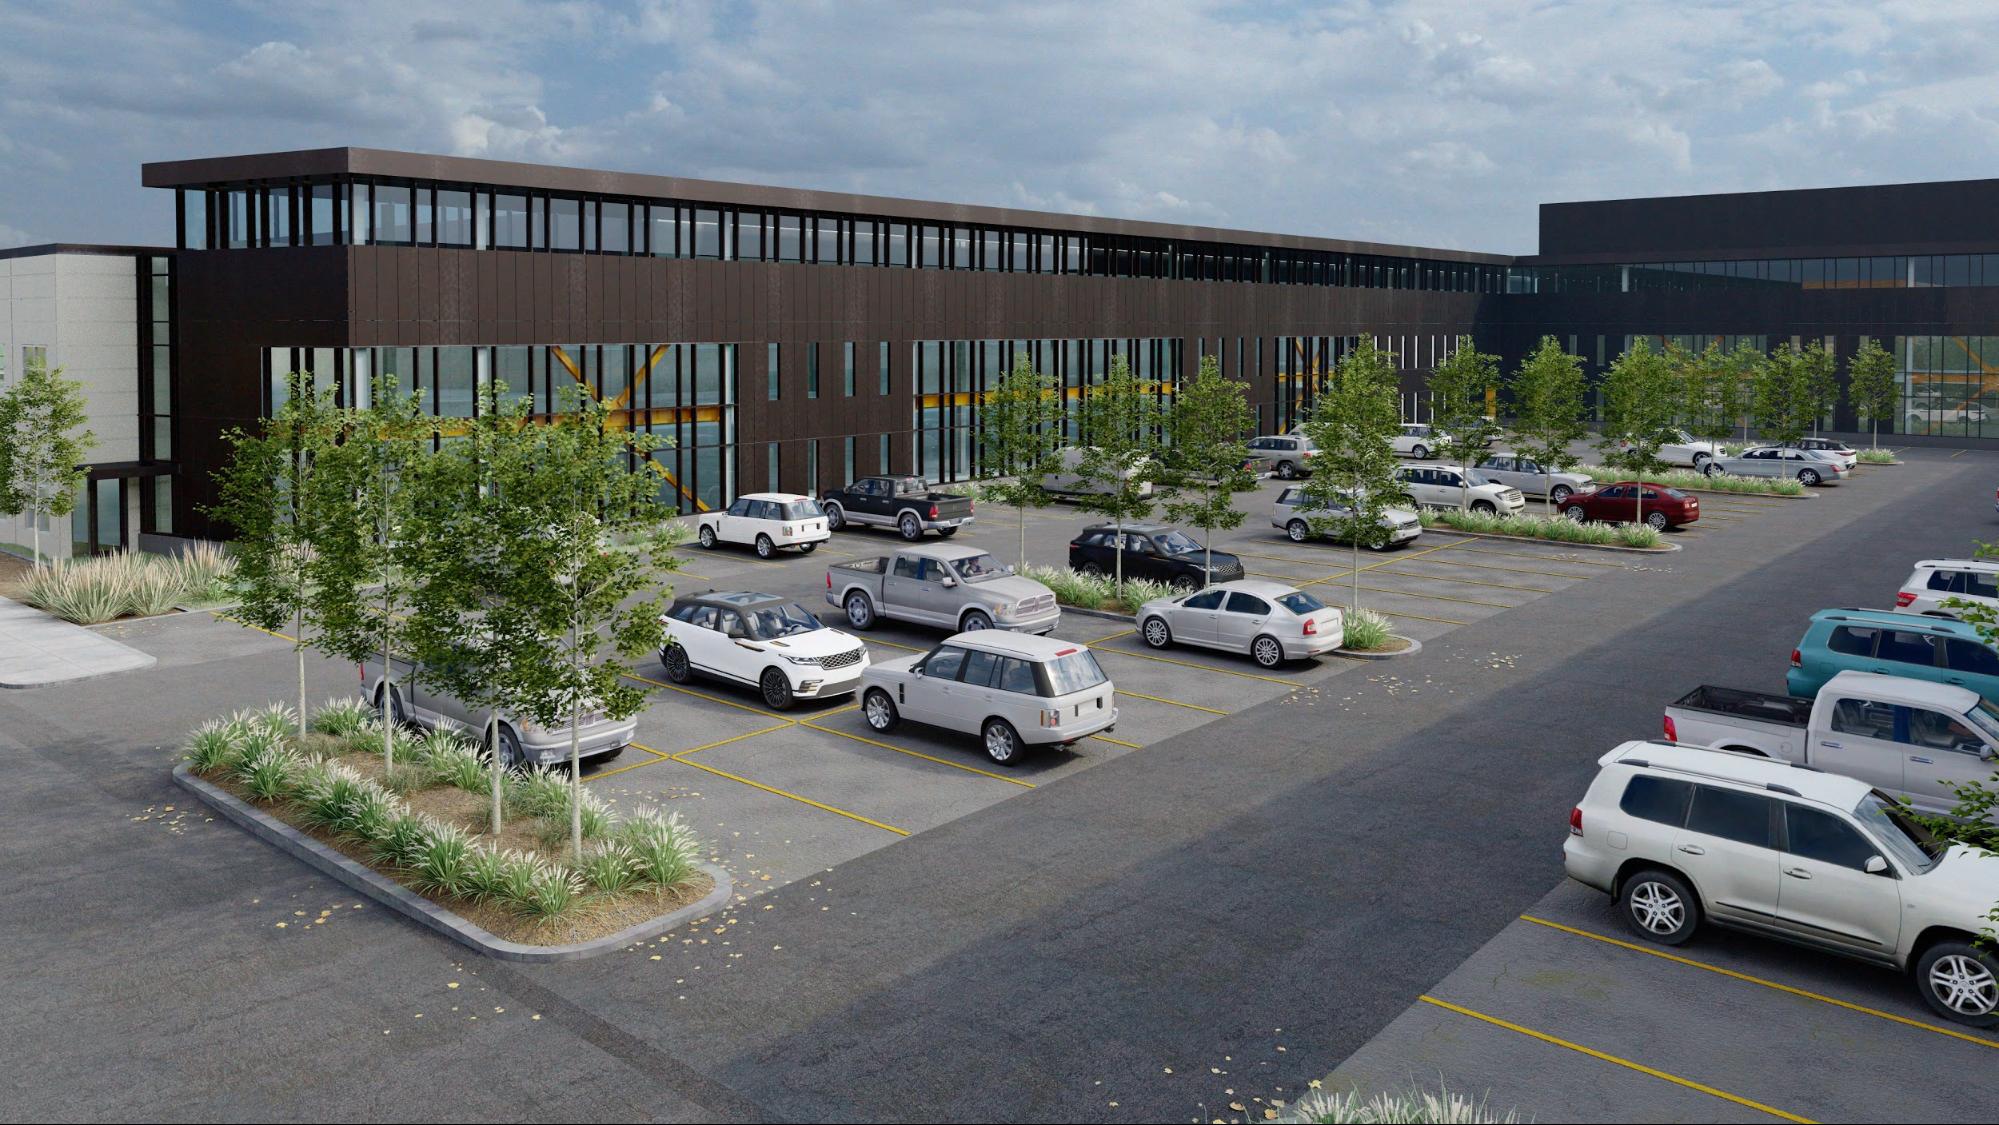
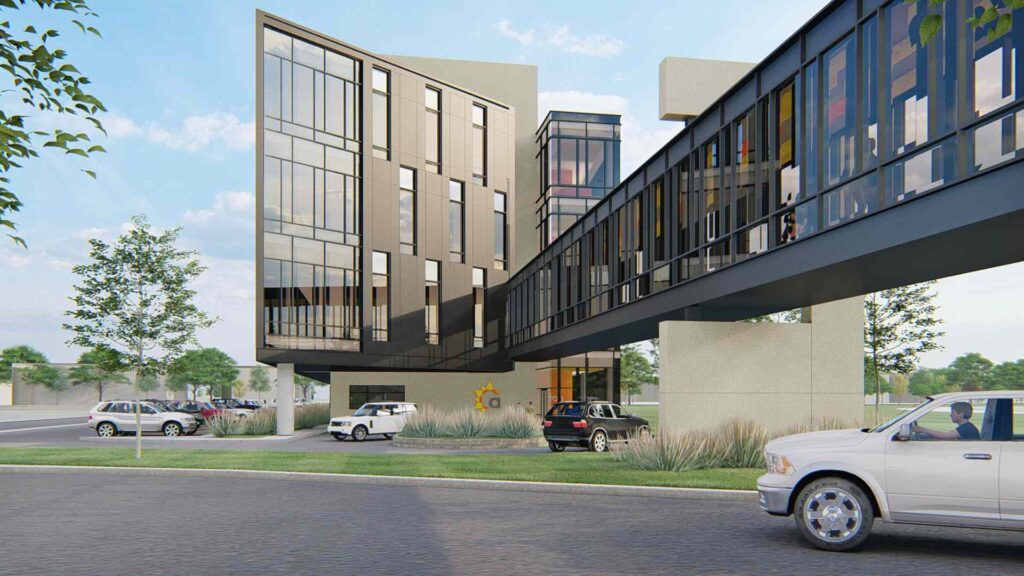
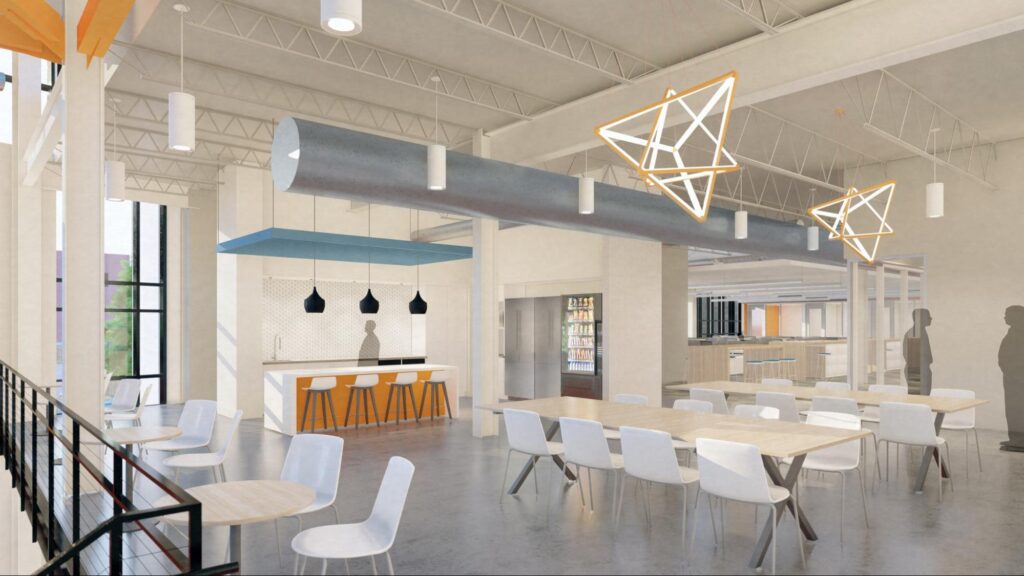
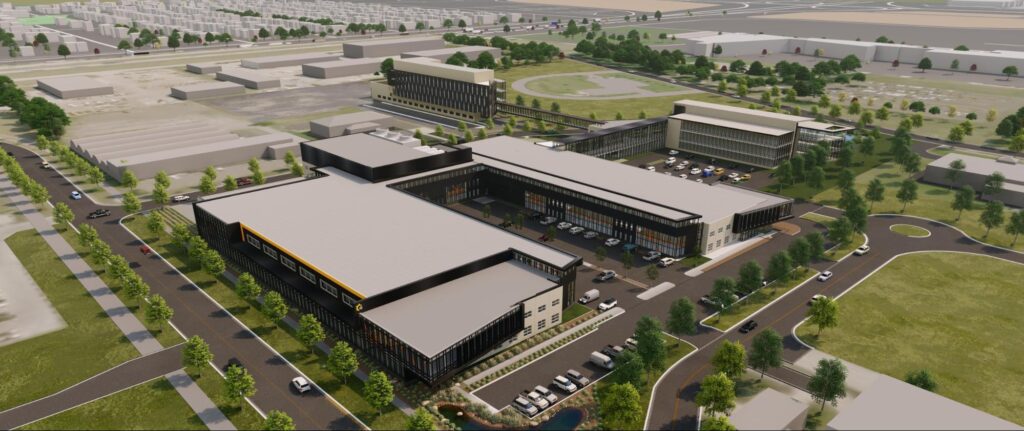
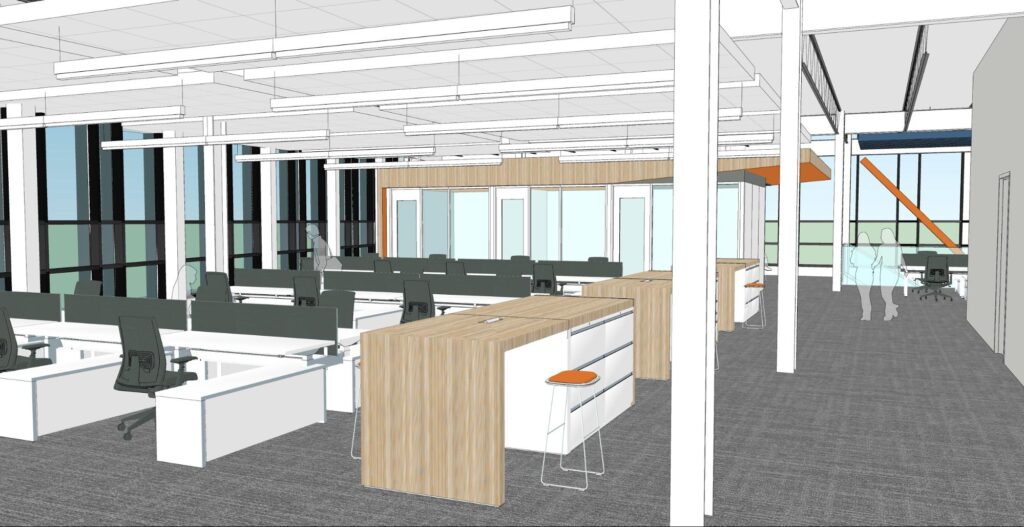
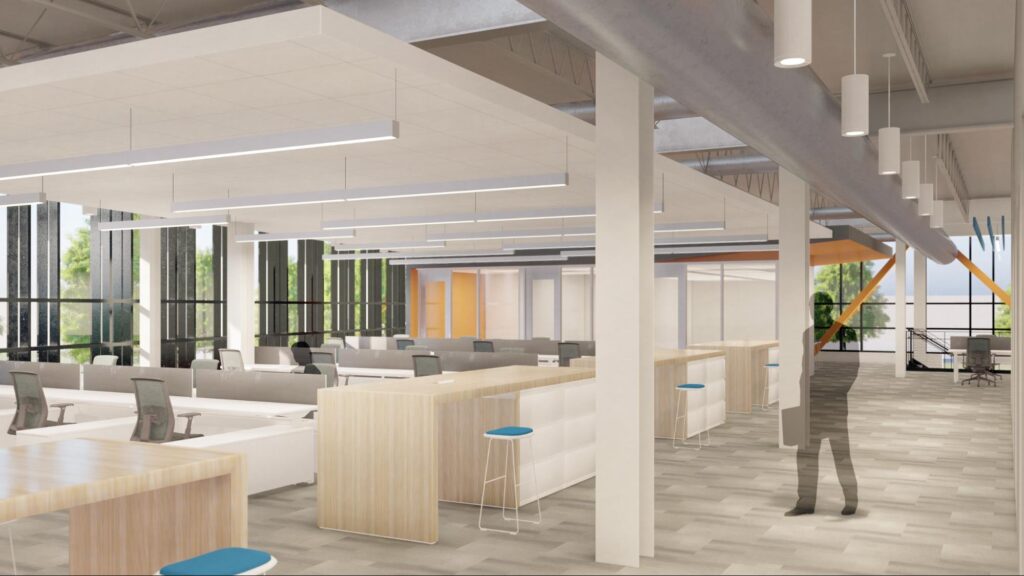
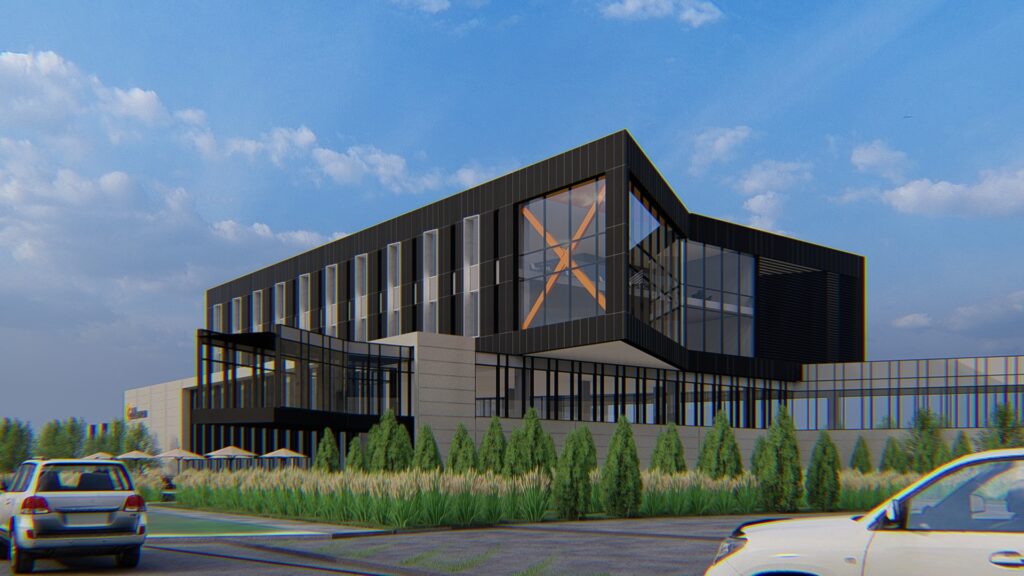
From its inception as a two-person startup manufacturing plasmid DNA to currently navigating the build out of it’s 14-acre campus, Aldevron has relied on SketchUp for many of its architectural and design projects. We chatted with SketchUp advocates Matt Chambers, lead strategist at Aldevron, and Chris Fischer, lead architect at BWBR architecture firm, to dive into the 3D details and explore how BWBR in tandem with ZerrBerg has helped Aldevron realize their architectural goals for the new campus.
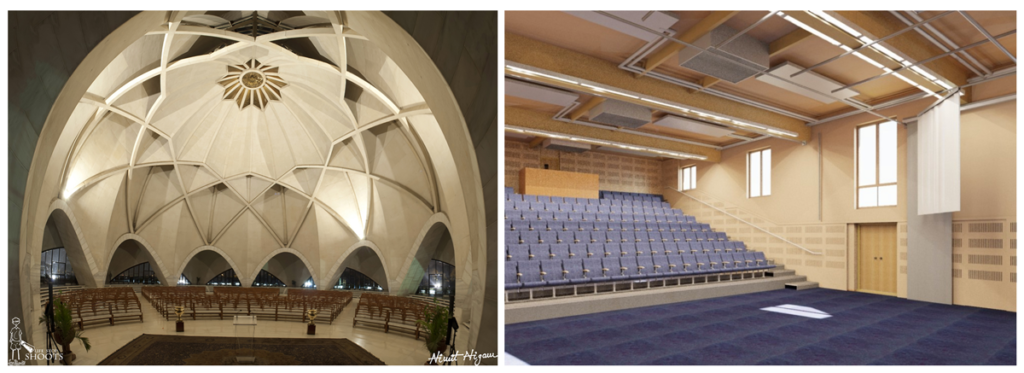
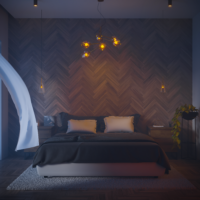
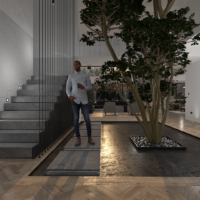
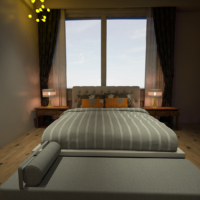
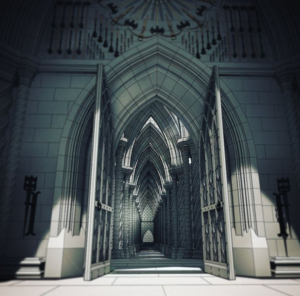
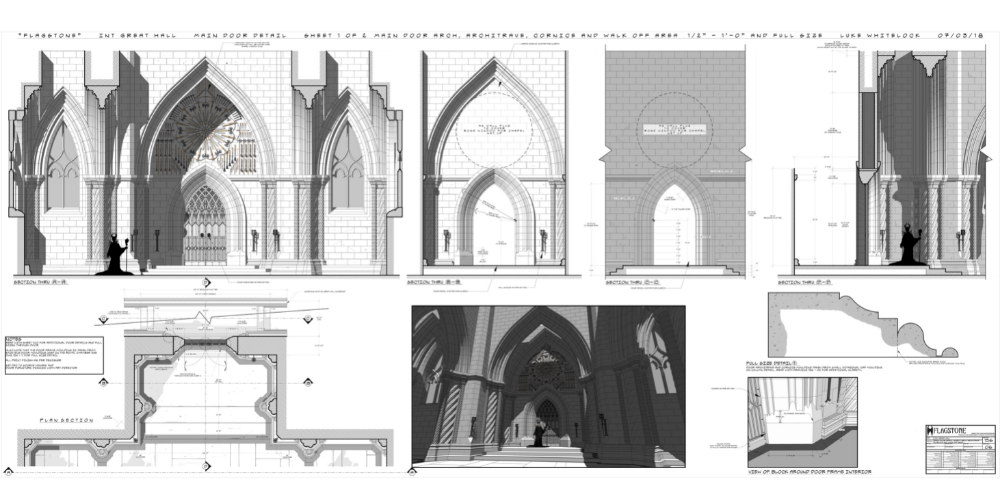
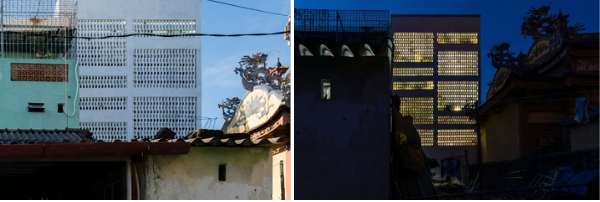
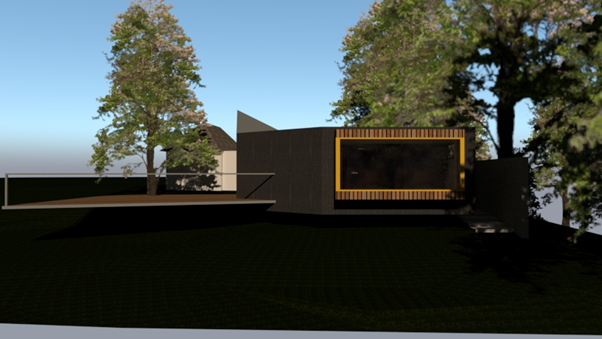
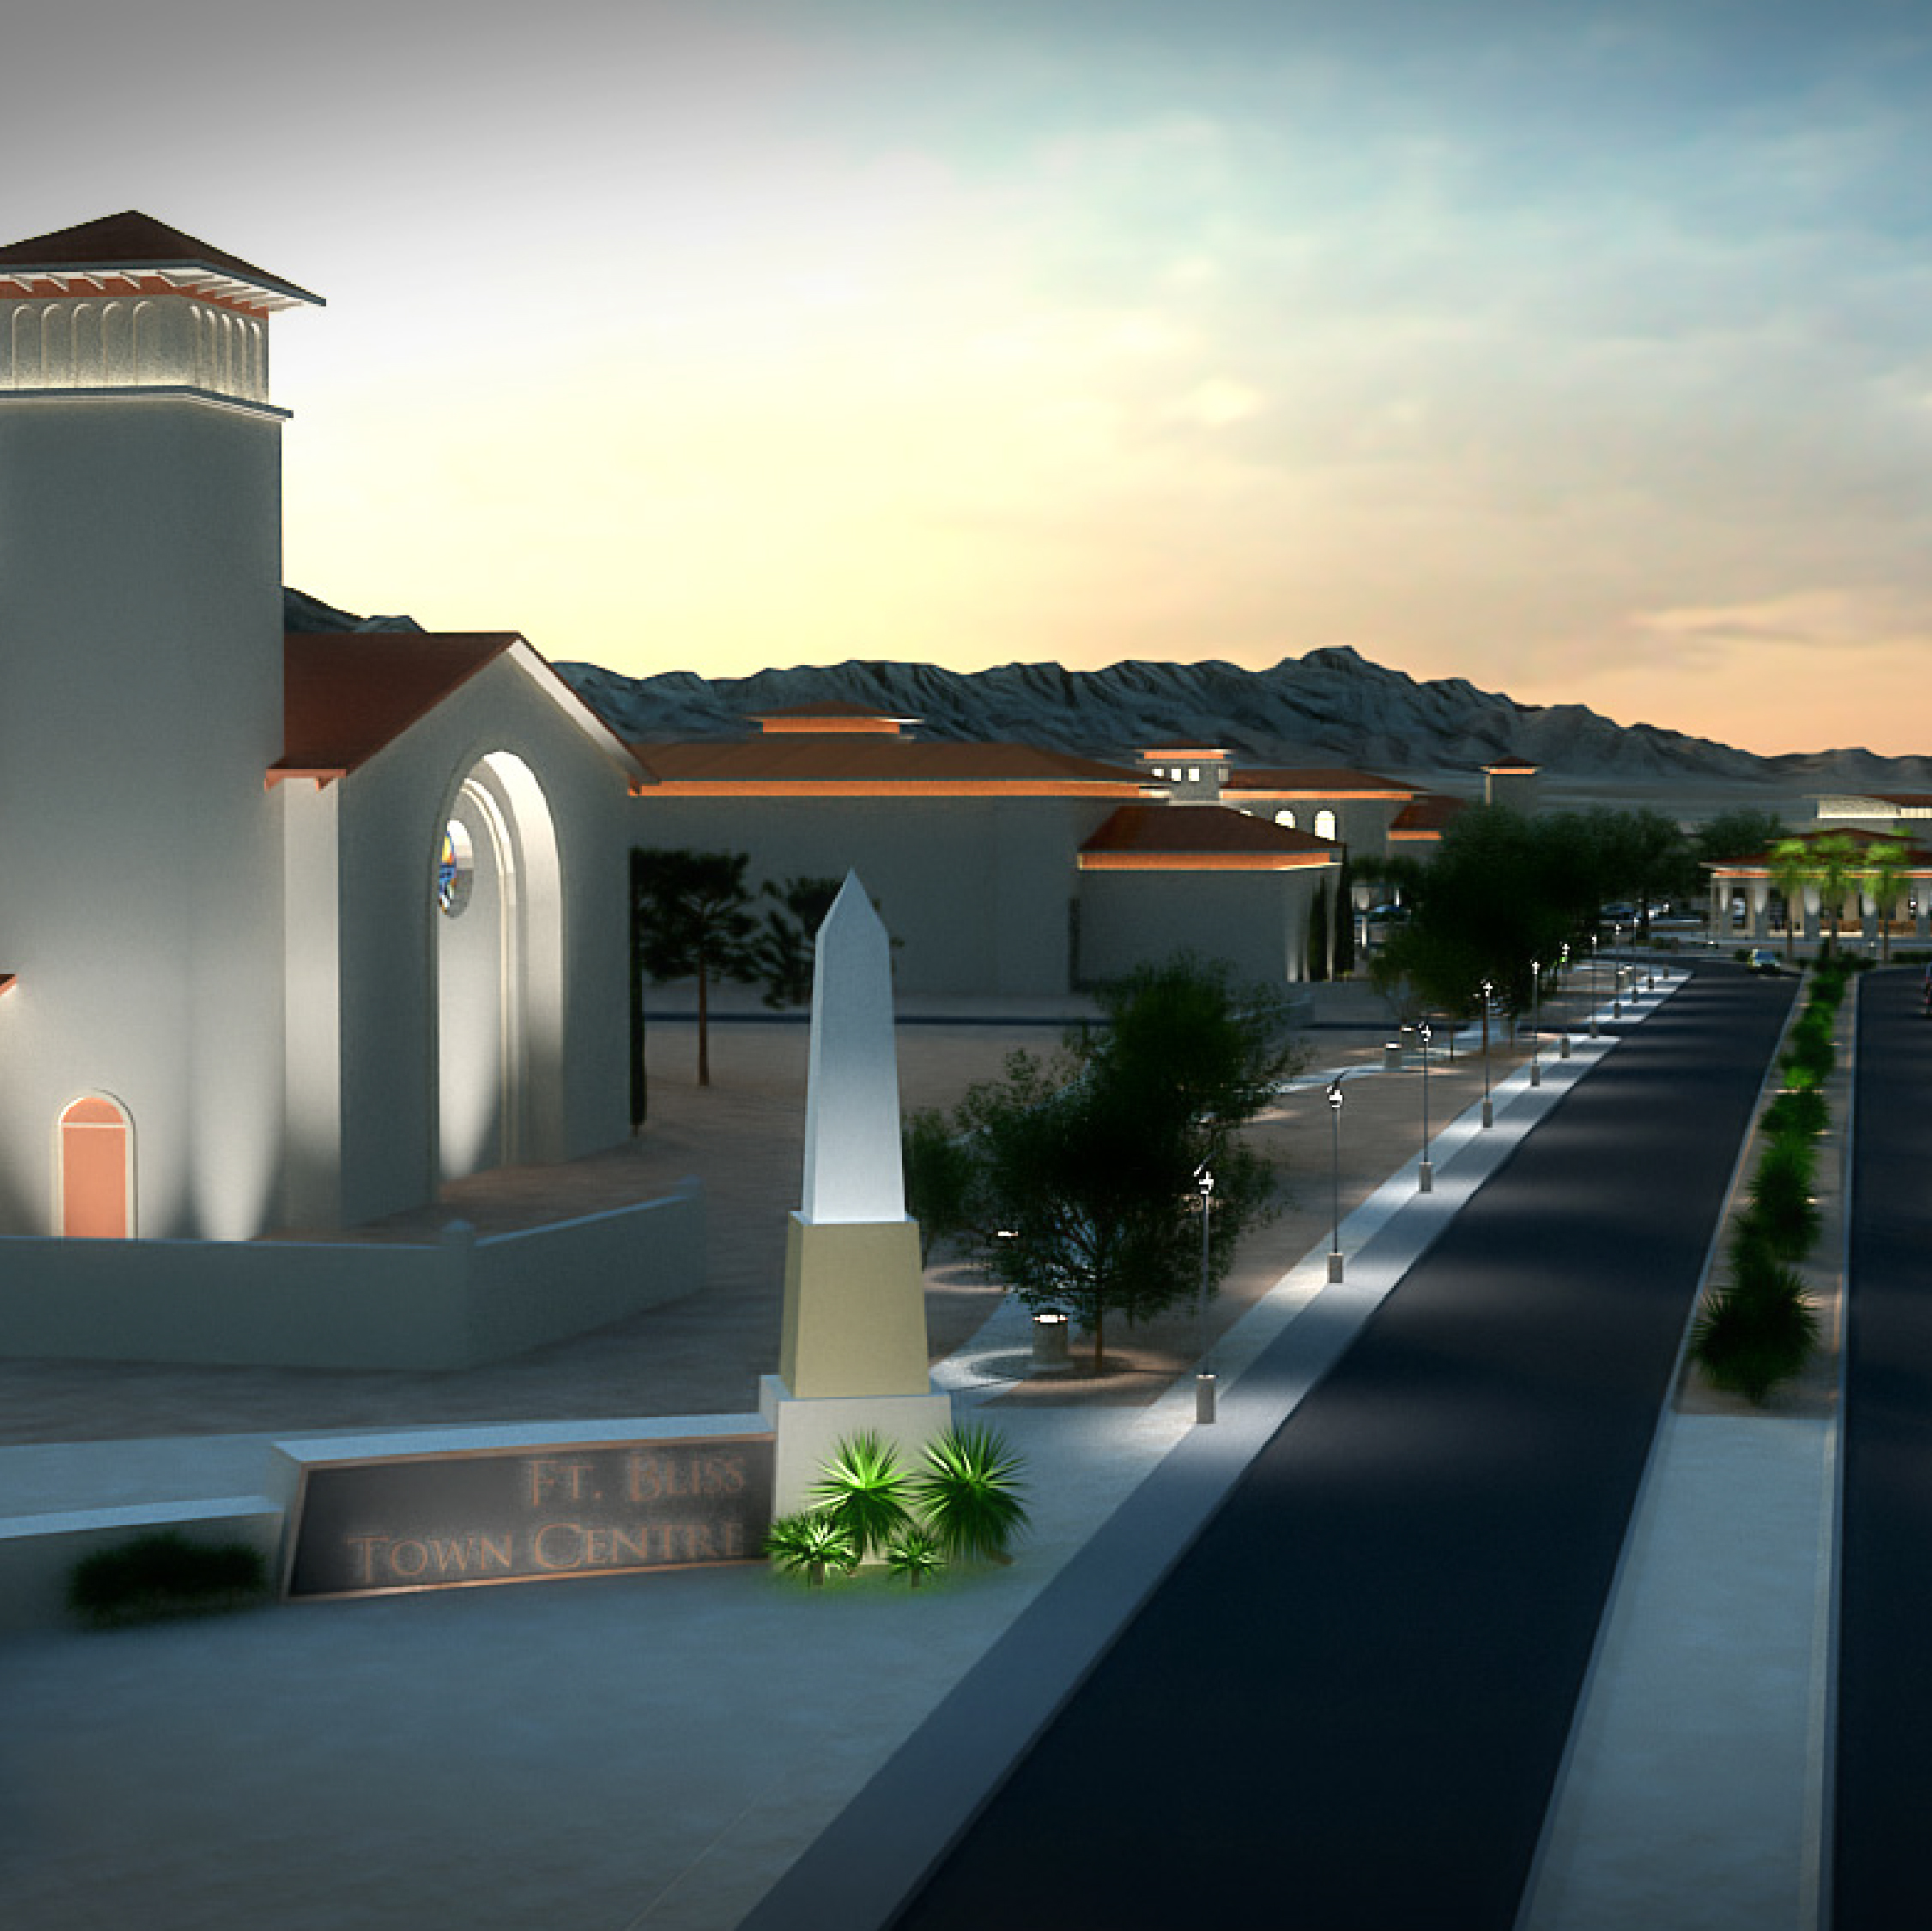
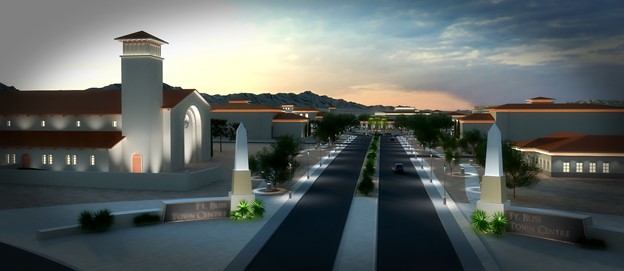
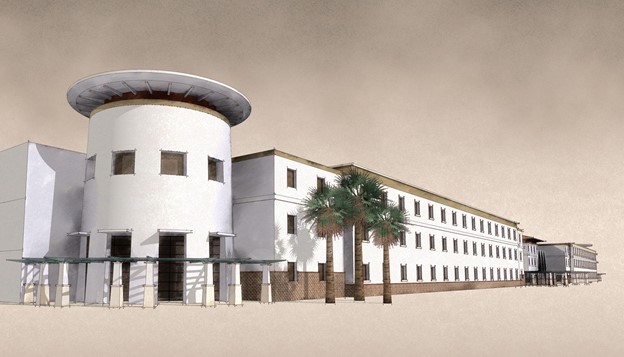
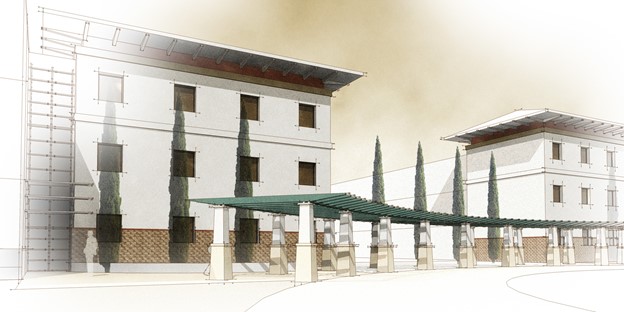
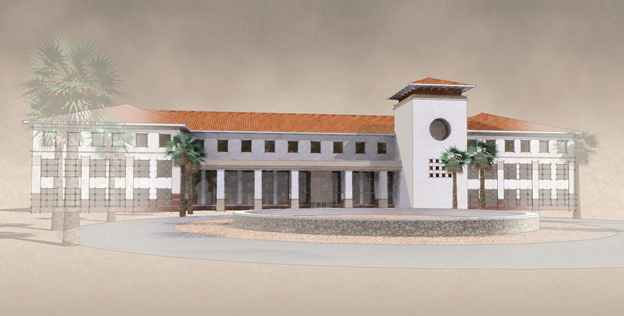
Left; A contemporary temple. Right; A modern school hall.
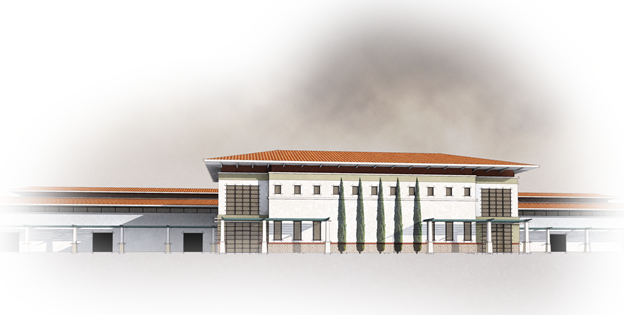
No doubt, a key reason for this is the difference in design narrative. Even to a non-believer, a building “dedicated to the glory of God” would drive a completely different chain of decision-making events throughout the project’s lifecycle.
No matter how small or large your project is, the notion of a strong design narrative that ties the project together is an incredibly powerful way for an architect to influence the project from conception to build. Most importantly, if the architect does not craft a design narrative, that void will usually be filled by something else that may lead to suboptimal outcomes.
Why a good narrative is important
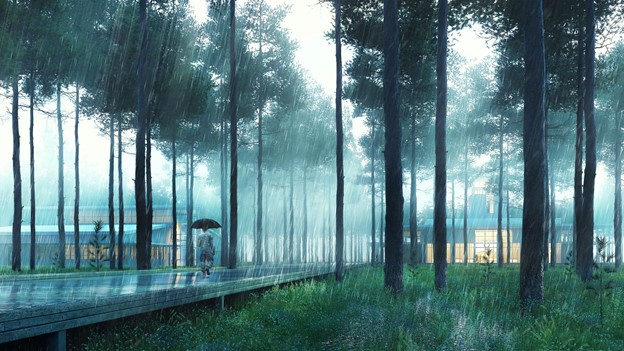
Good design narratives combine an understanding of the client’s (or eventual occupant’s) requirements and needs with the unique constraints and opportunities of the site. These considerations then provide a simple narrative that can be used to test decisions throughout the project, even if the designer is no longer involved. This narrative tells the story of the project, the driving reason for being beyond basic functional needs.
Examples of design narratives include, ‘Connection with the outdoors,’ ‘Harmonious existence with the local environment,’ or ‘A community lighthouse that shows the way.’ Design narratives that tend to emerge without design leadership can include, ‘Tried and tested solutions,’ ‘Do the minimum necessary,’ or ‘Keep costs down.’
While the last three are possibly reasonable goals for some projects, they are not design narratives. It’s easy to imagine how they might lead to outcomes the client didn’t want.
Ingredients of a successful design narrative
The strongest design narratives combine a clear understanding of all of the following attributes:
- The owner’s hopes and dreams for the project. Understand why they are procuring the building.
- The needs of the eventual users of the building, who often are not the owners.
- The constraints presented by the site, whether it be architectural precedents or geographic and urban considerations.
- The local climate and weather patterns.
Famed architect Glenn Murcutt is regarded for his practices surrounding design narratives, as he would often camp on a site for weeks to understand his projects’ needs better. The successful design narratives that resulted spoke to his true understanding of the needs of a project.
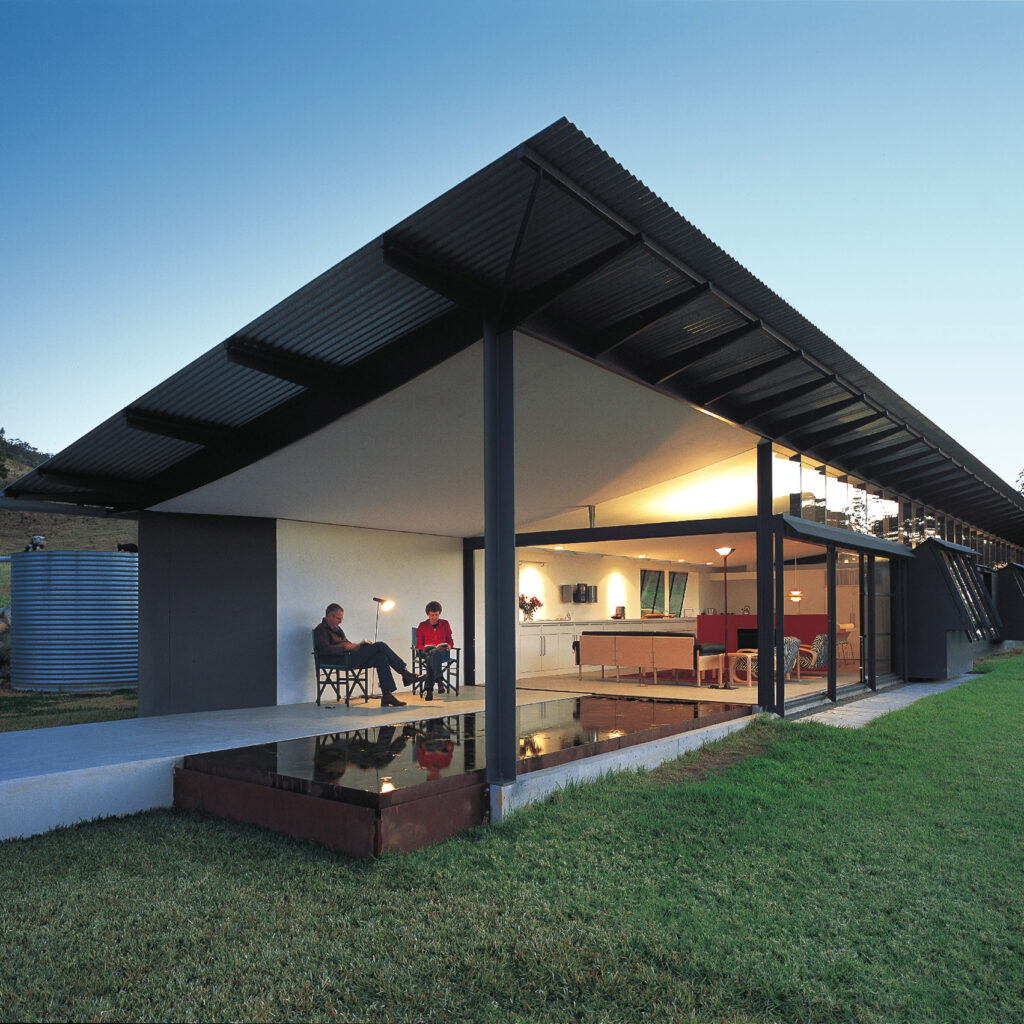
Glenn Murcutt’s Simpson-Lee House, Wahroonga, 1962. Image courtesy of Dezeen
Even though many were houses, and the owners were the occupants, Murcutt used his research as a tool to bring maturity to the owner’s requirements. Building on and rooting their requests within the site’s context surely made it easier to get the owner on board with his proposals.
Unfortunately (or fortunately) for many architects, camping on site for a week is not an option. The art of researching the local climate and weather conditions is one area of pre-design research that is often done poorly, if done at all. This omission can lead to weaker, less effective design narratives.
How to incorporate climate research into a design narrative
Most architects know that considering local weather conditions and climate is important. However, if you, like many, are simply pasting a wind rose into a concept design report, then you’re missing the “so what” that makes climate research compelling. It makes the owner’s dreams more realistic and more focused.
Start with client-driven design needs.
The client’s design needs often aren’t specific enough to form a robust narrative, but in combination with climate research, they are the best starting point for developing a concept. The table below gives examples of how climate research can shape client requests into useful design narratives.
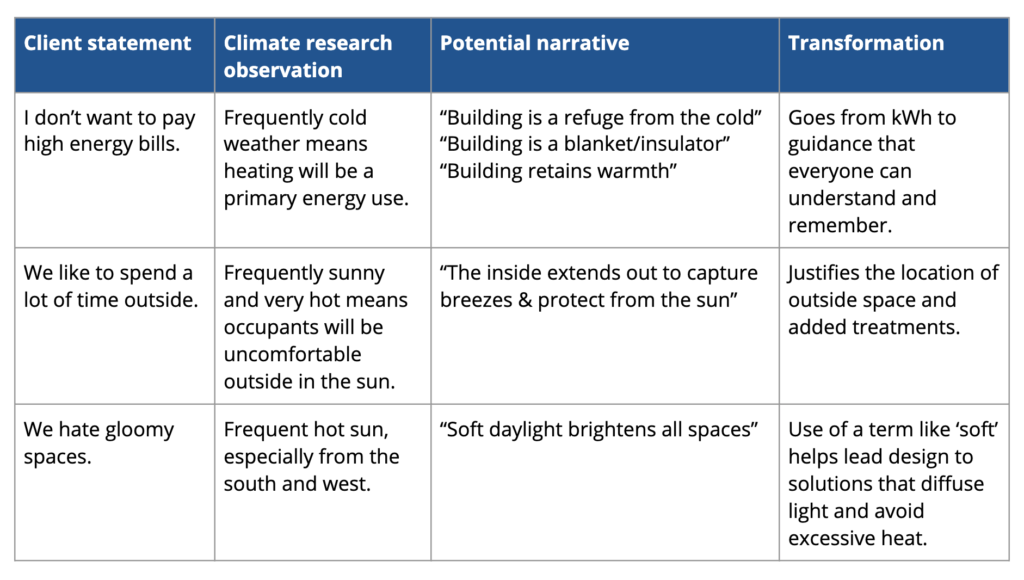
The narrative’s goal is to combine the data and the client’s desire into a memorable theme that informs design.
The dos and don’ts of climate research
If you can only dedicate a small amount of time to climate research, you should focus on things you can use to genuinely inform your design and discuss them in a conversation with your client. Avoid being overly technical or presenting diagrams and information that cannot be easily consumed or remembered. A few simple pointers below:
Do:
- Start by aligning with your client about the climate you’re designing in. Answer questions like, ‘What are the seasons like?’, ‘When is it hottest?’, ‘When is it coldest?’, ‘How sunny and windy does it tend to be?’. Start small and in areas where you can agree.
- Take the time to first think about your client’s requirements and then assess the climate information through that lens.
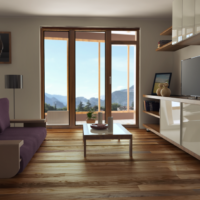
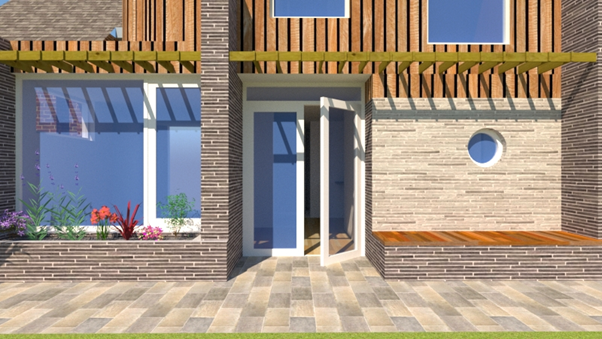
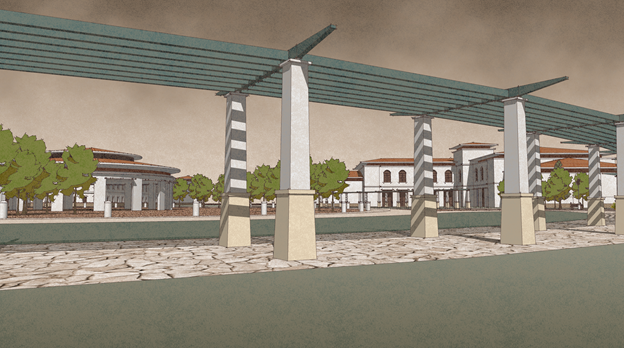
- Connect the dots for your client by using the climate data to explain recommended design solutions or approaches. For example, the client wants a lounge that opens out into a lush garden, but the climate is hot with no strong winds most of the year. That might mean you introduce a pergola with ceiling-hung fans to fulfill the brief.
Don’t:
- Get into an argument about what the climate is like with your client. If they have anecdotal evidence of what it’s like in that location, incorporate that into your findings.
- Present graphs and charts that are hard for non-professionals to interpret, especially without associated implications for the project.
- Forget to tie your climate conclusions back into your design narrative.
Just like everything in design, incorporating climate research into your design narrative takes practice. Start small, listen to your client, talk about the weather, and see where the journey takes you!