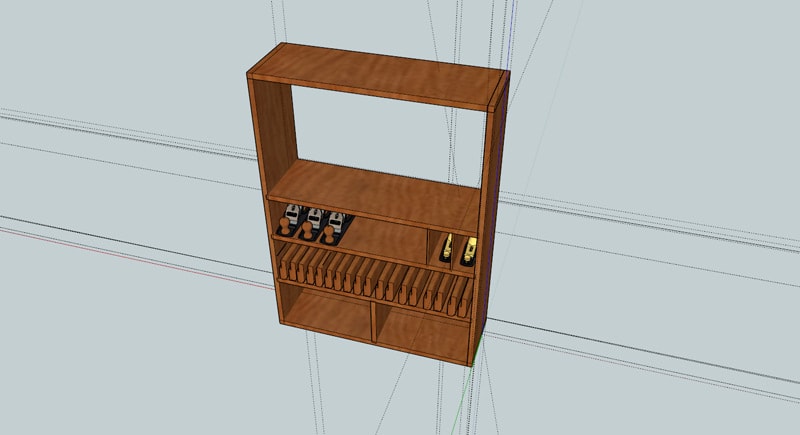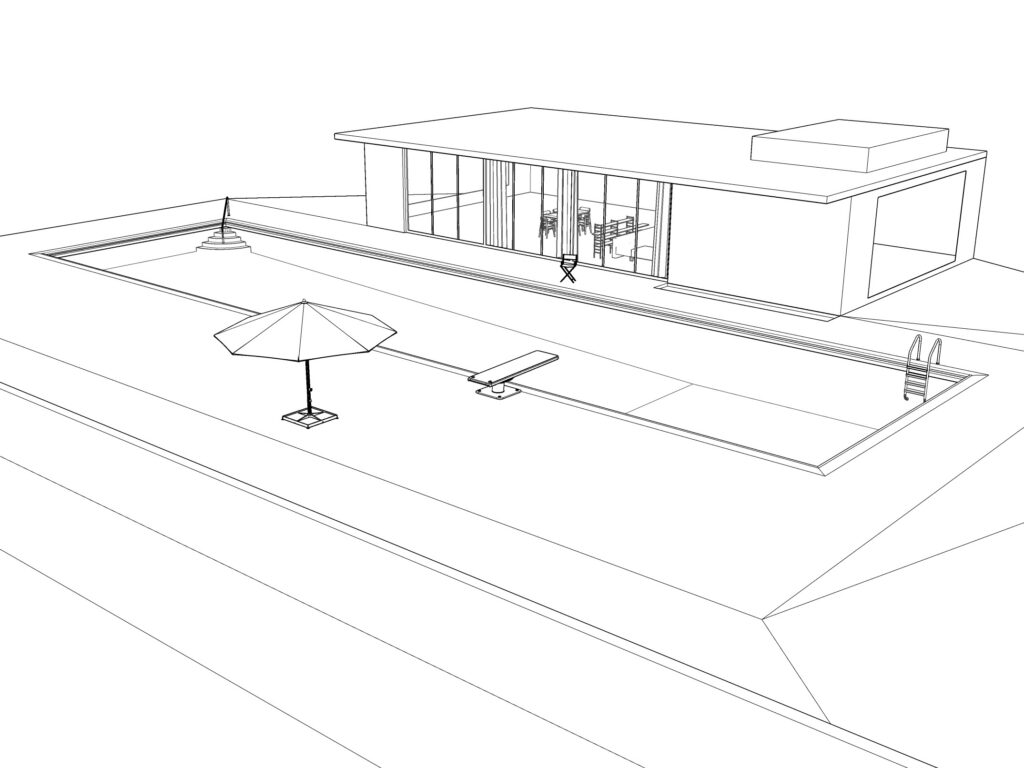
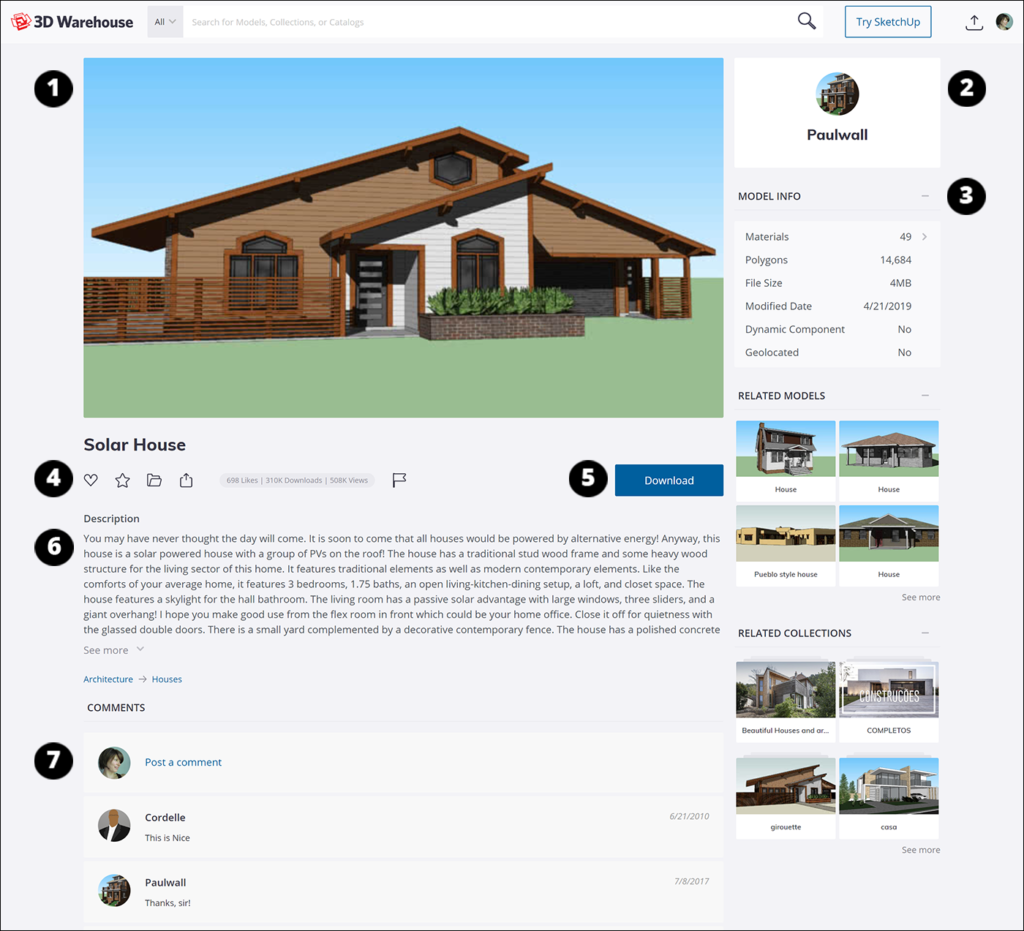
Preview: By default, you see the model’s thumbnail image in the main preview area. To see a 3D preview of the model, hover the mouse pointer over the image and click the 3D Model button that appears.
In the 3D preview, you can click and drag the Orbit tool to see the model from different perspectives. To access other tools, open the panel on the right to select different views or scenes or select the Pan, Zoom, or Zoom Extents tool. To open a large preview, click the Full Screen icon in the lower right of the preview window and press Esc to leave the full-screen view. To return to the model’s image preview, click 3D Warehouse in the lower left of the 3D preview.
- Model author: See which user uploaded the model. A blue checkmark by the author’s name means the creator is verified. For example, the SketchUp Official user is verified as an official 3D Warehouse account for SketchUp.
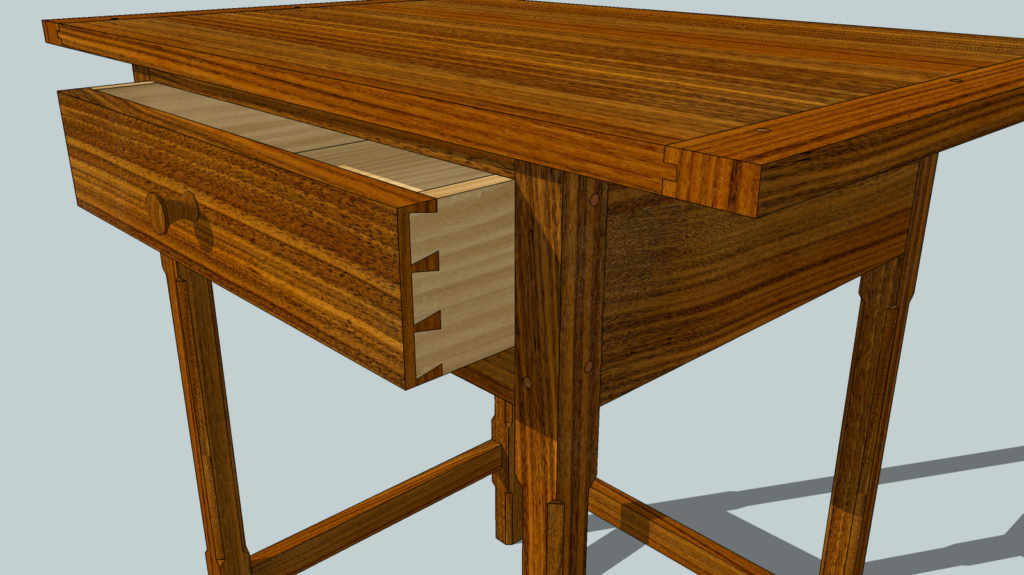
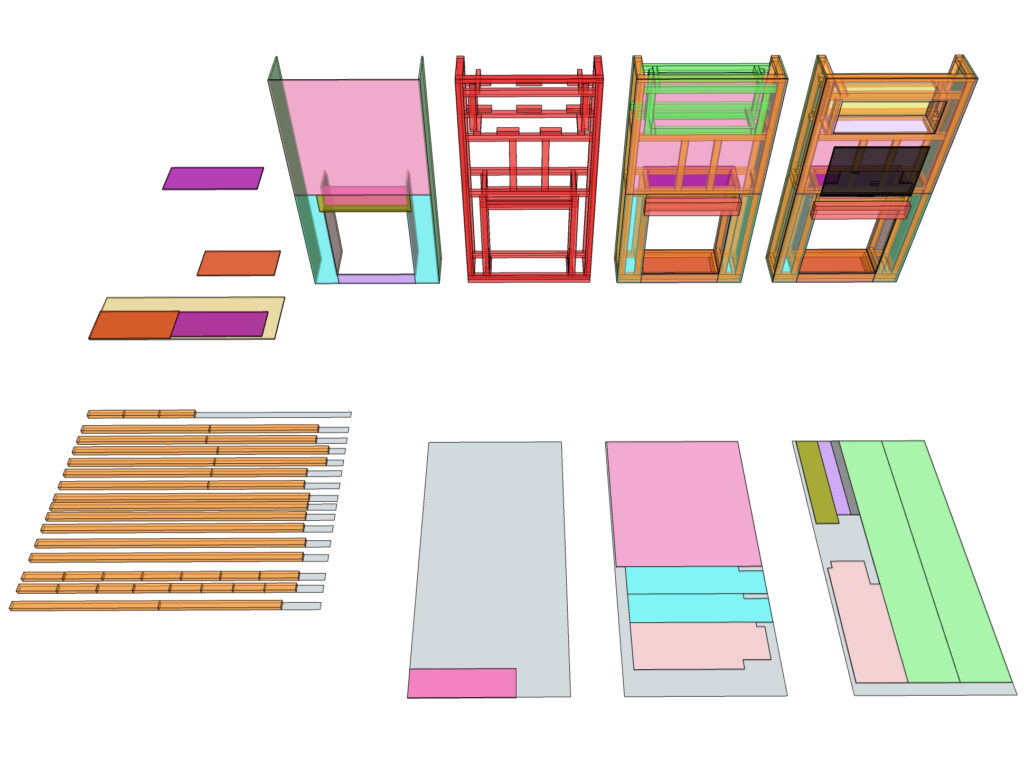
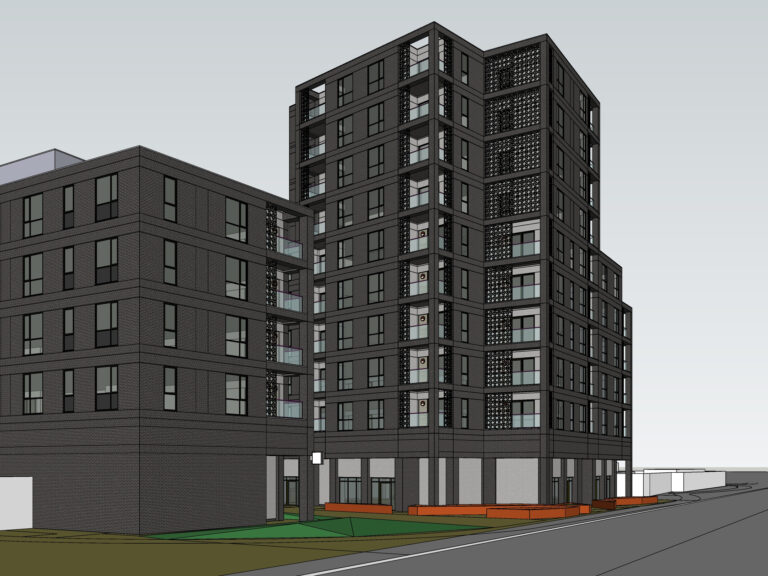
- Model Info: Here you find basic data about the model. To get a sense for a model’s complexity, check out the file size and the number of polygons and materials the model contains.
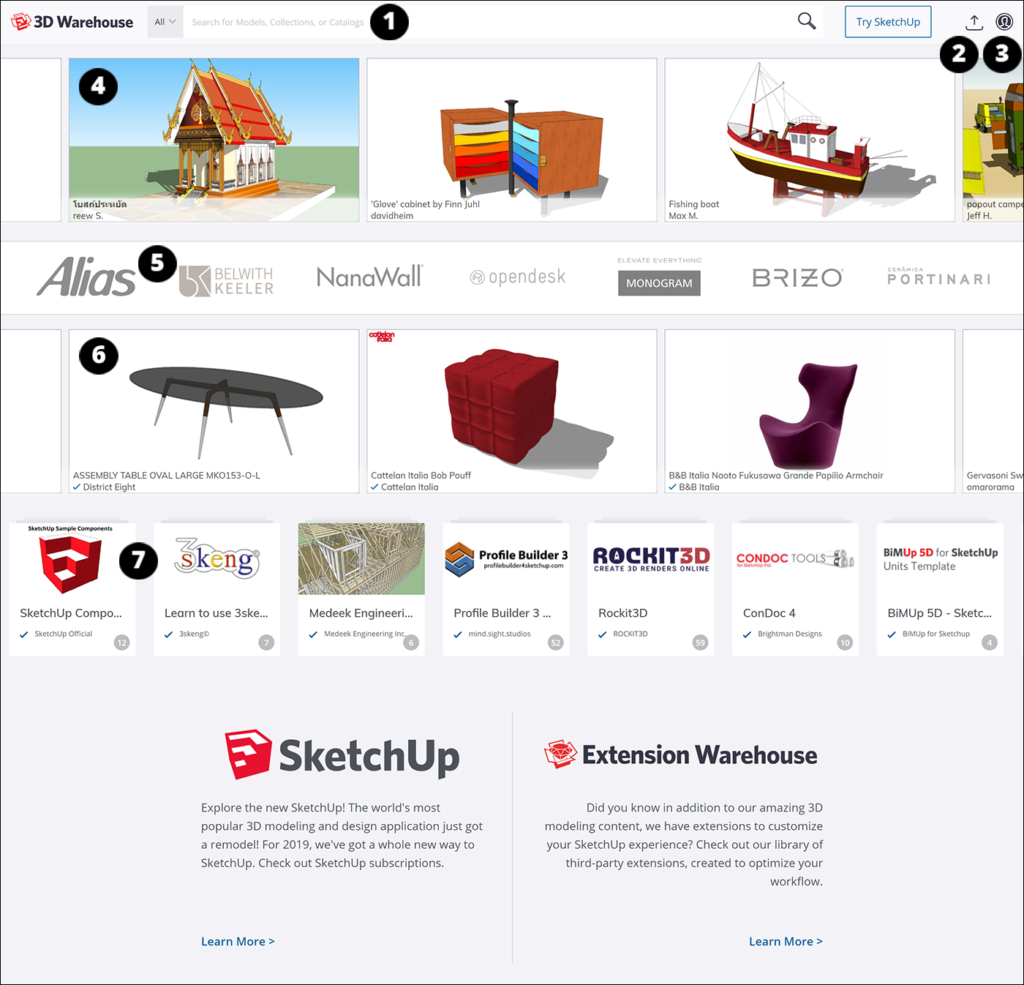
- Icons: Click the following icons to access a 3D Warehouse feature:
- Like: If you’re signed in to your account, click the Like button (
 ) to tell the model creator you like their model.
 - Favorites: Favorites gives you a quick and easy way to curate a folder of your favorite models. To save a model to your private Favorites folder, click the Favorites button (
 ). To see the models in your Favorites folder, open your 3D Warehouse Models page by selecting Models from the user menu.
 - Folders: Click the Folders icon (
 ) to add a model to an existing folder. Unlike collections, folders are private, so only you can view them.
 - Collections: Click the Collections icon (
 ) to add a model to an existing collection. Collections are public so you can share them with the 3D Warehouse community.
 - Embed: Click the Embed icon (
 ) to open a window that contains a code snippet you can copy and paste to embed the model thumbnail image or 3D Viewer preview on a web page.
 - Report Abuse/DMCA: If you come across a model that violates the 3D Warehouse Terms of Use, you can alert the folks at SketchUp by clicking the Report Abuse/DMCA icon (
 ). If you believe that your work has been copied in a way that constitutes copyright infringement, use this button to contact Trimble’s DMCA administrator. Clicking this button opens a form where you can clarify the problem you see with the model.
- Like: If you’re signed in to your account, click the Like button (
- Download button: Click this button to download the model. If you visit 3D Warehouse via the SketchUp File menu, clicking the Download button displays a dialog box that asks whether you want to download the model into your current SketchUp model. If you visit 3D Warehouse via your web browser, clicking the Download button might reveal options to download different versions of the model. Your options depend on what the model creator uploaded to 3D Warehouse.
- Description: The model’s author uploads a description with the model file. Some model descriptions are more detailed than others, but you can often learn a bit about model or component features. When you upload a model, you can also add hashtags to your description that make your model easier to find. Start by typing # and the autocomplete feature suggests useful hashtags as you type.
- Comments: You can check the comments for feedback from other 3D Warehouse users or updates from the model author. To leave a comment, you must be signed in.