
Utilising SketchUp extensions for architecture is a surefire way to elevate your designs and discover new, advanced techniques in design render. Read on to learn which extension to use for 3D models, subdivisions, BIM integrations, or high-quality rendering. Or explore some advanced techniques to generate parametric objects, collaborate with stakeholders, and 3D print your work.
Understanding the Importance of SketchUp Extensions for Architects
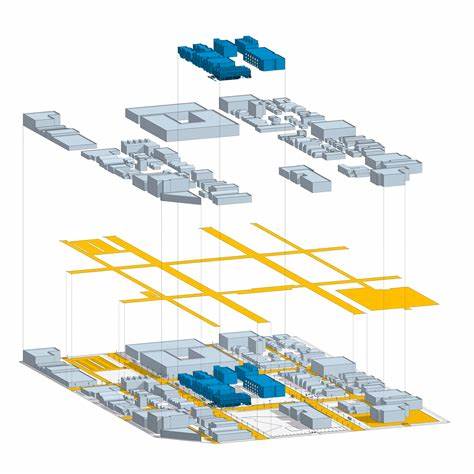
SketchUp is a powerful architectural tool that supports various extensions with additional features ideal for creating complex designs and streamlining workflow. SketchUp extensions for architecture bring advanced modelling tools, parametric design capabilities, integration with BIM, rendering, and collaboration options.
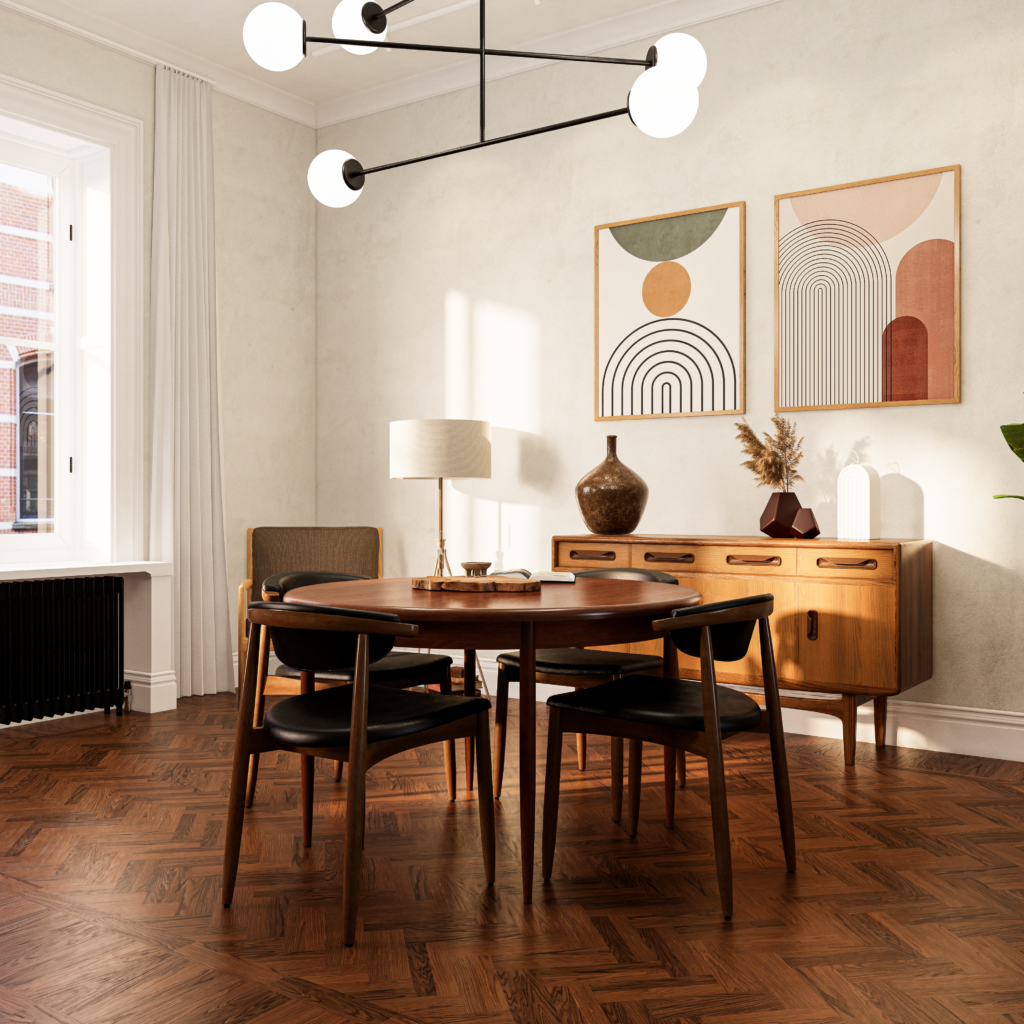
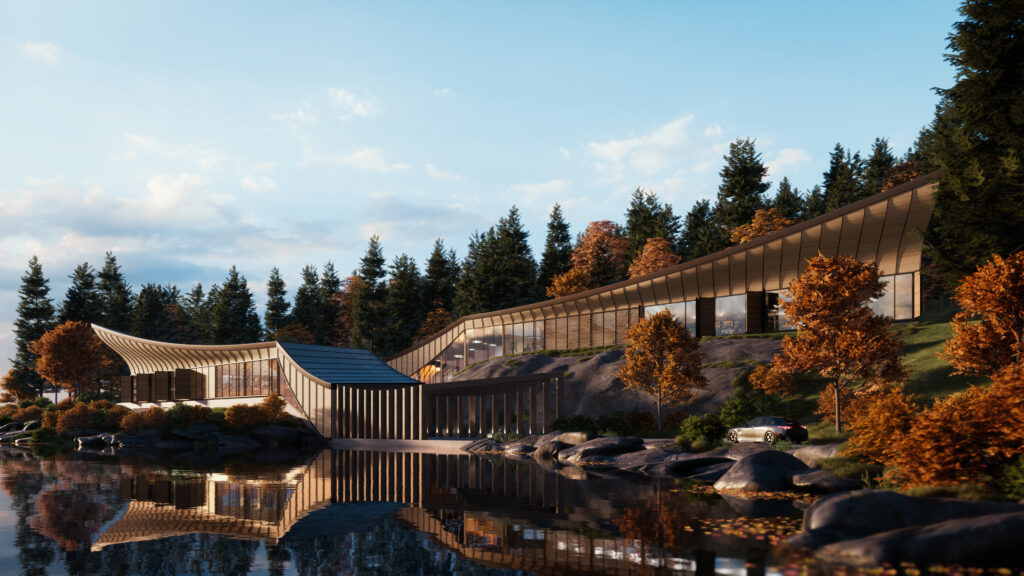
With these plugins, you can enhance design quality and present your project in a new light, especially when it comes to intricate building forms or urban planning that meets energy efficiency standards.
Essential SketchUp Extensions for Architects
When it comes to SketchUp, there’s a plugin for anything. Let’s dive into the best architecture extensions for SketchUp:
1001bit Tools
This SketchUp extension offers an array of 3D models suitable for your architectural masterpieces. You’ll get access to staircases, roofs, windows and doors, together with shadow analysis tools. 1001bit Tools Pro lets you create parametric architectural elements and use 40 different tools in your design.
Artisan
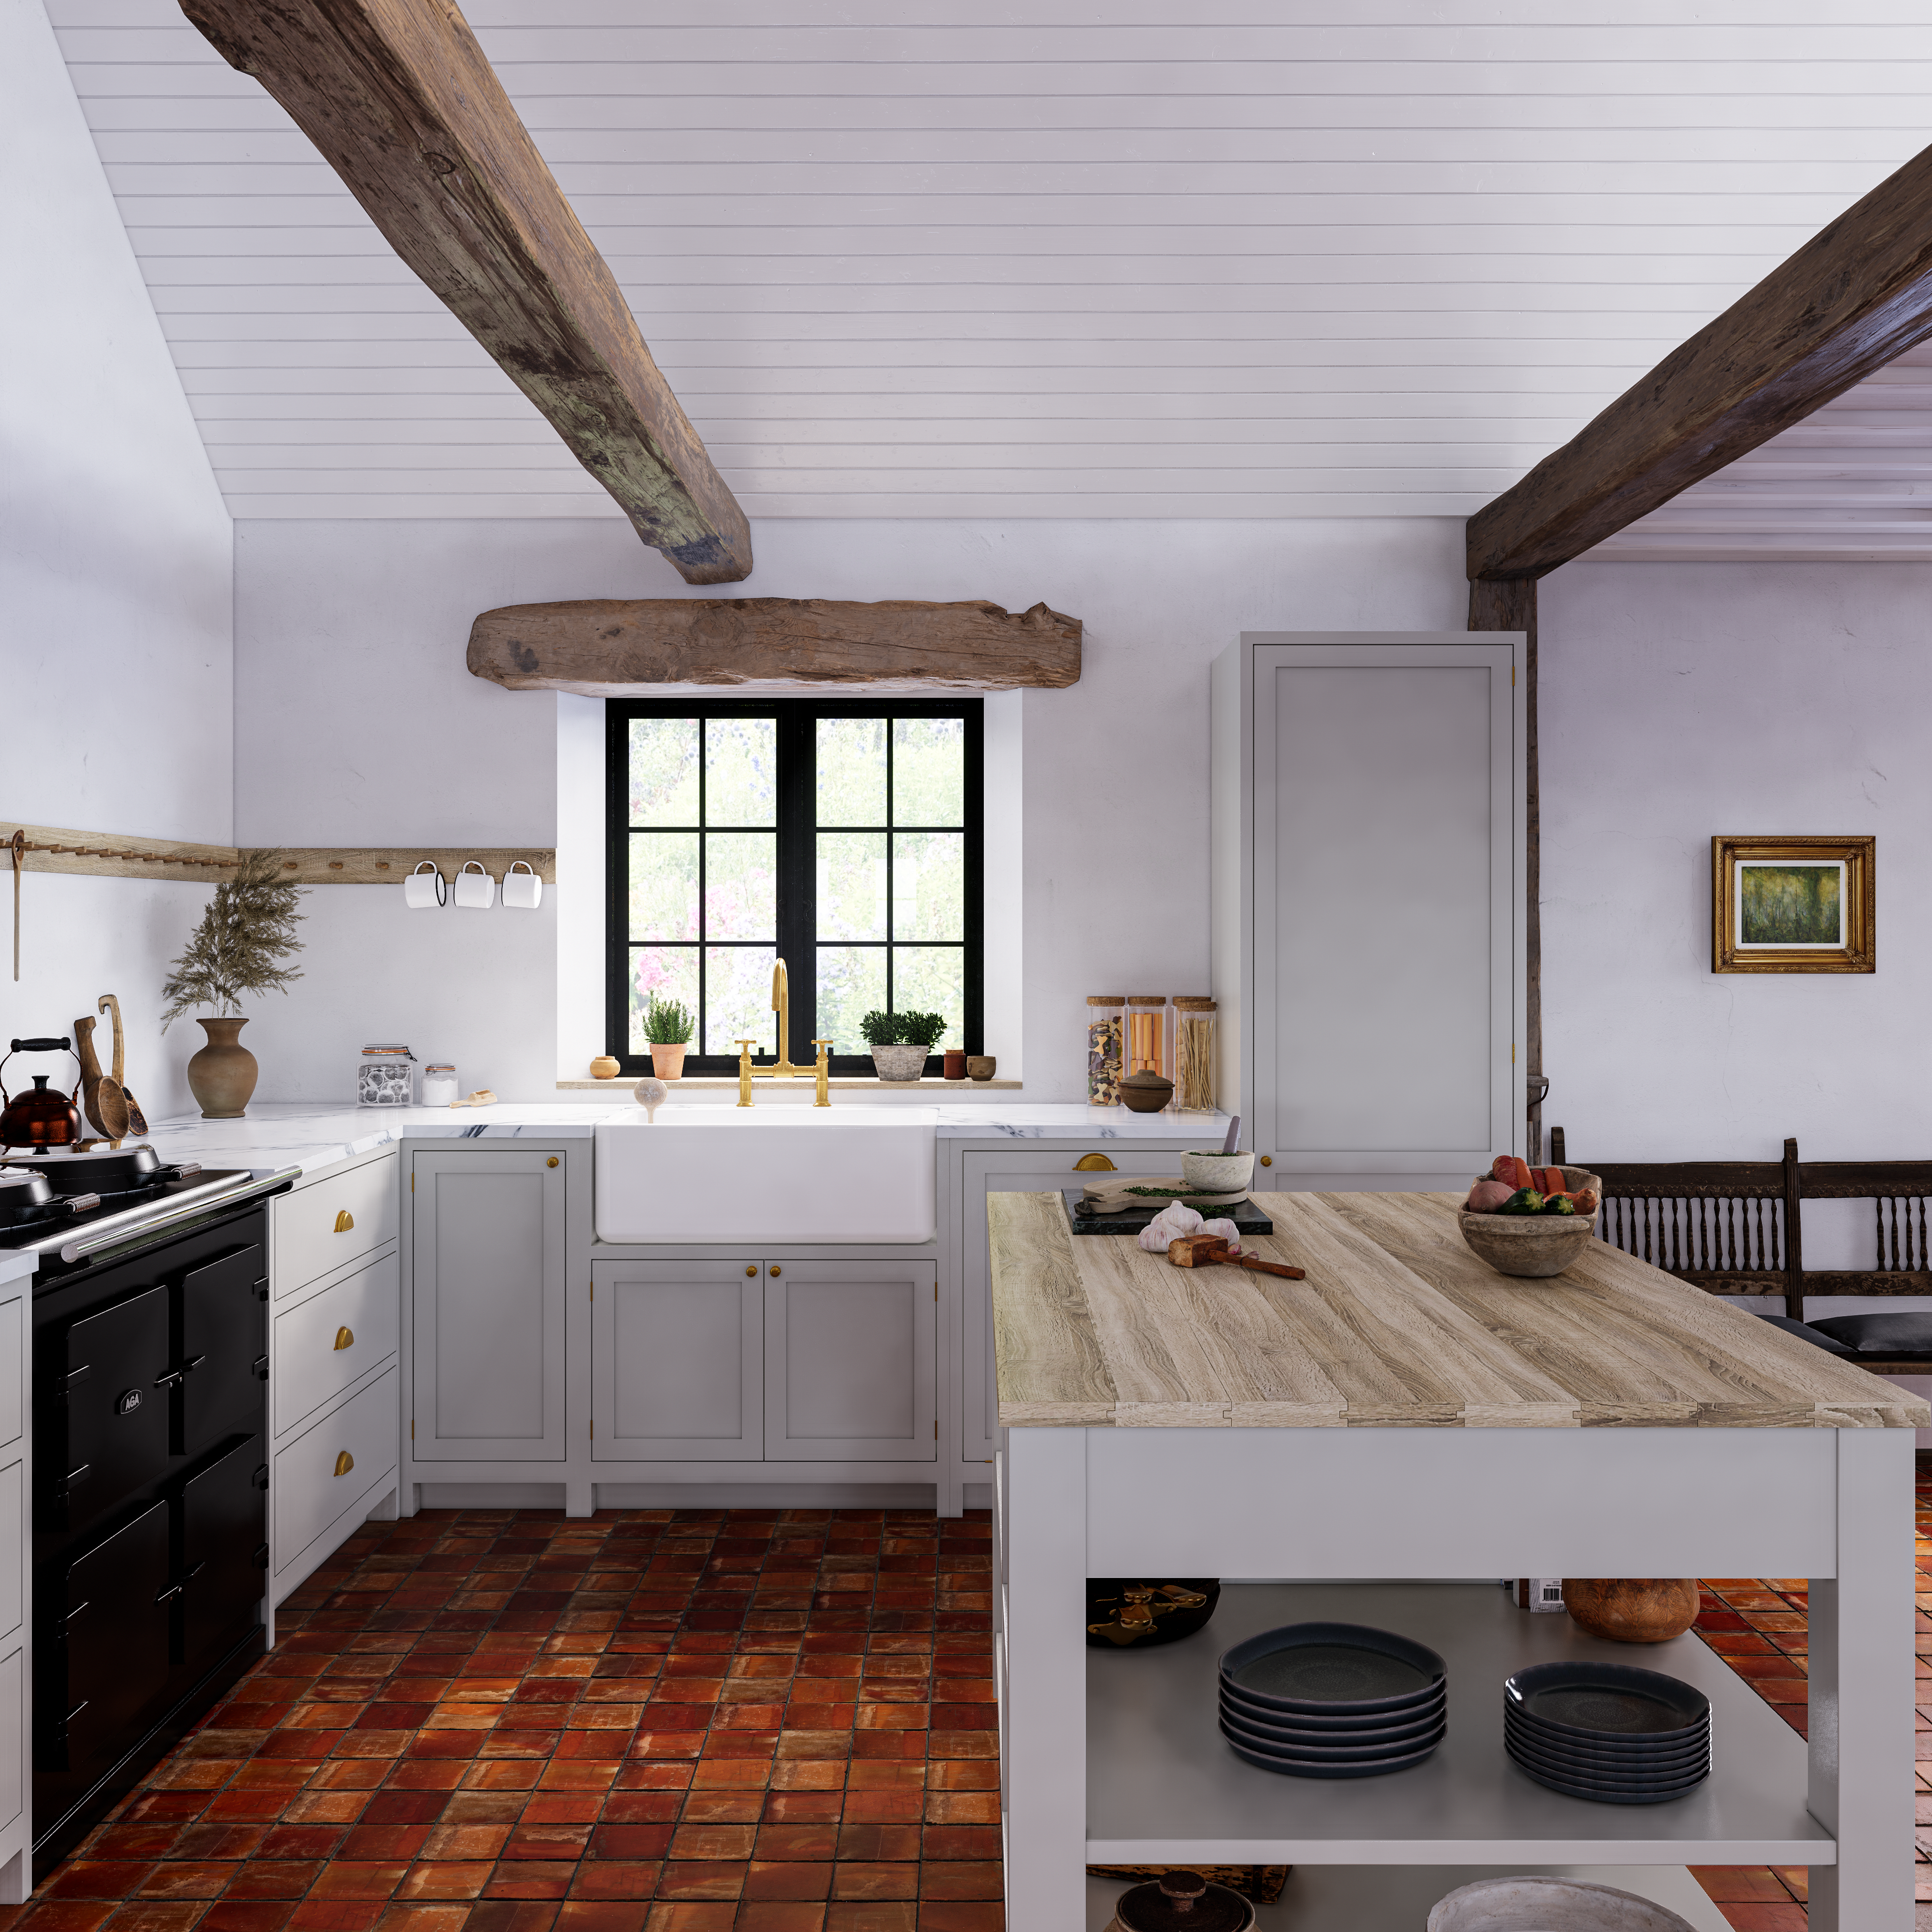
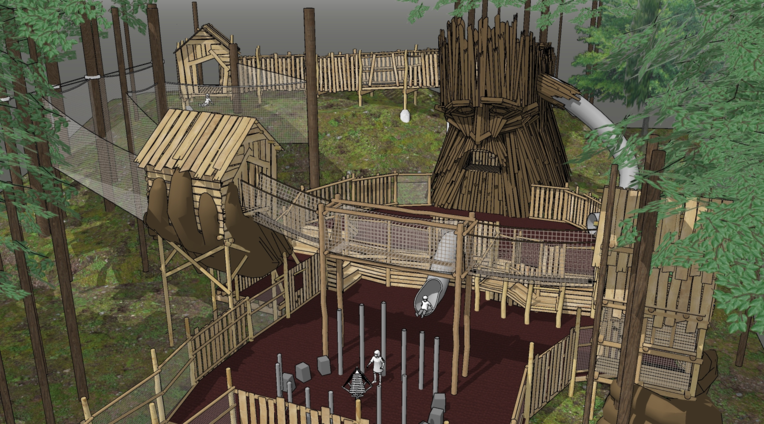
Artisan brings you powerful modelling tools with subdivision, sculpting, and soft selection options. This SketchUp extension for architecture is perfect if you’re looking to design abstract sculptures, terrain, furniture and many other complex forms and intricate architectural details.
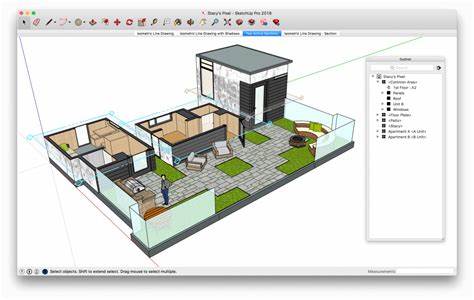
Trimble's Connect
Besides the BIM integration capabilities, Trimble is enabling architects to import and export industry-standard file formats, collaborate with other professionals or streamline the exchange of building information between stakeholders. Trimble is a unique cloud-based platform that streamlines workflow.
Sefaira
Sefaira is among the best architecture plugins for SketchUp when it comes to energy analysis. It facilitates energy simulations and evaluation of thermal performance. Sefaira helps you explore building performance and get fast results to meet sustainability goals.
Enscape
Enscape offers robust rendering features in real-time. Use it to integrate visualisations into your workflow, create walkthroughs and animations, and quickly export models. What’s more, with Enscape, you can present your work in an AR setting and create an immersive 3D experience. Enscape also supports BIM exports.
Skalp
Skalp is one of the architecture plugins for SketchUp that offers a variety of tools. It offers live updates on model changes, support for nested groups and components, texturised models, pattern textures, and more. With Skalp, you can also export to SketchUp Pro’s LayOut, or import CAD patterns and create plans and elevations.
SimLab Composer
Finally, the SimLab Composer is another feature-rich extension, with powerful dynamic visualisation tools. It offers rendering, 360° rendered images, scene building, and more. With SimLab, you can also automate massive workflows, import a range of 3D file formats, share your work in the cloud, or build VR catalogues.
All these SketchUp extensions can enhance the visual presentation of architectural designs and boost communication with stakeholders and other architects.
Advanced Techniques with SketchUp Extensions for Architects
Use the 1001bit Tools extension to generate and manage parametric objects. Find the Tools in the toolbar, activate the extension and click on the object you want to generate. Define size, orientation, and materials, and click to place it in the scene.
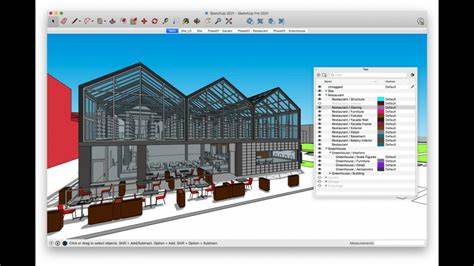
Go for Trimble’s Connect architecture plugin for SketchUp to collaborate and enhance BIM workflow. Find your Trimble Connect plugin under the File section in SketchUp. Set the Trimble folders online, and proceed to sign in. Now, you can access models, Collaboration Manager, publishing features, and more.
SketchUp extensions also support CAD file formats, so you can exchange design information via AutoCAD or Revit. You can export files for 3D printing or CNC machining with STL Export in SketchUp. Alternatively, use extensions such as Solid Inspector or Cleanup to fix issues with geometry, so your models are ready for print.
Choosing the Right SketchUp Extensions for Your Architectural Workflow
When considering which SketchUp extensions for architecture to use, think in terms of software compatibility, user experience, support, and developers behind the plugin. Consider the complexity of your model, rendering requirements, and collaboration features. Explore user reviews, and free trials to get a sense of the tool.
Sometimes you won’t find what you need in one plugin alone. Luckily, you can combine some of the best architecture extensions for SketchUp for improved results.
For example, use Sefaira, Skalp, and V-Ray for energy analyses and sustainability assessments. With Skalp’s detailed section drawings and V-Ray’s rendering capabilities, you’ll optimise designs to showcase their energy efficiency via high-quality presentation.
Then, use 1001bit Tools for parametric modelling, Artisan for organic terrain, and Sefaira again, for real-time energy analysis. These architecture plugins for SketchUp help you design intricate landscapes paired with natural elements, which still meet sustainability requirements.
Enscape, SimLab Composer, and Artisan will provide you with robust rendering features, and organic models for complex terrains, and give you access to VR tools to enhance design visualisations. Explore SketchUp tutorials and best practices to see which other plugins you can combine.
Enhancing Architectural Design with the Best SketchUp Extensions
SketchUp extensions for architecture offer enhanced design capabilities and improve your efficiency. These diverse plugins bring additional functionalities such as advanced modelling, BIM integration, energy analysis, rendering, and visualisation, all of which improve your design, productivity, accuracy, and collaboration.
Embrace the power of Artisan, V-Ray, Enscape, or Sefaira to see their transformative potential and achieve remarkable design outcomes. These plugins will streamline your workflow, and support you through every step of design, from creating 3D models to selecting which materials to use for a lifelike feeling. Combine them to gain access to even more features, all within one software.
Elmtech has been around for over two decades and is here to help you unlock the latest tools when it comes to architecture and design. Explore Free and Pro SketchUp features with Elmtec today, to enhance architectural practice through technology and innovation.