A hybrid model of speed and efficiency has arrived, taking the 21st Century technology sector by storm, D5 Render introduces exceptional visual quality alongside mind-blowing real-time rendering. It’s fair to say, 3D visualisation will never be the same again.

From 28th September 2021, Elmtec will be the official distributor for D5 render in the UK and Ireland. D5 Render, a real time renderer for digital designers, brings a whole new layer to the industry. Thanks to cutting edge technologies, it has never been easier to render ultra-realistic images with real-time raytracing, creating a transformational movement within the design industry.
“The real-time ray tracing and DLSS in D5 Render gives architects a powerful tool for high-quality real-time visualization of their designs. Allowing them to explore, test, and present their ideas in a visually compelling way, and to iterate more efficiently than before.”
D5 Render is a GPU rendering software running on the foundation Unreal Engine as well as the hardware architecture of the new generation of Nvidia RTX graphics cards. With the self-developed pioneering real-time GI and Video Noise Reduction algorithms, plus the hybrid real-time rendering pipeline, D5 Render is set to unleash the high-performance potential of RTX graphics cards, bringing designers a creative experience like never before. The interactive rendering process has never been this easy, making it possible for the unprecedented RTX Real-time Rendering Workflow for Architects and interior designers.

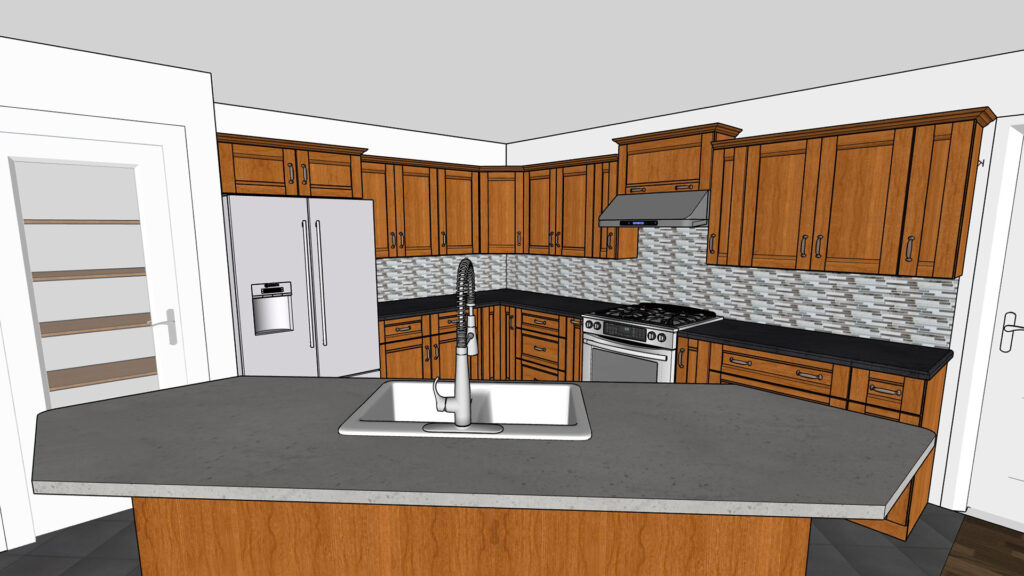
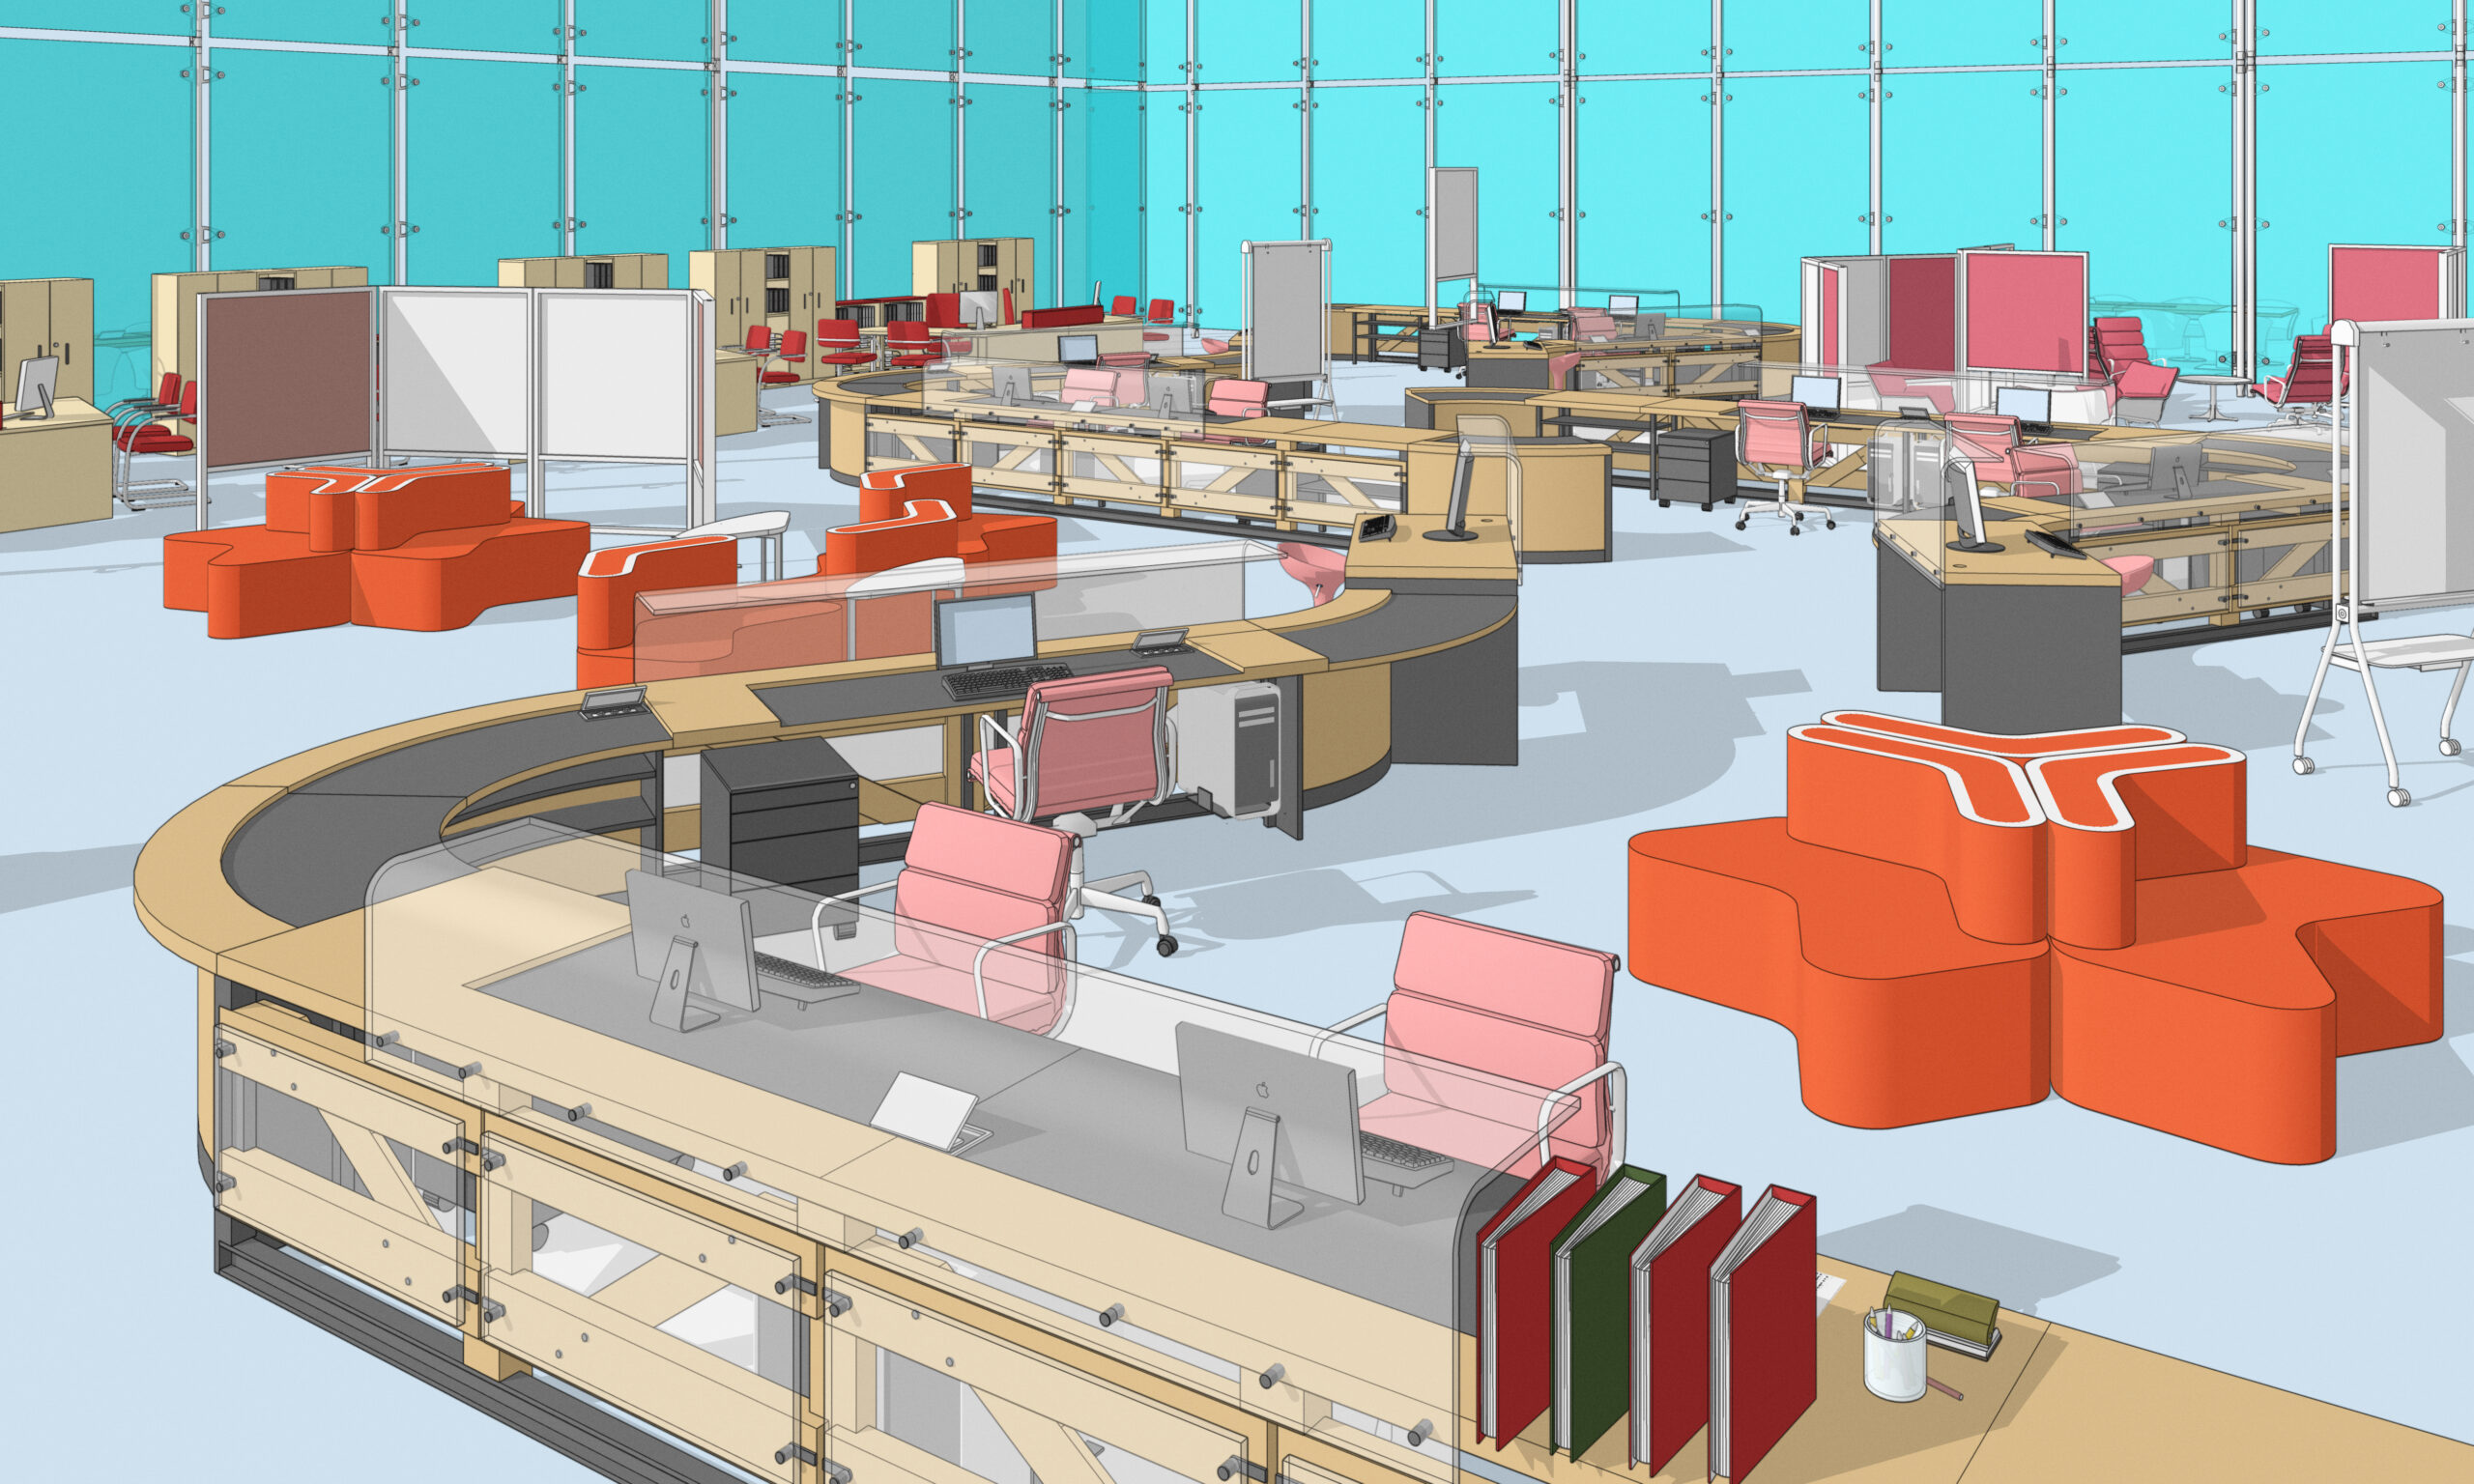
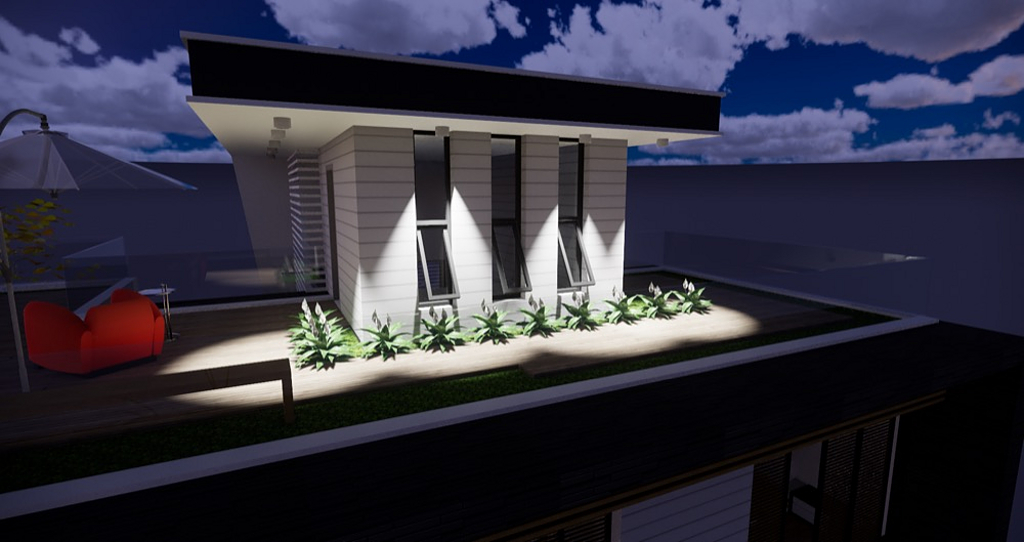
D5 is compatible software with SketchUp, 3Ds Max and Revit, Rhino, Blender and ArchiCAD. Its newfound technology uses out-standing real time raytracing allows 3D designers to build photorealistic ray traced lighting without the need for baking.
The built in PBR asset material library frees you from piling up a thousand gloss maps to the other thousand normal maps, meaninglessly. With D5 Render, you may create photorealistic materials by simply loading high-res PBR textures from Quixel Megascans, Substance Source, CC0Textures, and many more.
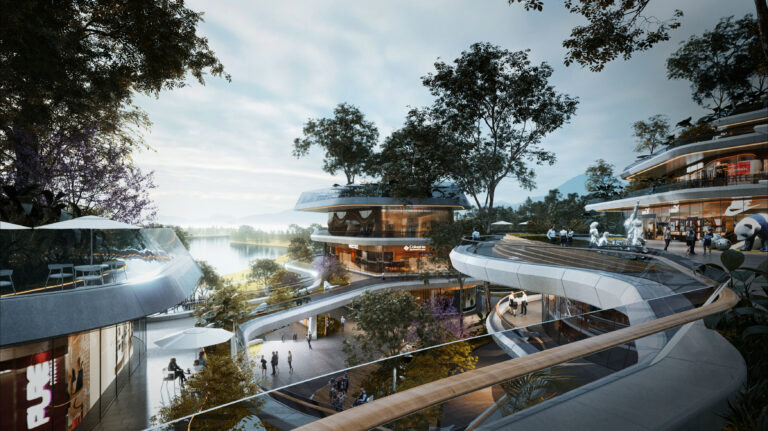
D5 render also contains over 1100 ready-made vegetations, people and vehicle models with animation provided by professional asset creators with an ever-expanding range stored in the cloud.
Who are D5?
Dimension 5 (“D5”), the team behind D5 Render, was assembled in Singapore A*STAR. In 2015, the team decided to move back to China. Since its inception, the D5 team has reached cooperation with various enterprises and companies, including Marriott International, Vanke Real Estate, PowerChina Real Estate, etc. In 2019, D5 was listed as one of the “Top 7 Global ISV Partners of NVIDIA” together with Adobe and Autodesk and was named as a “National High-tech Enterprise” by China’s Ministry of Science and Technology.
The D5 self-developed D5 Render was officially launched in June 2020, and has gained more than 400,000 downloads since then, covering users from 195 countries and regions around the world. Committed to its vision, the D5 team shall continue its cause in building innovative products and services with practicality, by focusing on visualized workflows for designing and rendering.
Elmtec has been the official UK distributor of SketchUp UK for over 24 years, supporting and driving the monumental changes and adaptations in the online 3D modelling and rendering space. As digital design changes every second, we are constantly finding brand new ideas and systems to maximise the effectiveness of our customers workflows and drive 100% performance.
We are now ecstatic to be introducing and distributing D5 across the UK and Ireland, from the moment we saw D5 and started speaking to the team, we knew this newfound technology would change the shape of the technology sector forever.