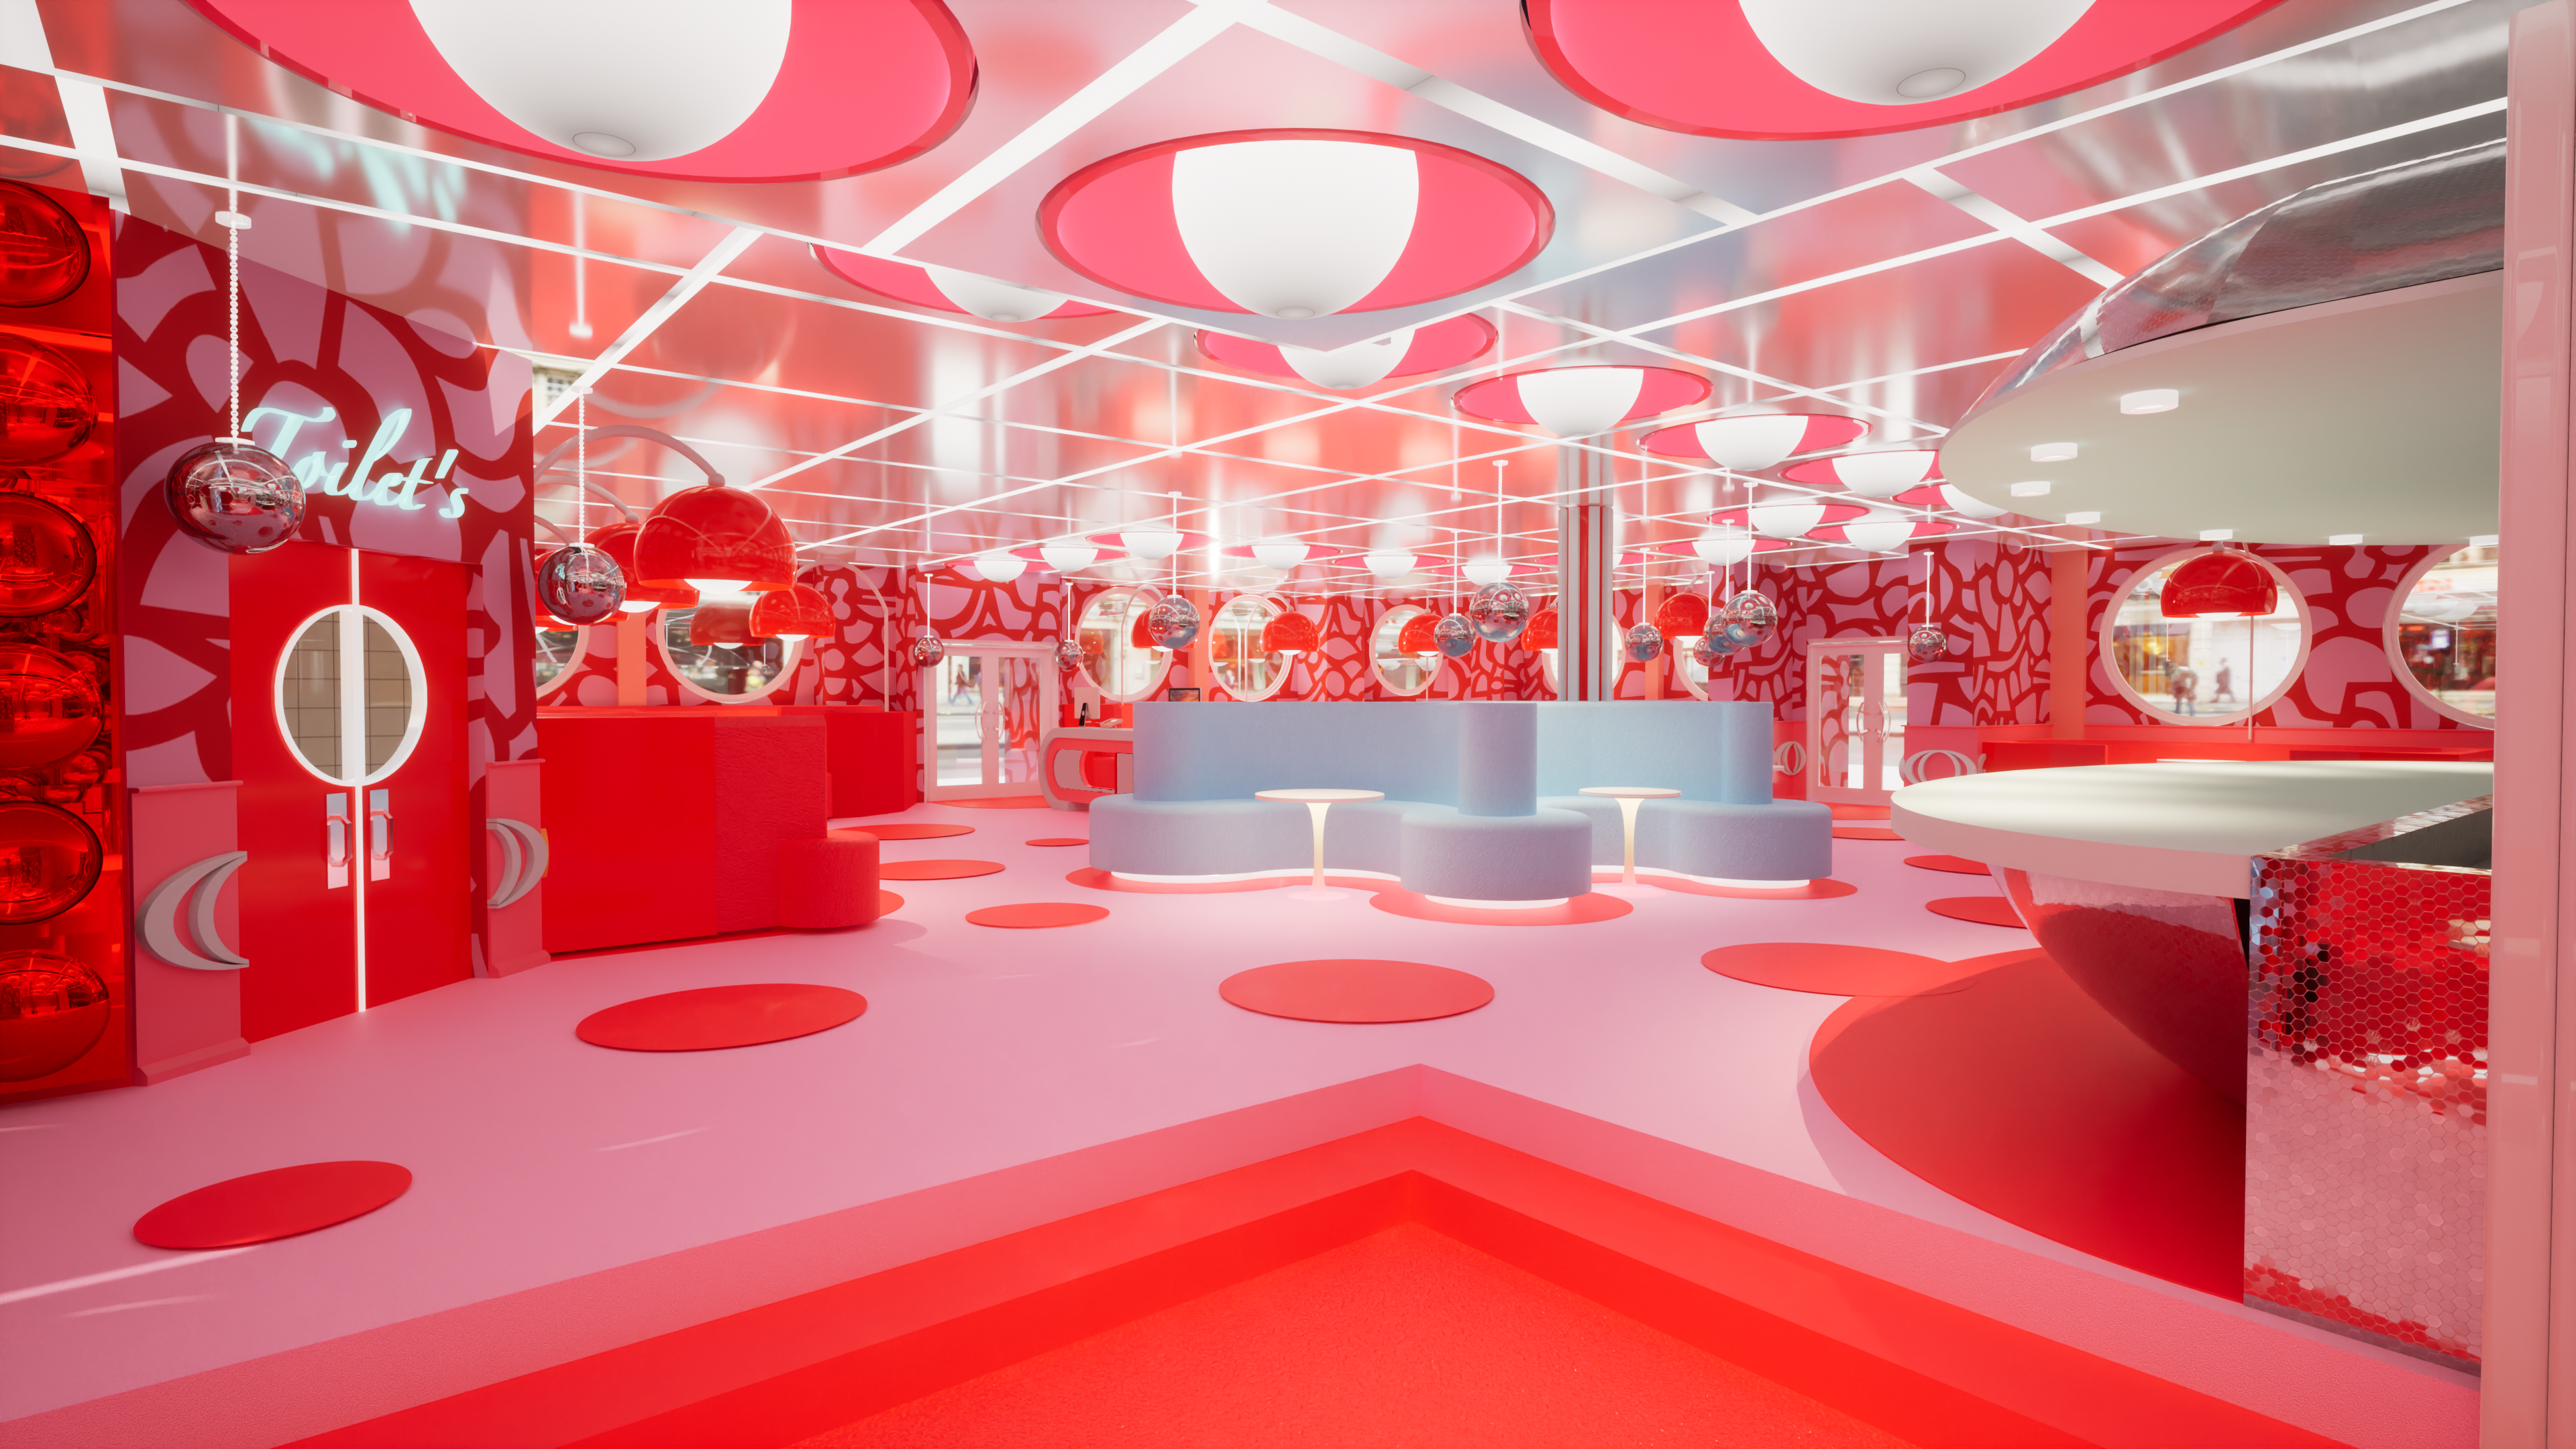
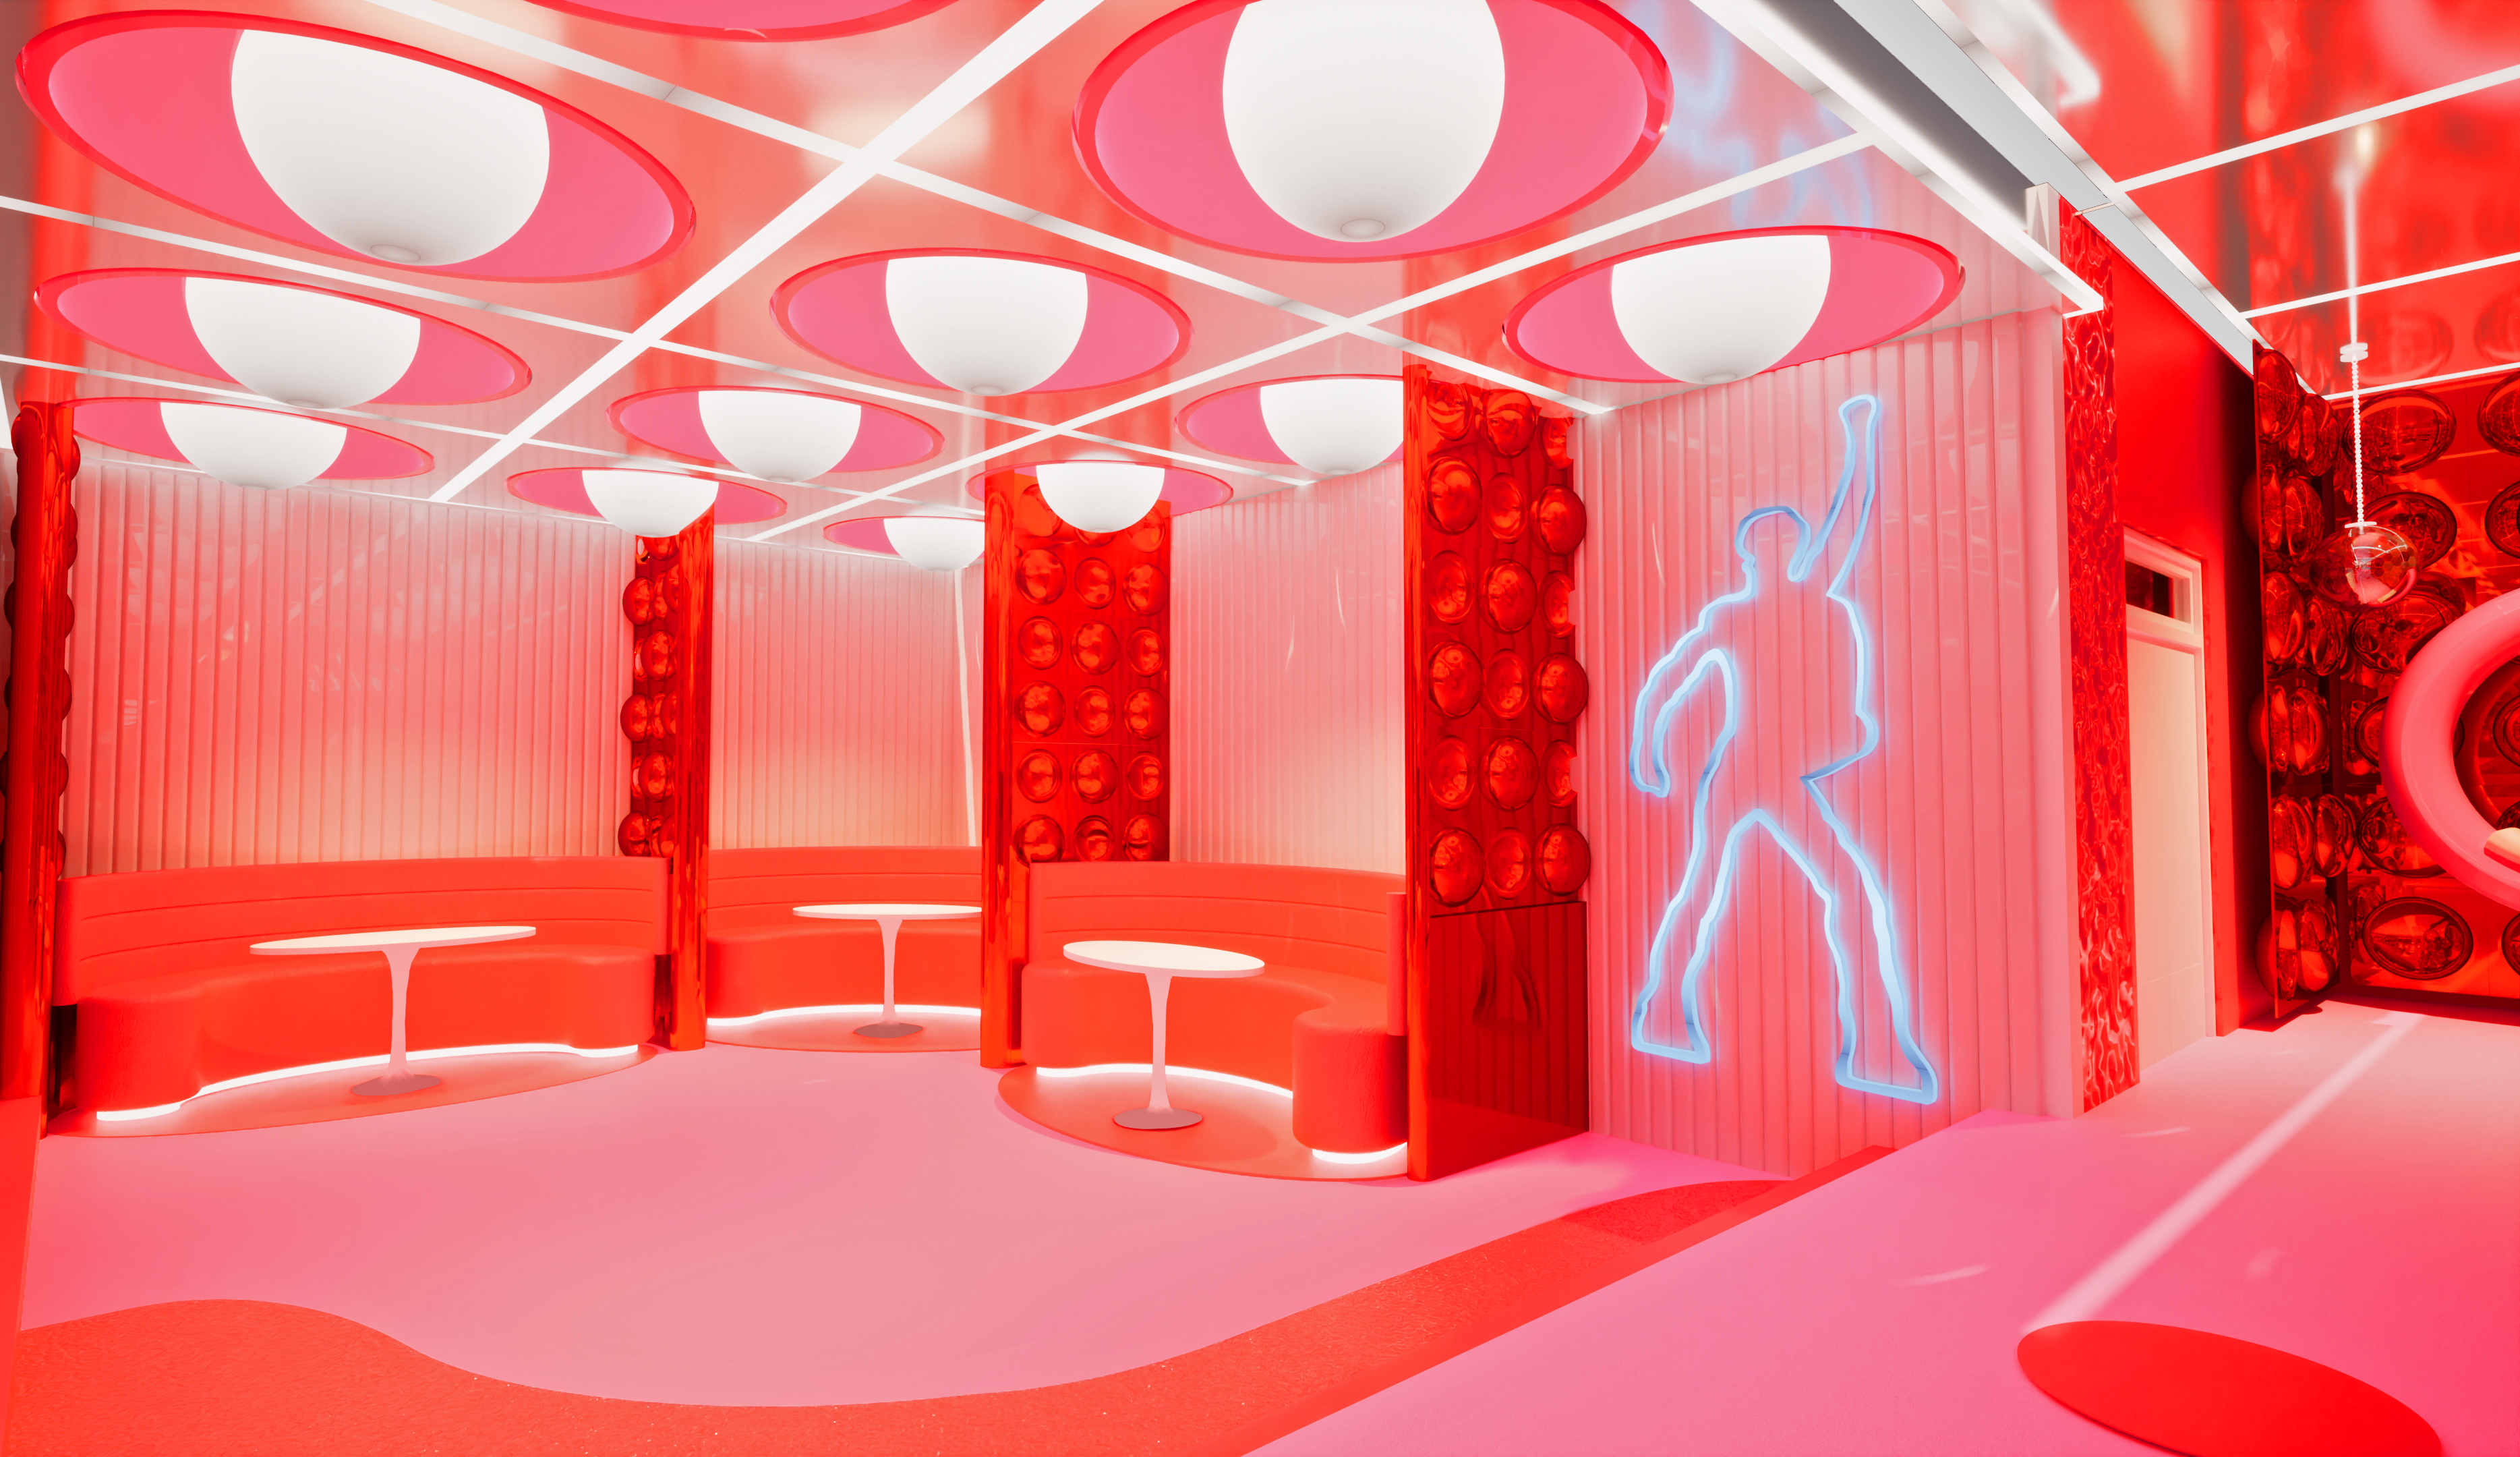
Jasmine uses TwinMotion to create her qwerky designs such as Freaky Deaky, a night club space created for New Designers 2022.
If you have managed to get to here without being put off by the slightly strange title, congratulations on being so brave! Although it may suggest a provocative case study on today’s agenda, looks can be deceiving.
As a matter of fact, we are joined today by Jasmine Baldock, an interior designer with an eye for the freaky and funky, with her latest design, ‘Freaky Deaky’.
After studying Interior Design at Solent University and graduating with a first class degree Jasmine specialises in commercial design with a particular interest in hospitality design. Combine this with her side passion for marketing and the love of creating concepts for branding and social media campaigns and the end result creates some beautiful ‘instagrammable designs‘.
“I’d love to get to know the community more and the scale of the community itself, after recently attending New Designers in London this week I found that quite a few industry bodies either used or at least knew of Twinmotion and were incredibly impressed with the quality of the render.”
So, What is 'Freaky Deaky'
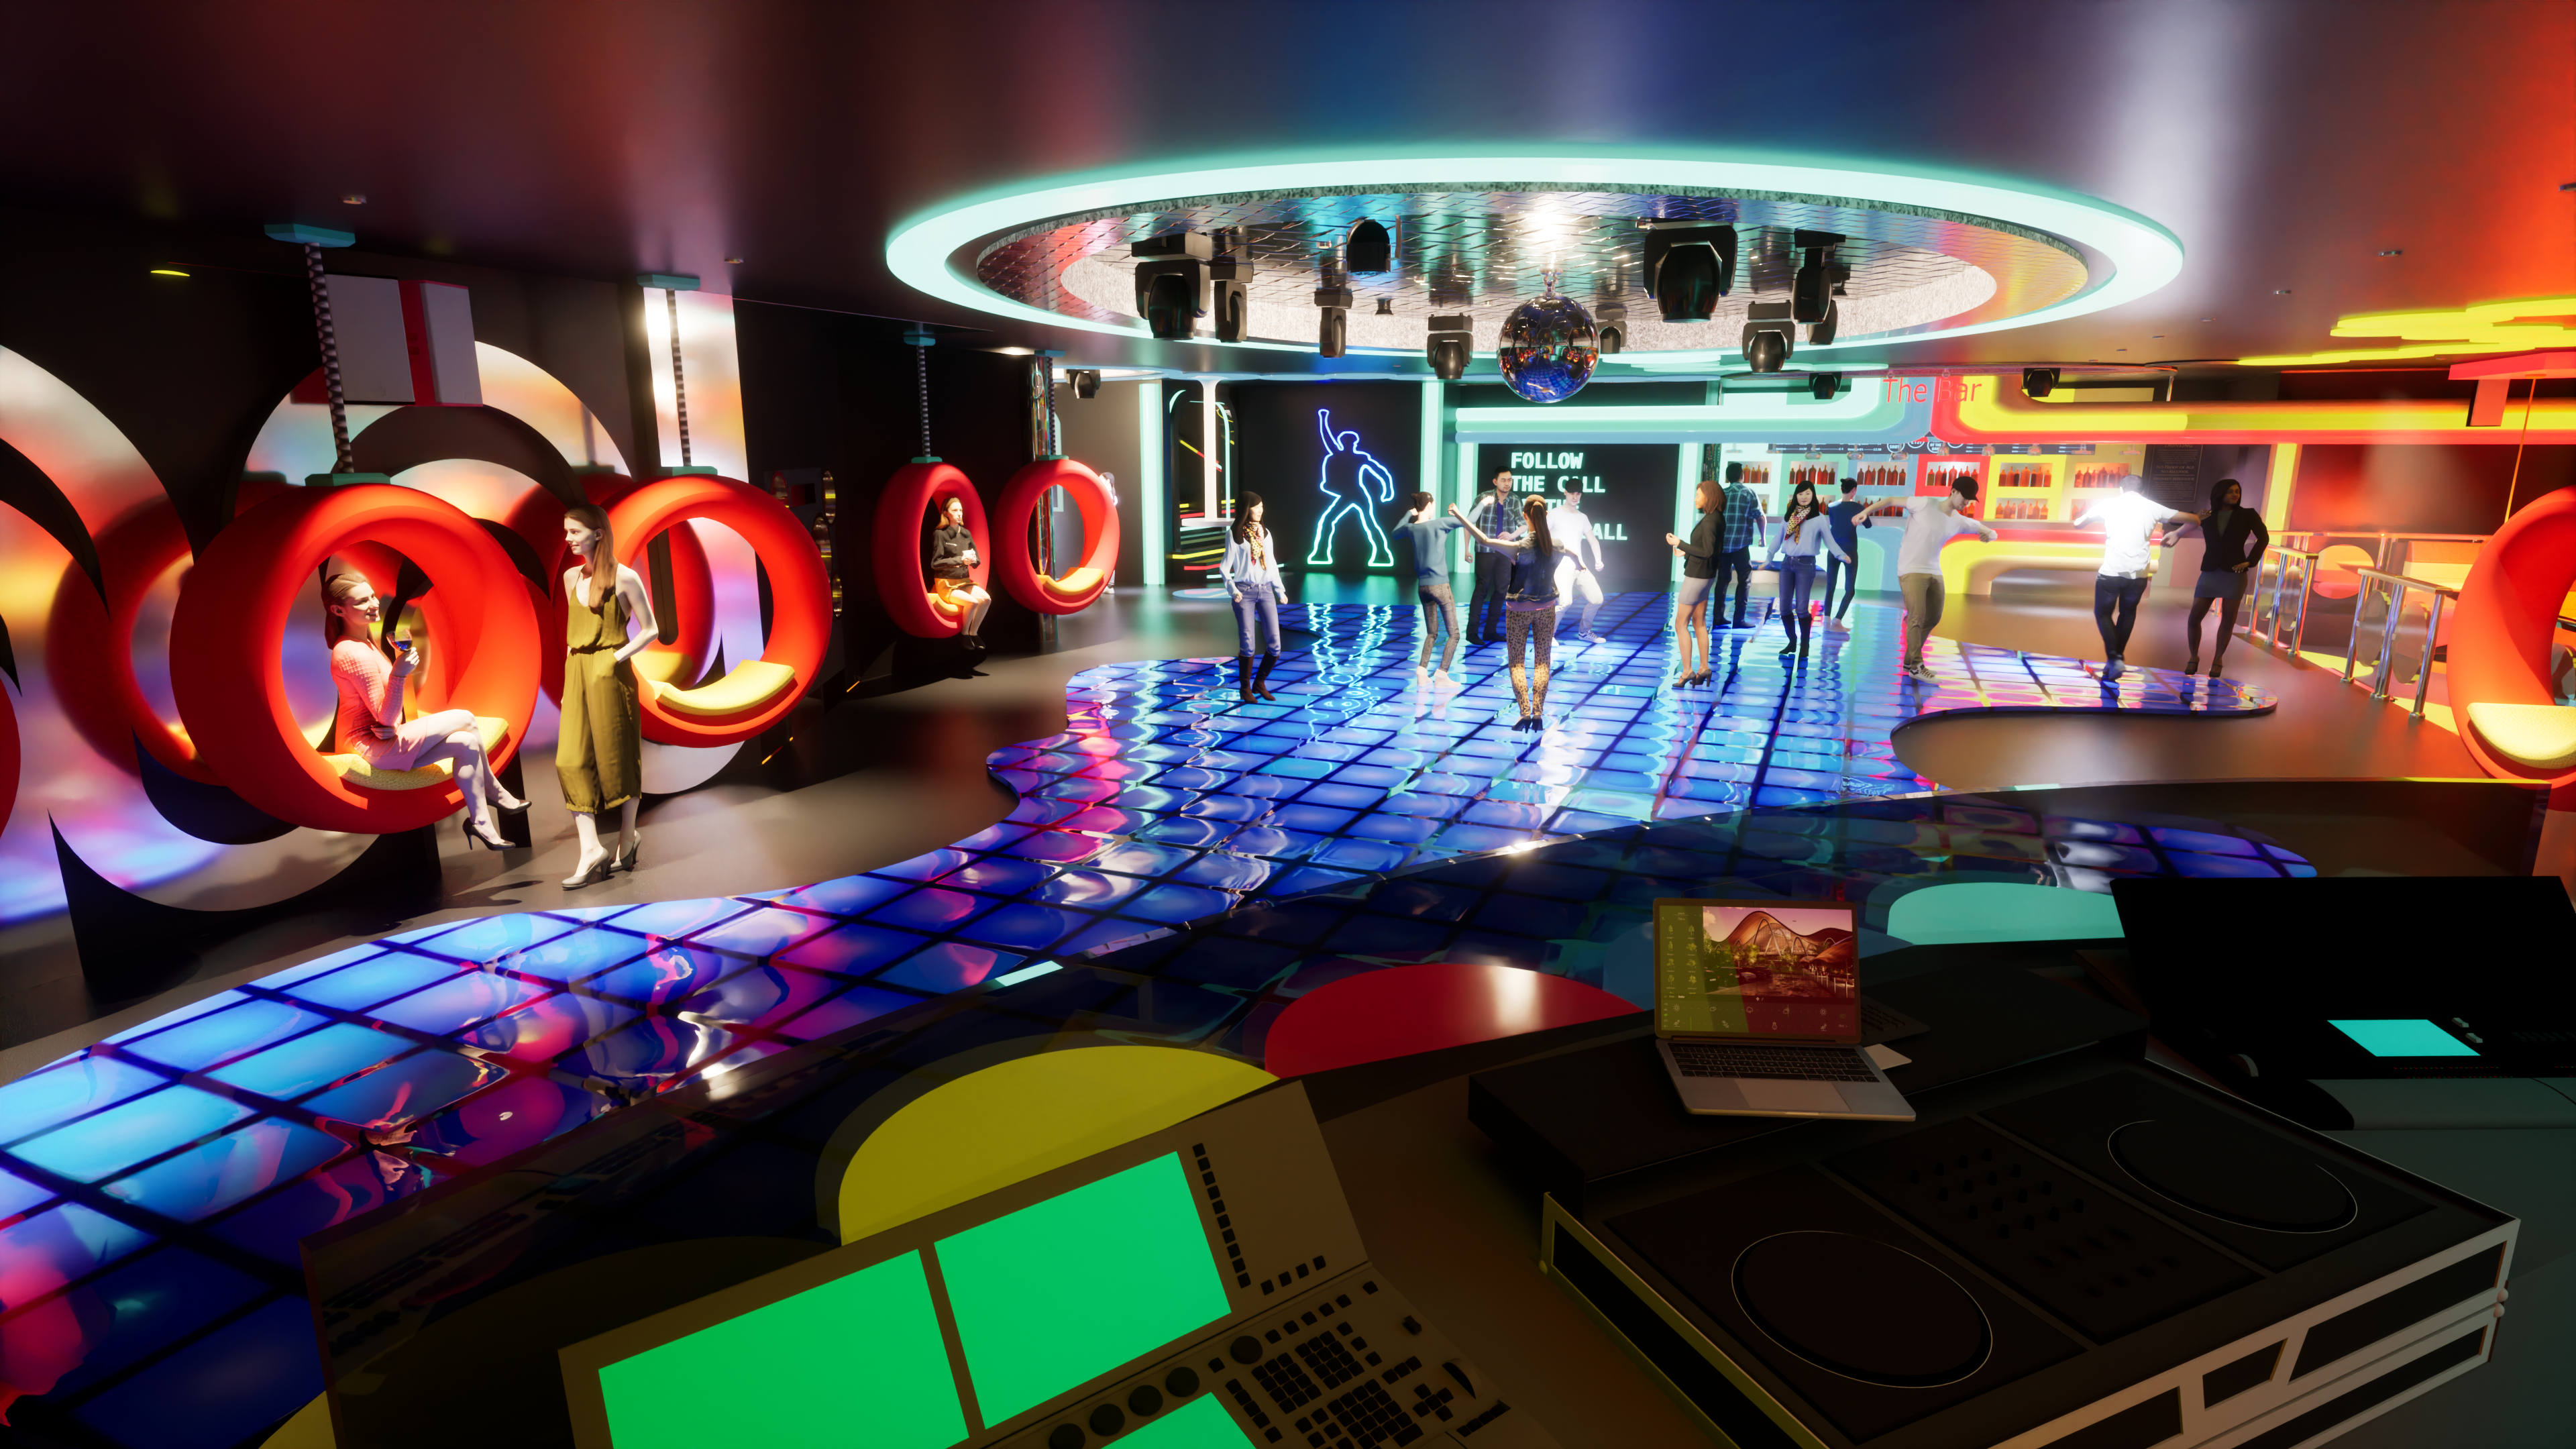
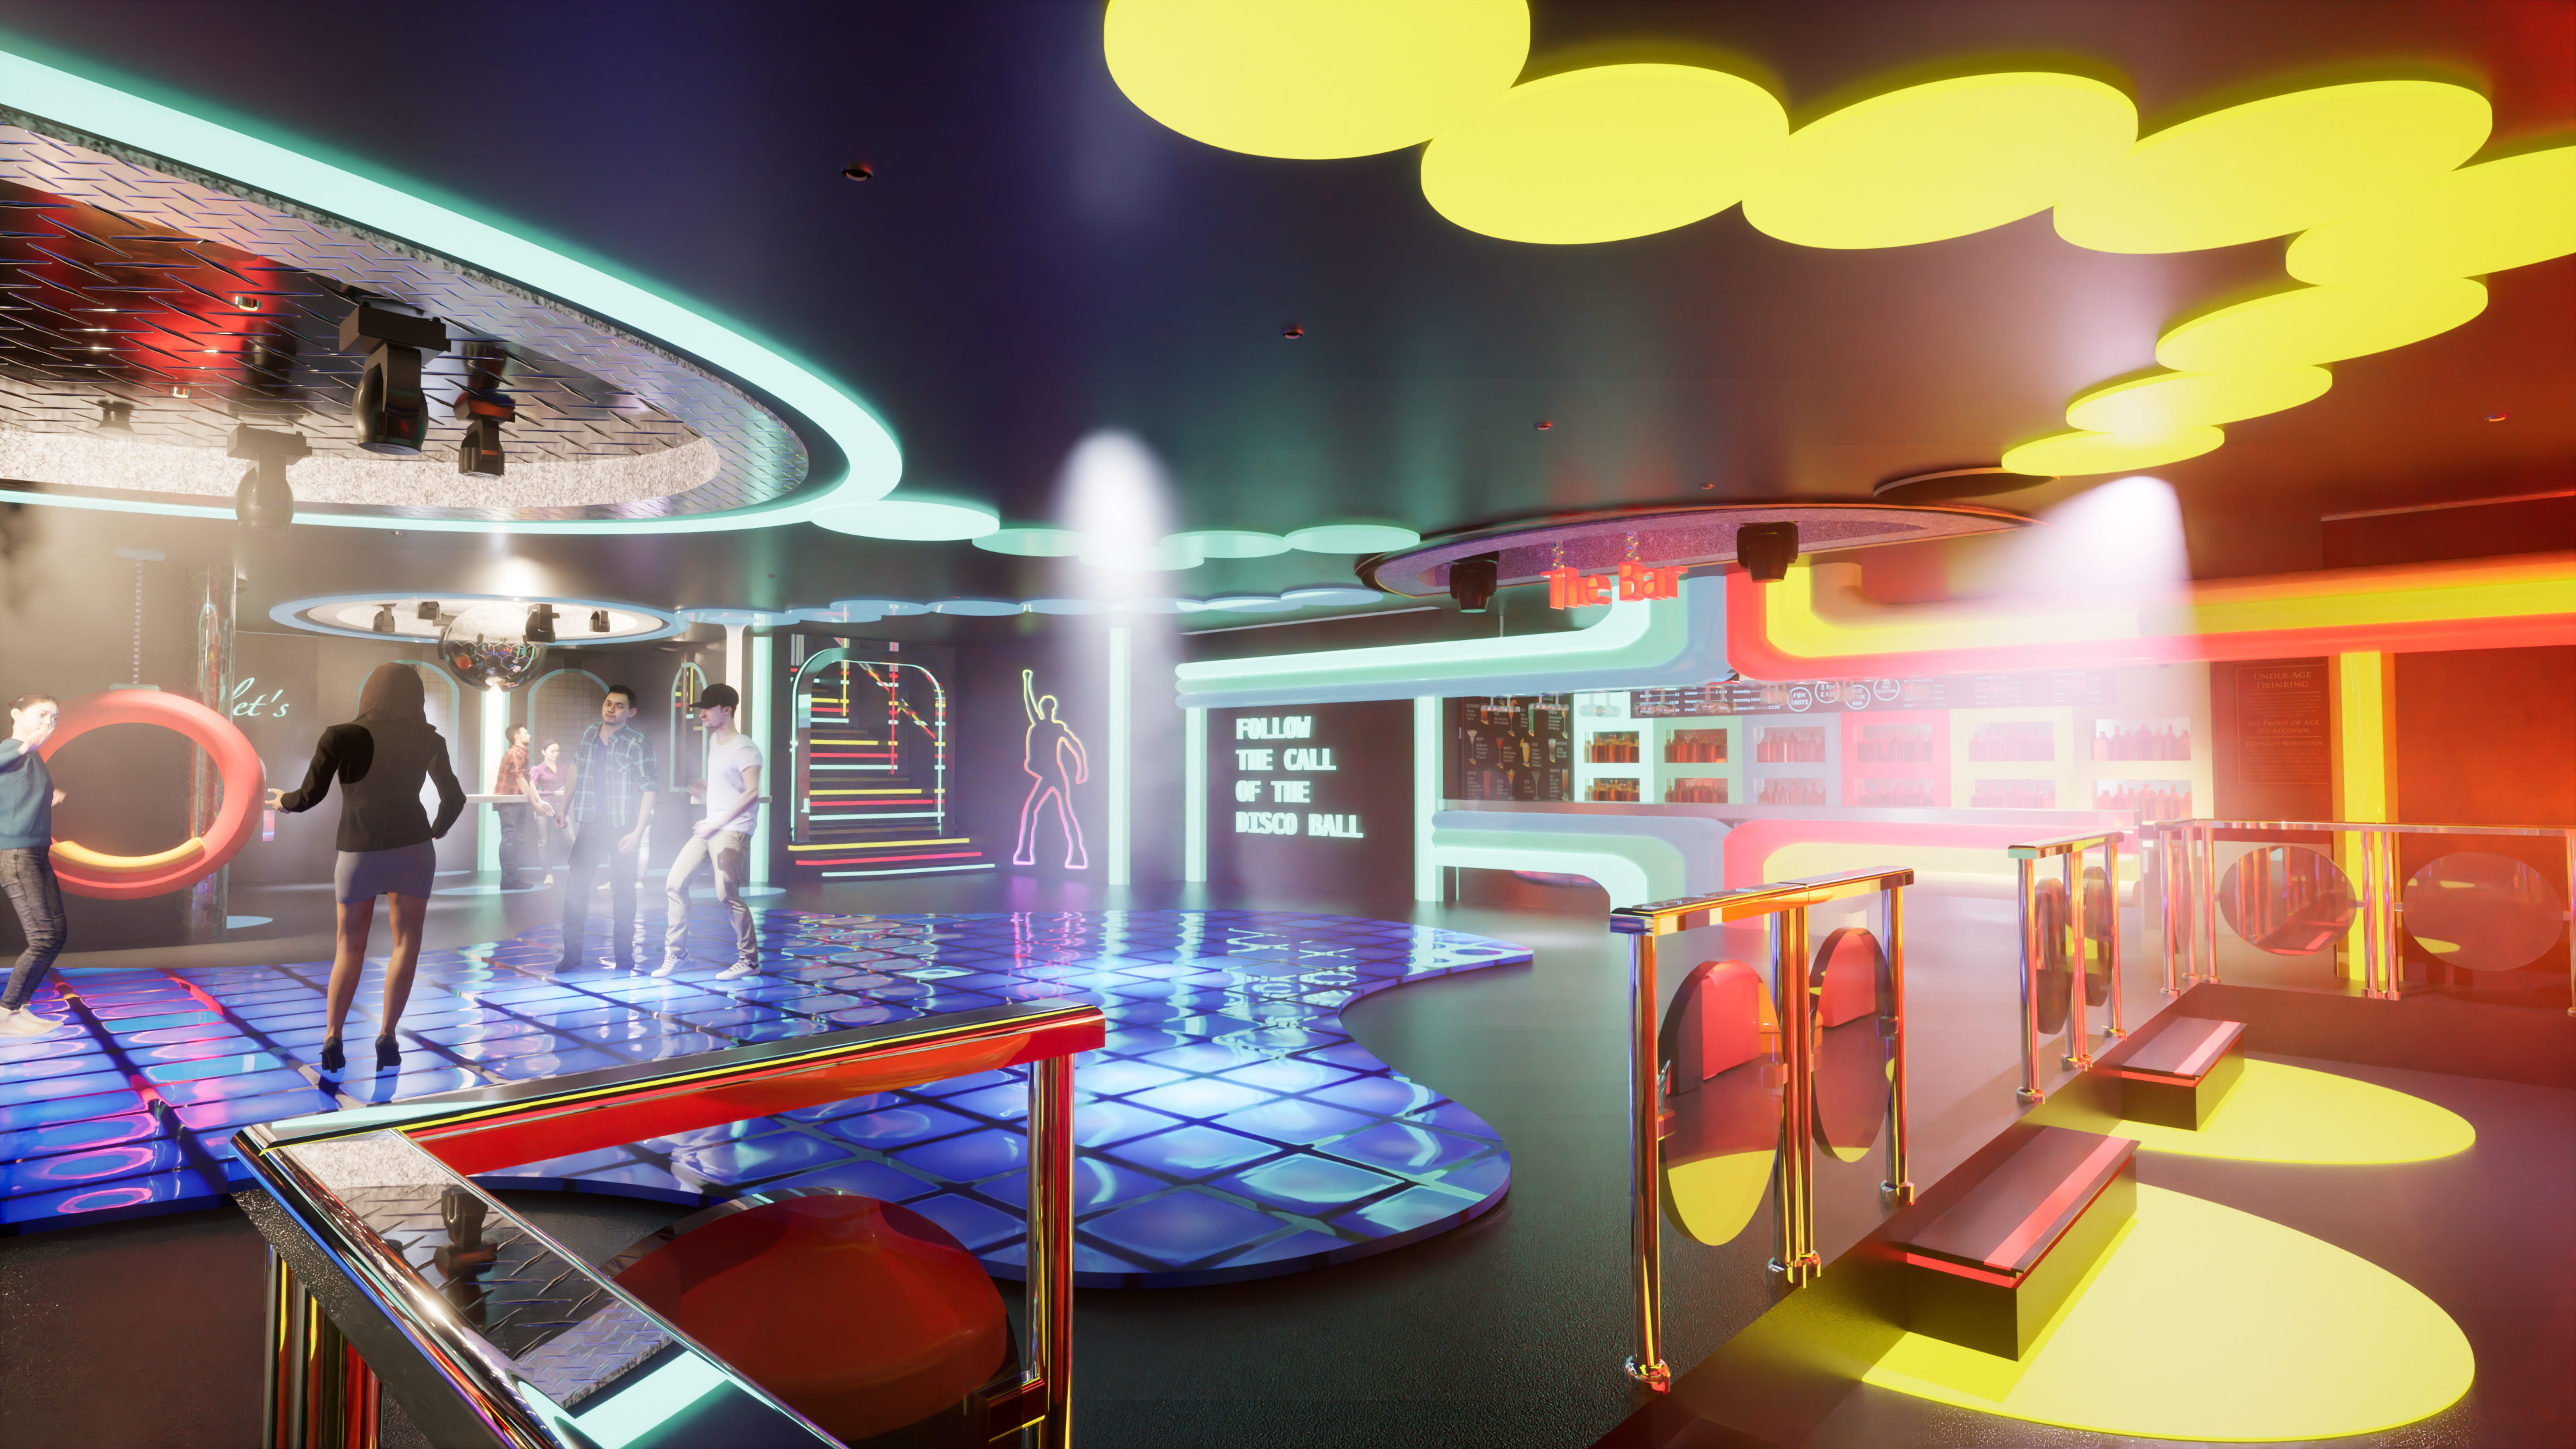
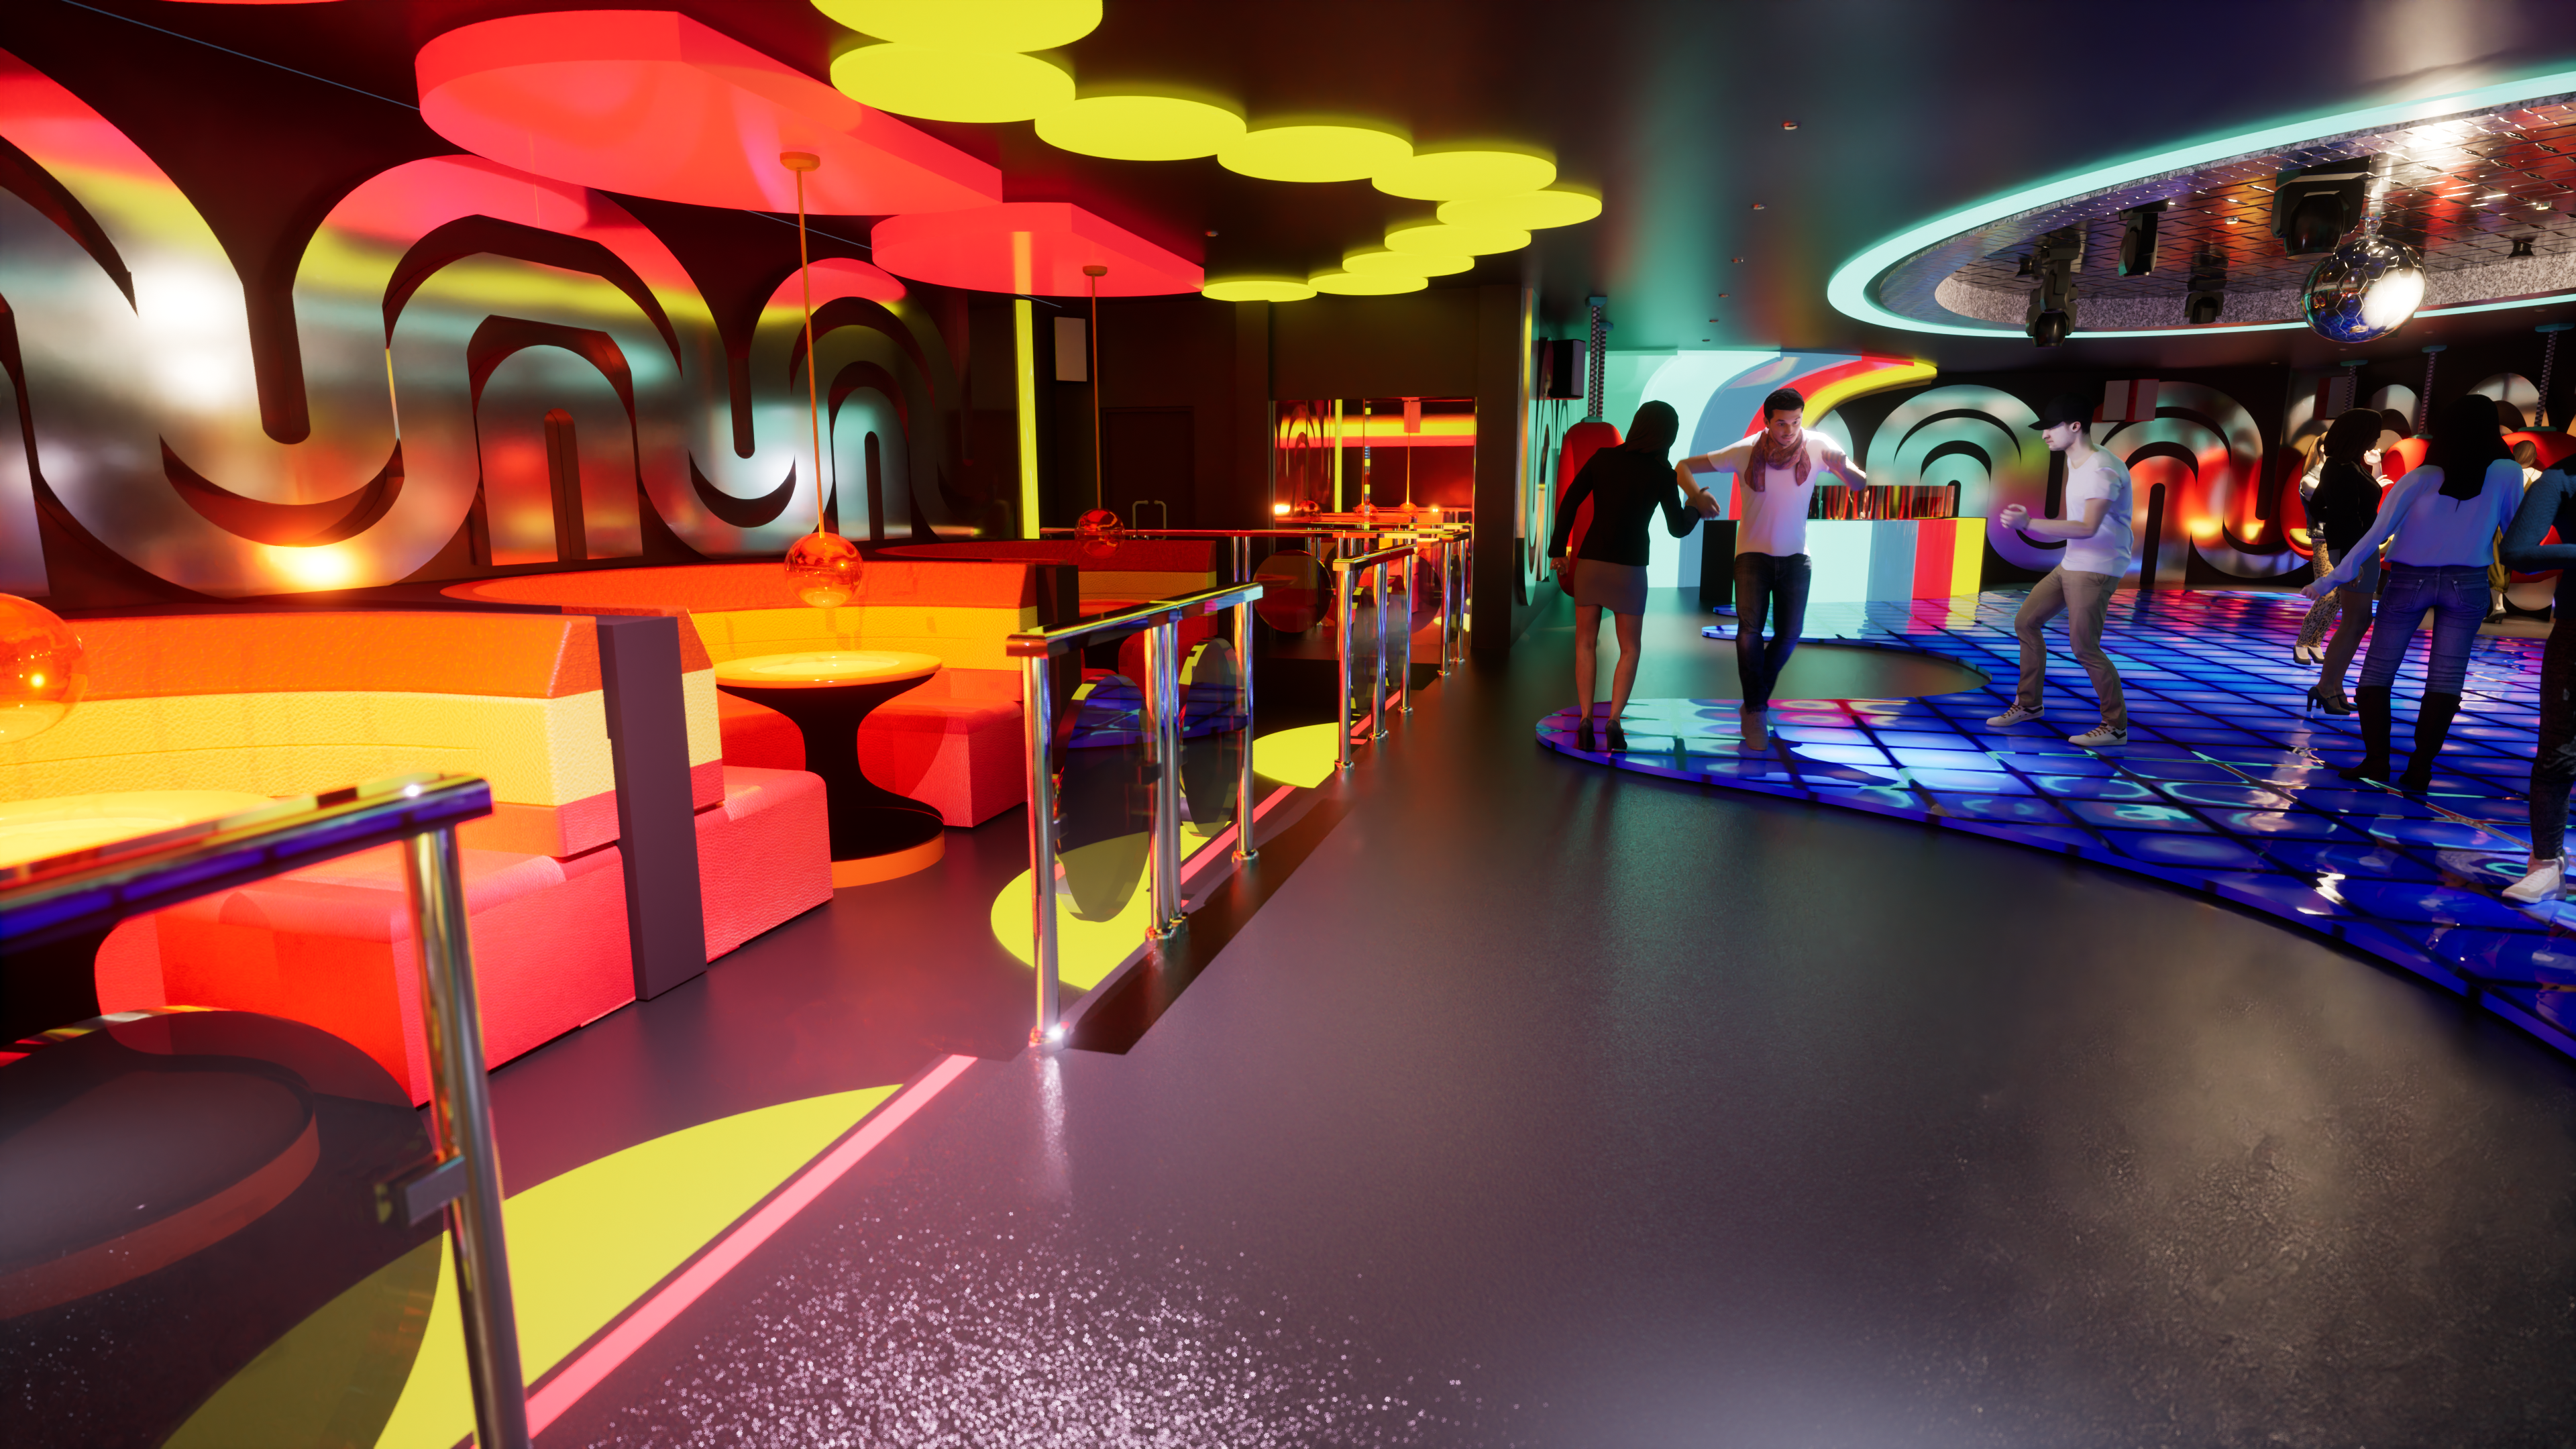
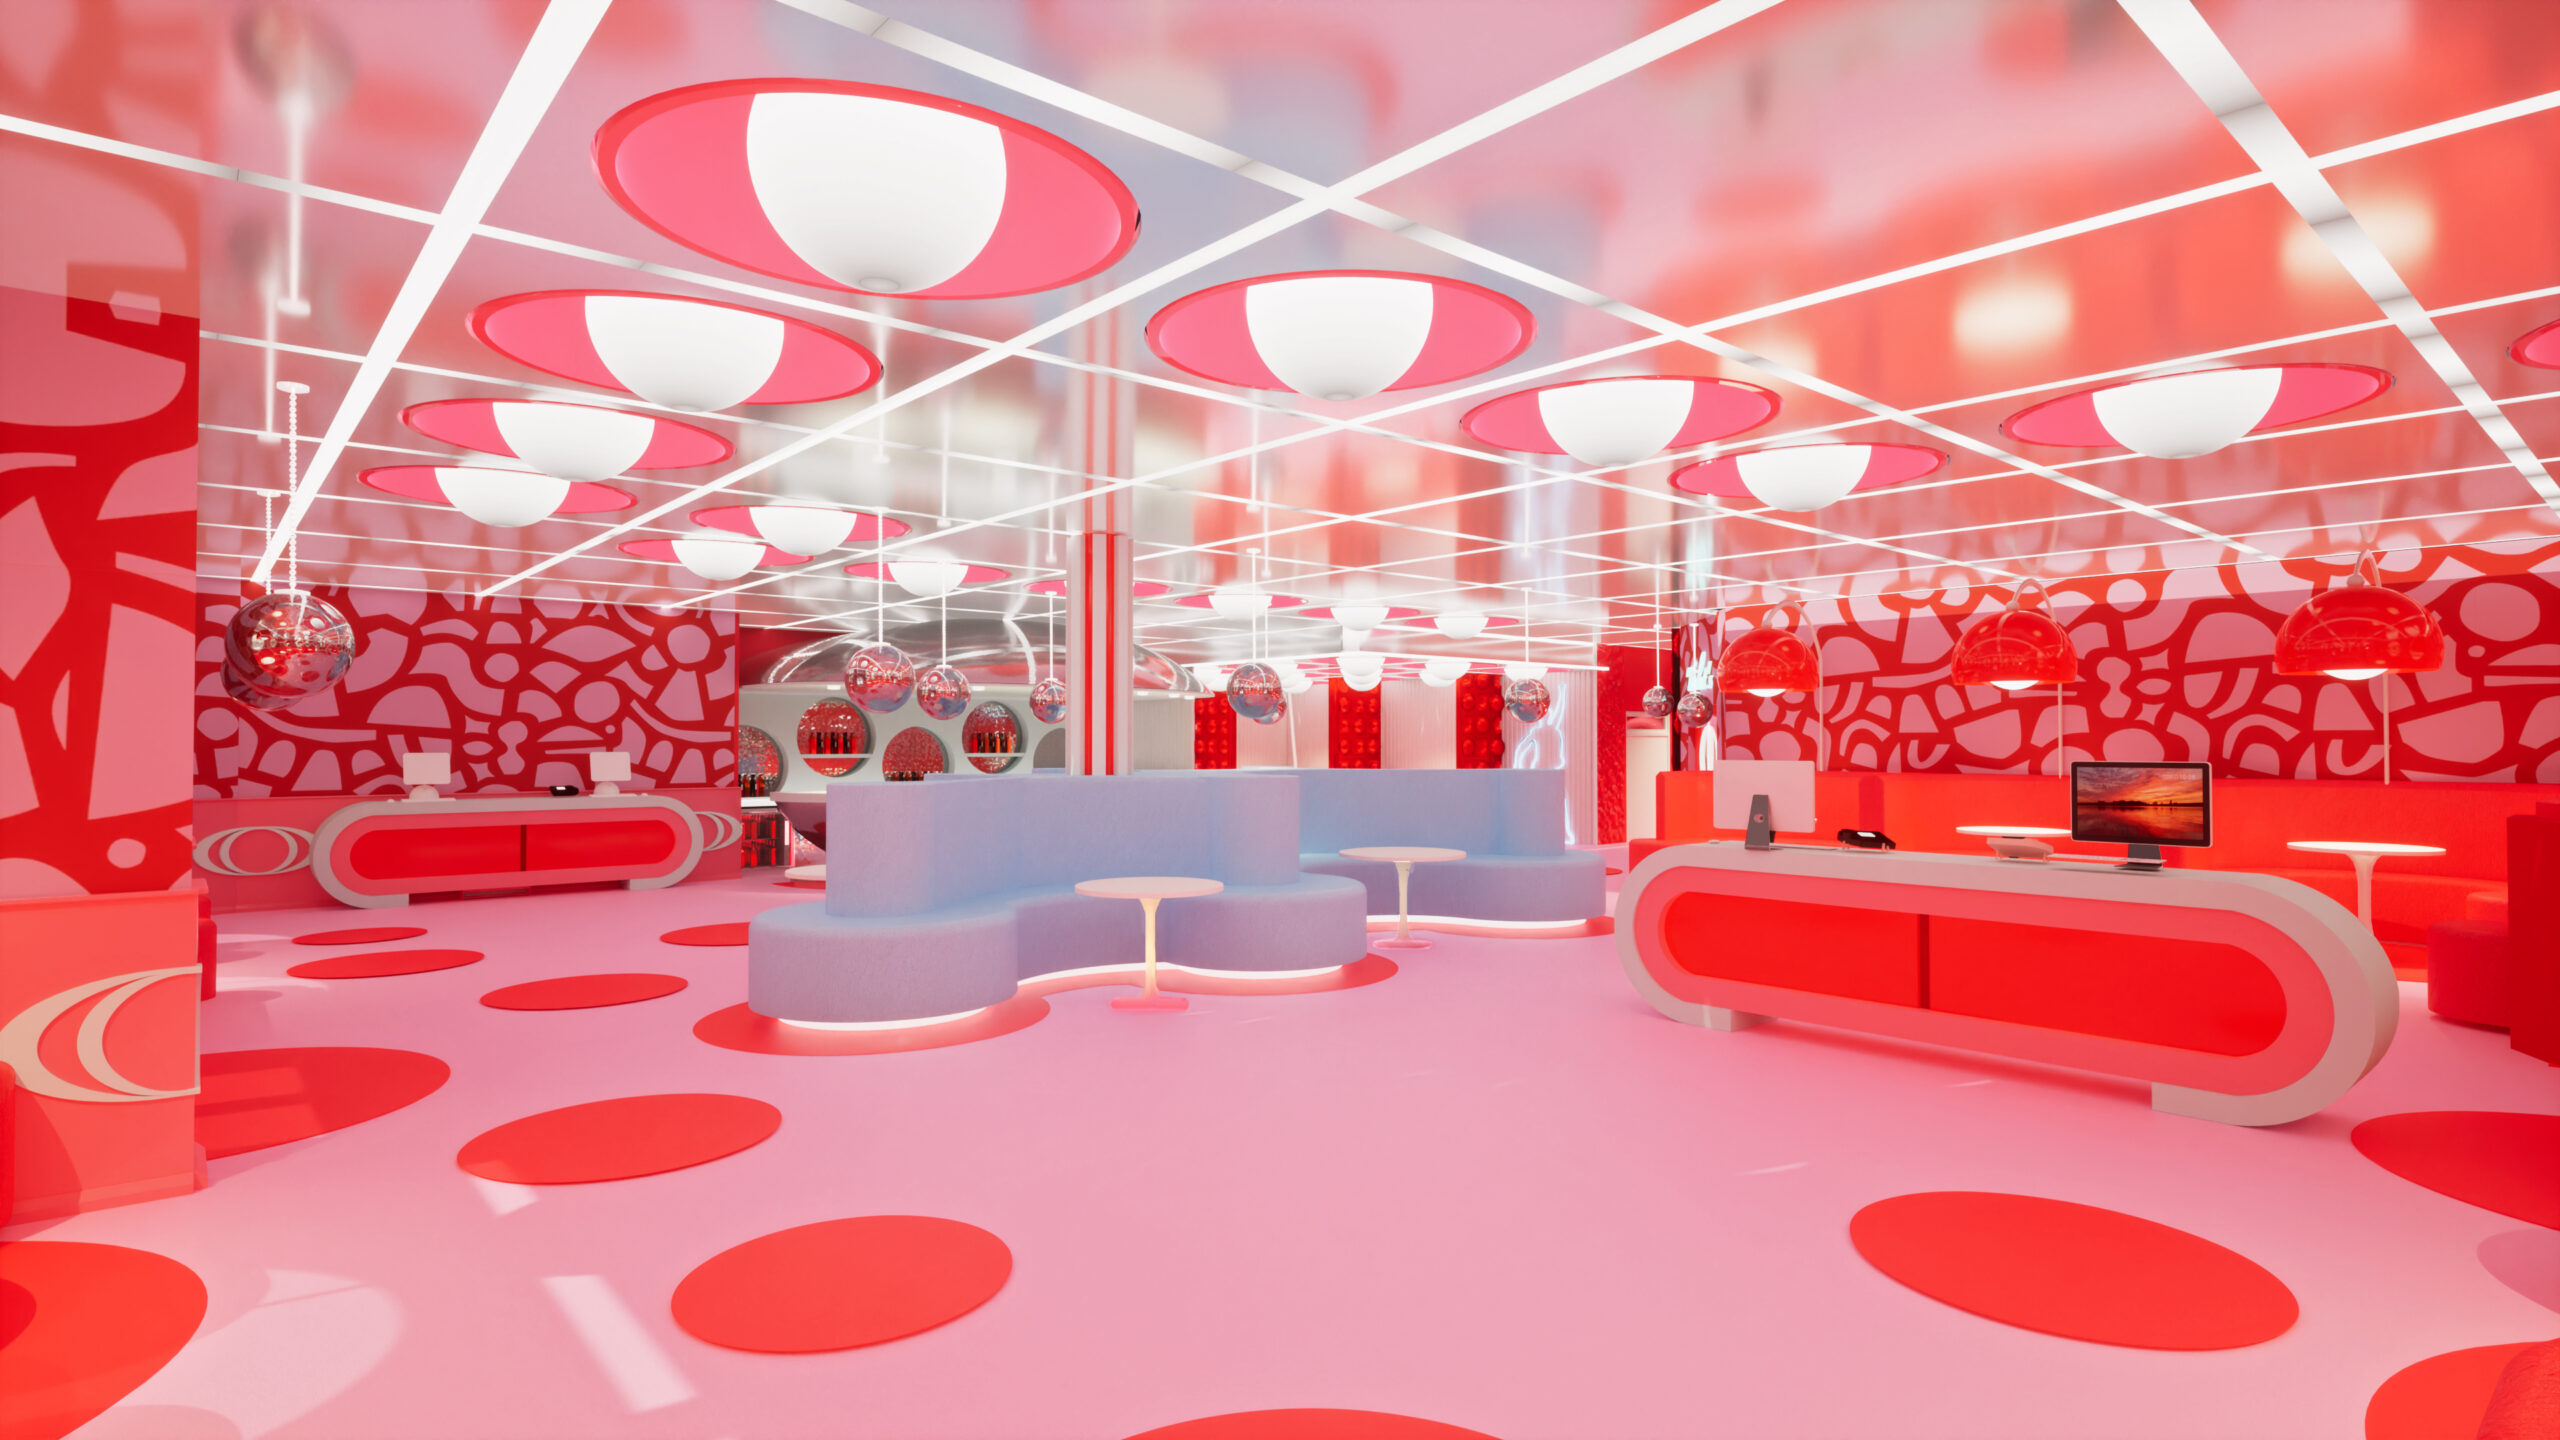
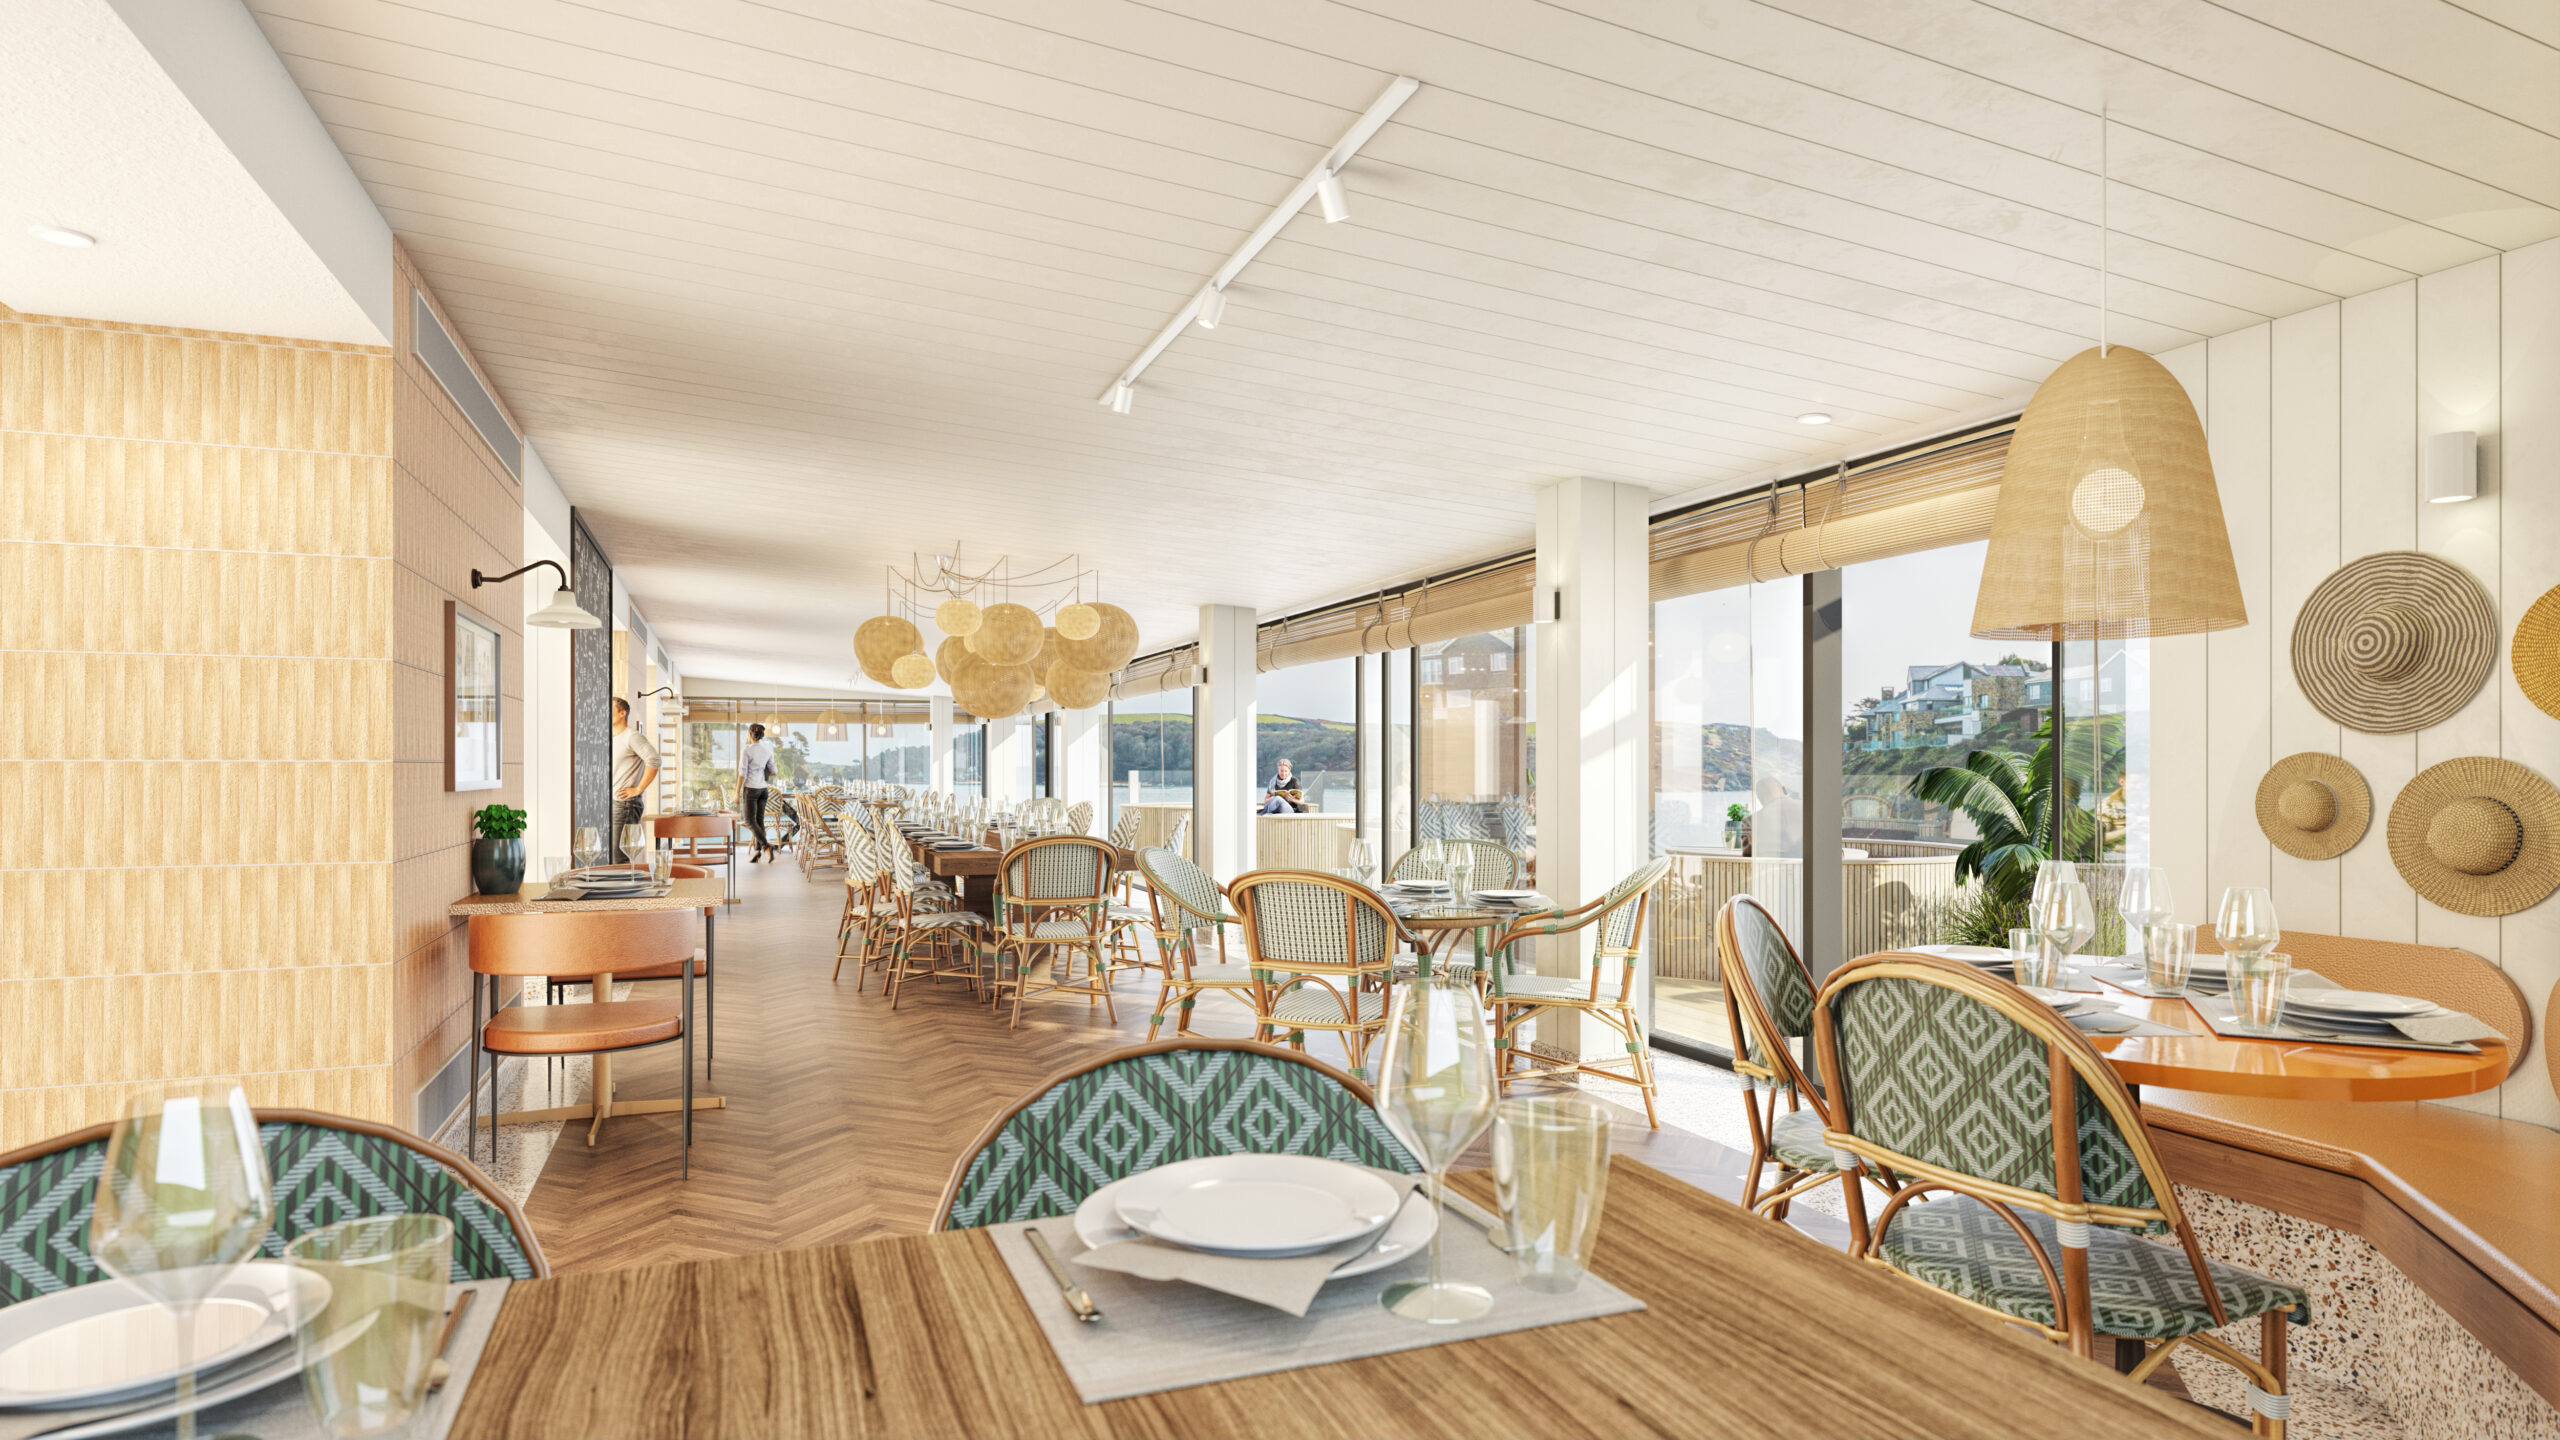
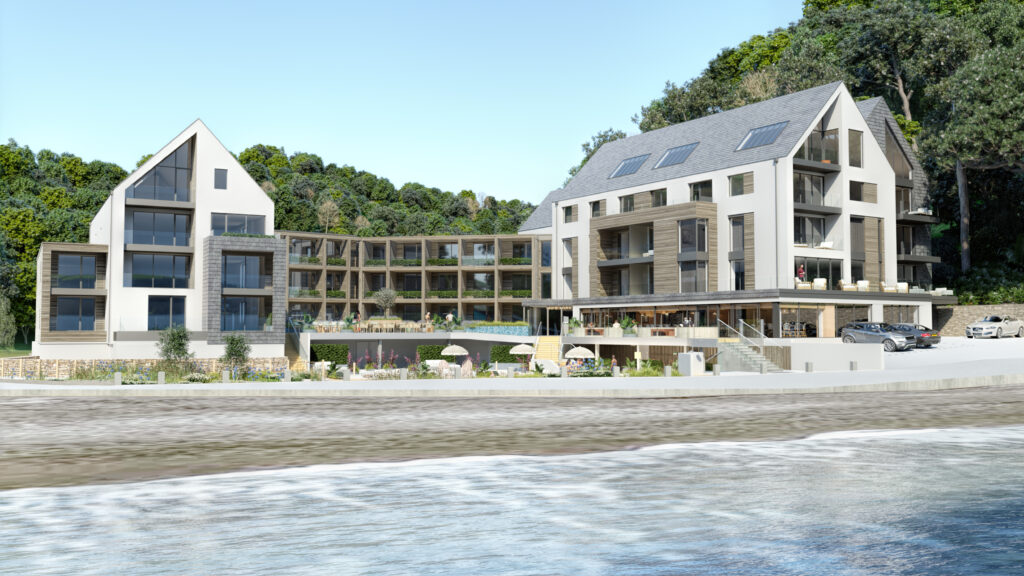
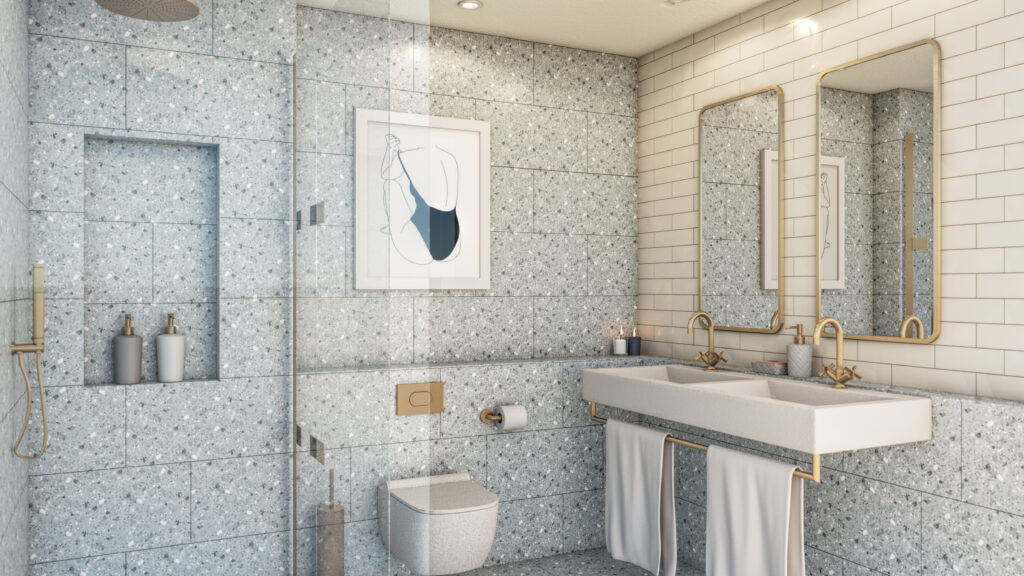
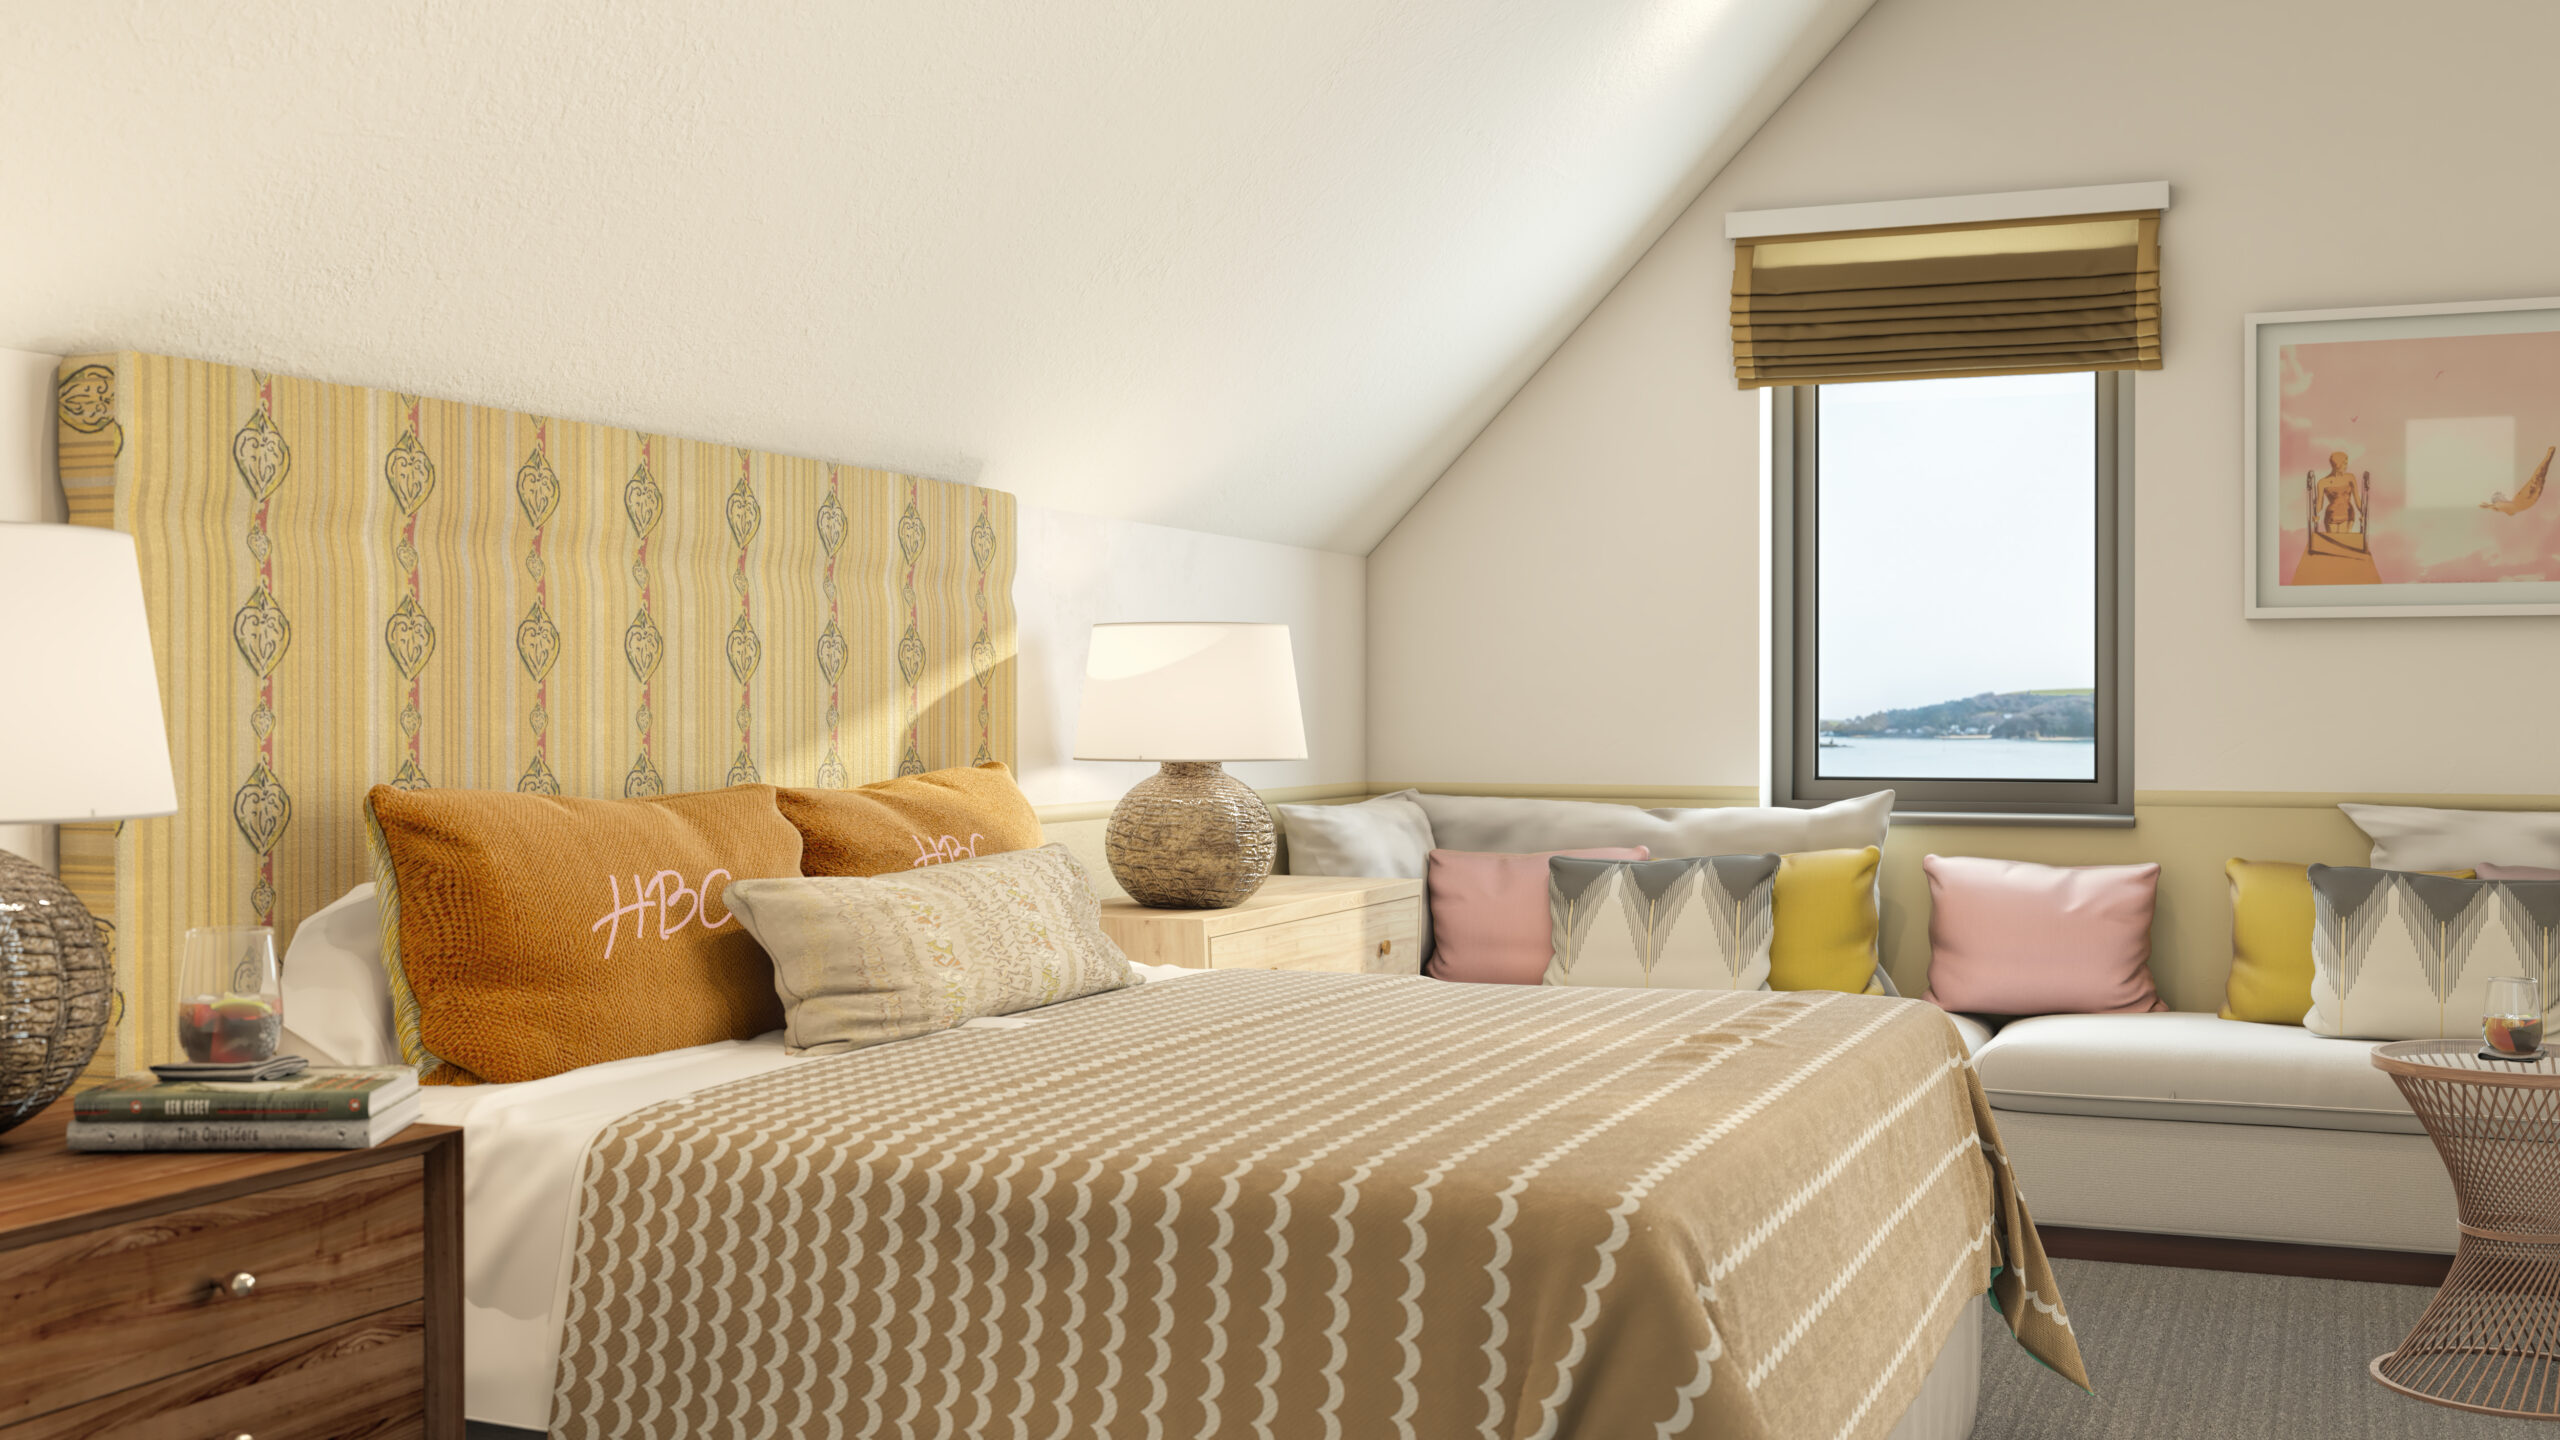
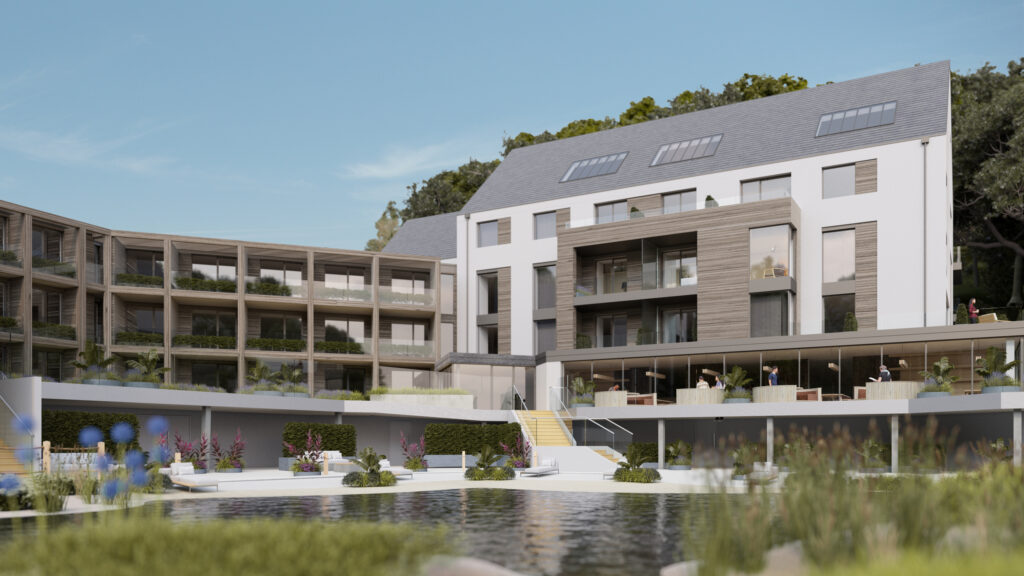
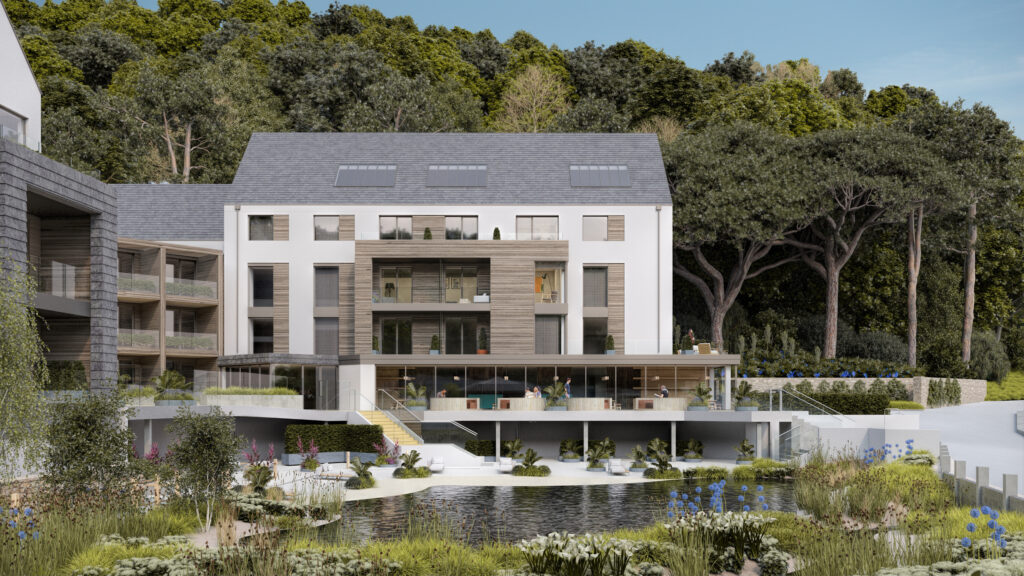
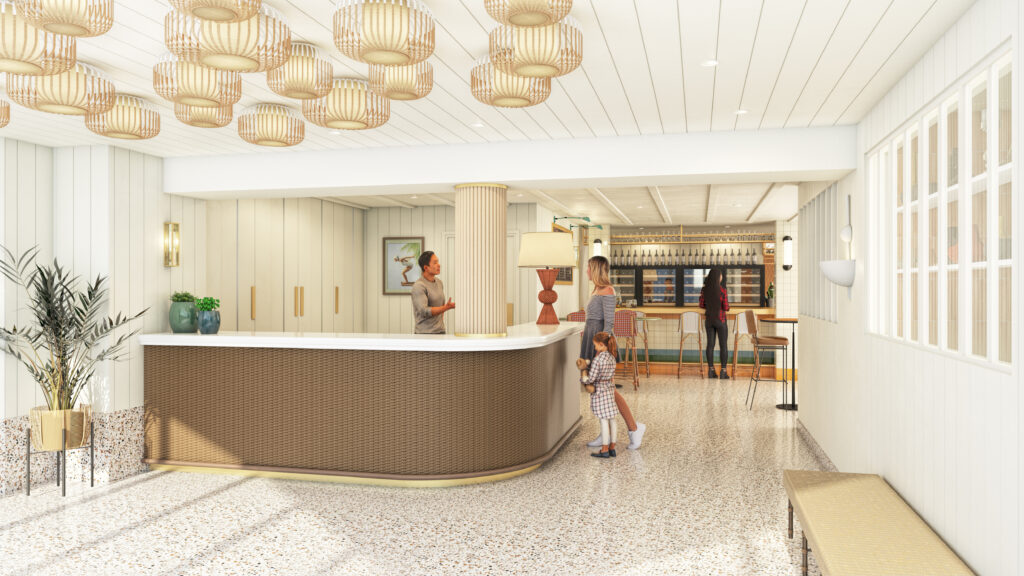
Freaky Deaky is a restaurant/bar nightclub set over two floors and over 1000Sqm between the two floors. The overarching concept behind the space was Disco, which developed itself into many mini concepts within the Disco concept, many of which can be seen here.
It includes a large restaurant seating around 80 customers on the ground floor, whilst the underground floor features a nightclub with a bar, VIP seating and an Instagrammable booth alongside a separate exclusive luxurious bar, referred to as The Sunken Bar due to its sunken seating design.
Throughout this case study you’ll see plenty of rendered images of Freaky Deaky. These have been rendered in Twinmotion using various tools within the platform and spending some time playing around with the lighting to get the club effect.
Jasmine explained her workflow from concept to finished design rendered in Twinmotion
Usually it takes several weeks to develop a concept, with research and feedback – in this case it was disco which split into multiple concepts including artists from the disco era, typography, advertisement and iconic furniture.
From there it develops into sketches and 3D design where 99% of my 3D model is drawn out and built up myself. Once that is complete and my materials are all finalised I’ll then take the model into Twinmotion. The most important transformations are the material finishes and reflections and ensuring the lighting is realistic.
“Twinmotion came into the end of my FMP project at university due to the quality of the renders, particularly the material finishes.”
Twinmotion 2022.2 is here!
This case study was created to celebrate what incredible things can be done with Twinmotion, and now there is much much more… With the ability to render images and videos at very high resolutions (up to 64K), a new HDRI backdrop feature, and Sketchfab integration—giving you drag-and-drop access to over 660,000 free 3D models from the leading web platform—plus hundreds of new native assets, Twinmotion 2022.2 offers even more possibilities for high-quality visualization. |
There are also a range of productivity, interoperability, and performance enhancements, and better support for working with small-scale objects, such as consumer products. Meanwhile, Twinmotion Cloud continues to receive new features, including the ability to host much more complex Presentations and Panorama Sets. |
This upgrade is free to existing users. You can install it from the Epic Games launcher: log in with your Epic account, select the Twinmotion page in the Unreal Engine tab, and click Install above Twinmotion 2022.2, then follow the prompts to complete the process. |
We hope you enjoy Twinmotion 2022.2! For more information, click here! |


 ).
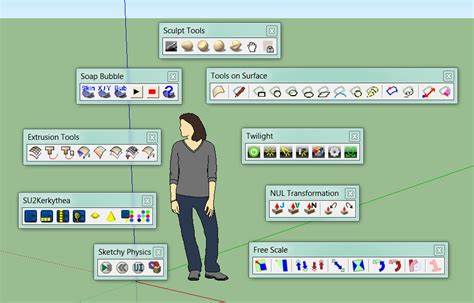
). ). Then move your cursor to the right and click again. A rectangle appears on the ground, as shown here.
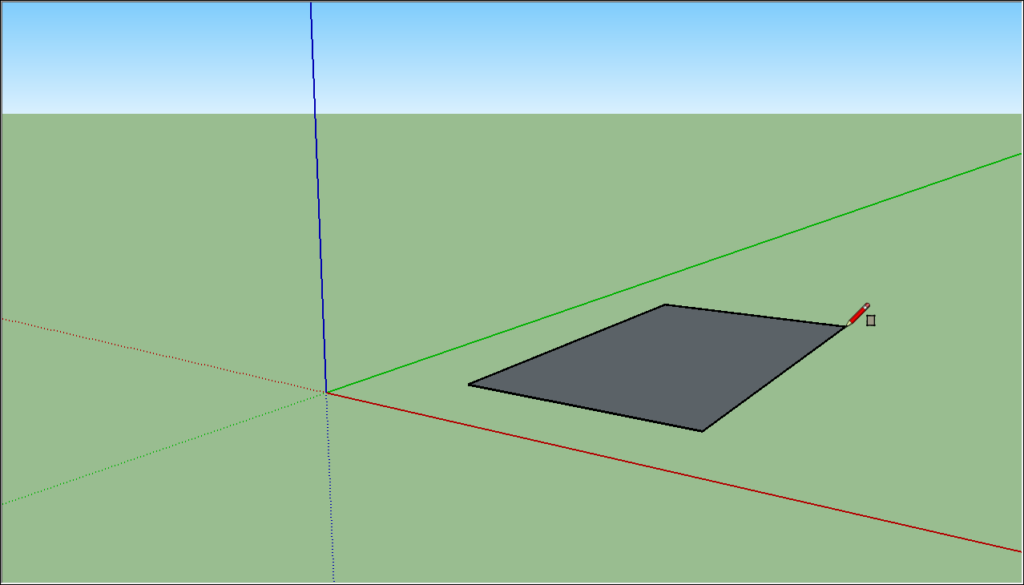
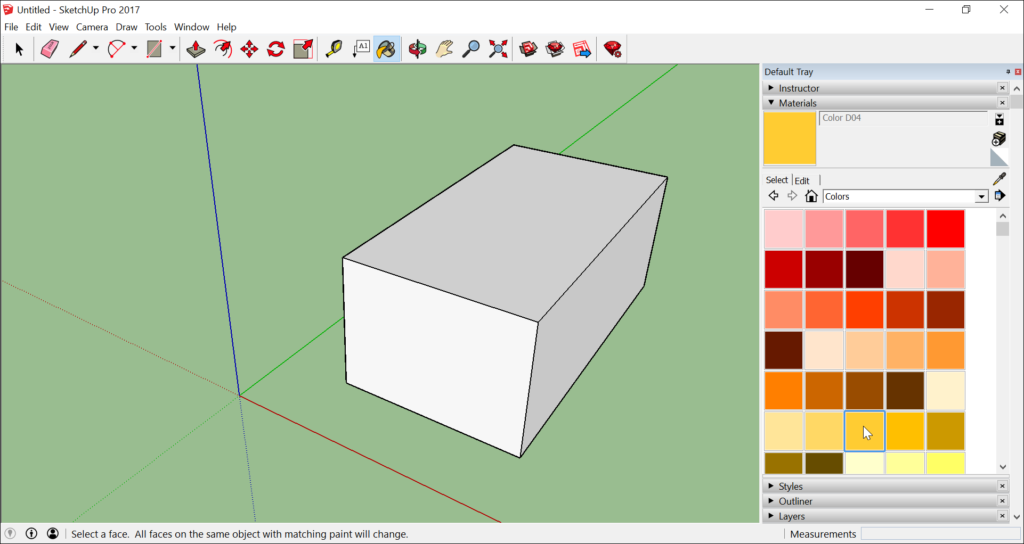
 ), and place the Push/Pull cursor over the rectangle you just created, as shown in the following figure.
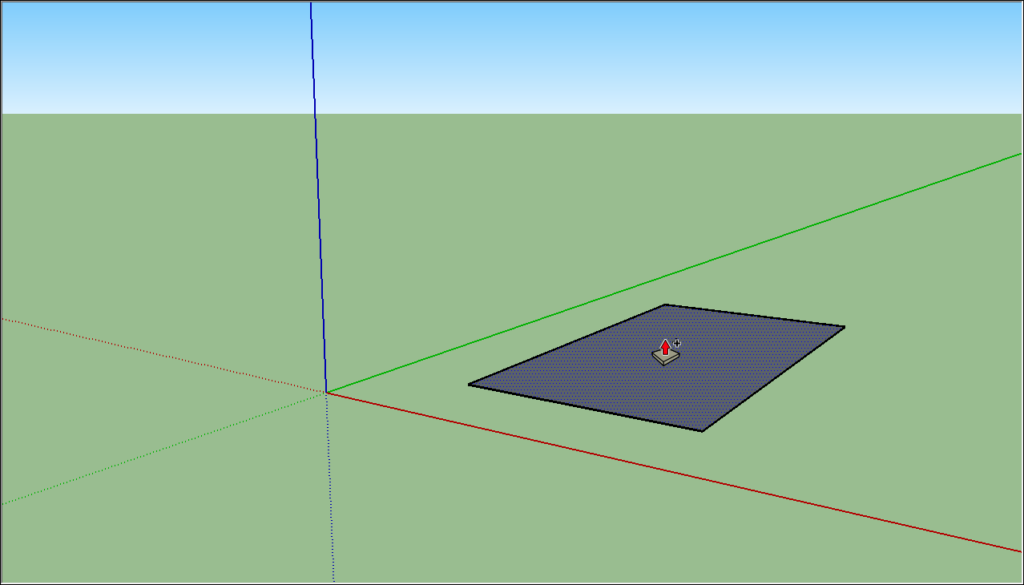
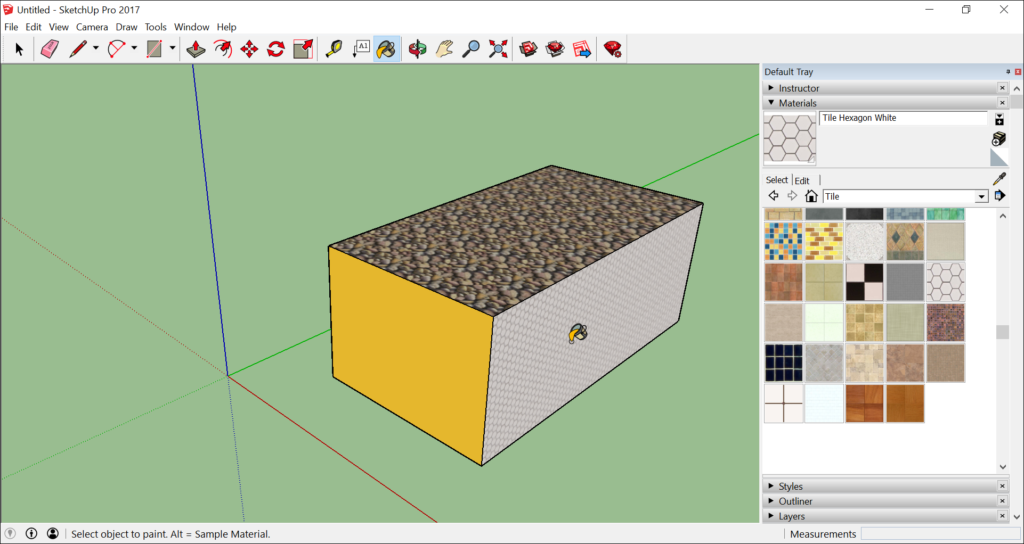
 ). Place the Orbit cursor above your shape. Then click and hold while you move the mouse down. Notice how the view of your shape changes, as shown in the following figure. Practice clicking and dragging with the Orbit tool as much as you like. It’s a pretty fun tool!
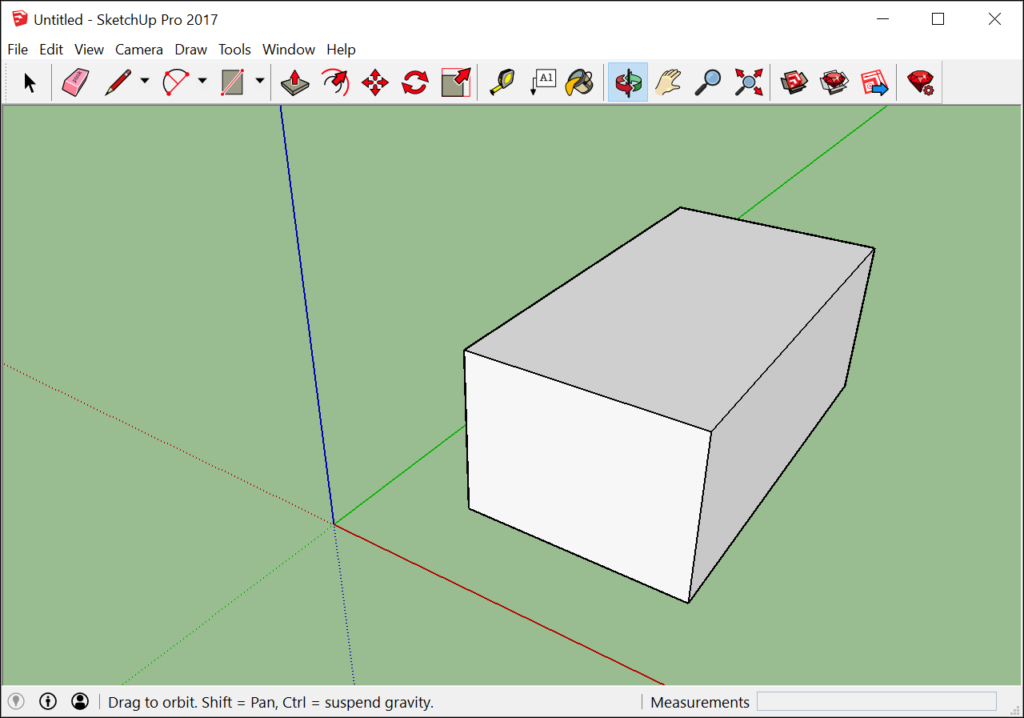
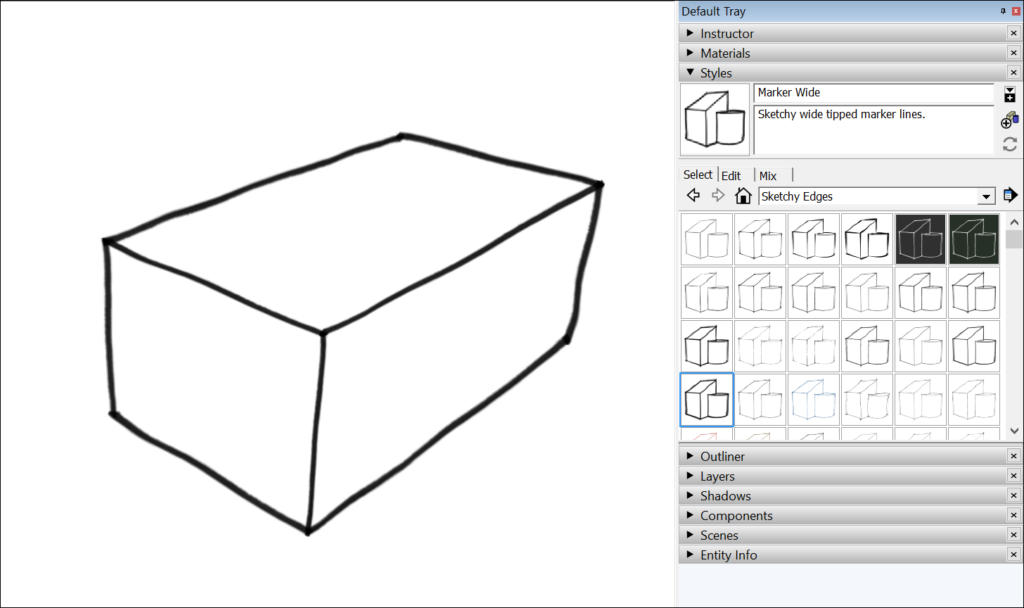
 ). If you orbit around until you lose track of where you are in your model, the Zoom Extents button is a handy way to reorient yourself.
 ) and you can zoom in and out that way, too.
 ).
).