Select the person, context-click the selection, and select Erase in the context menu that appears.
In the Getting Started toolbar, select the Rectangle tool ( ).
).
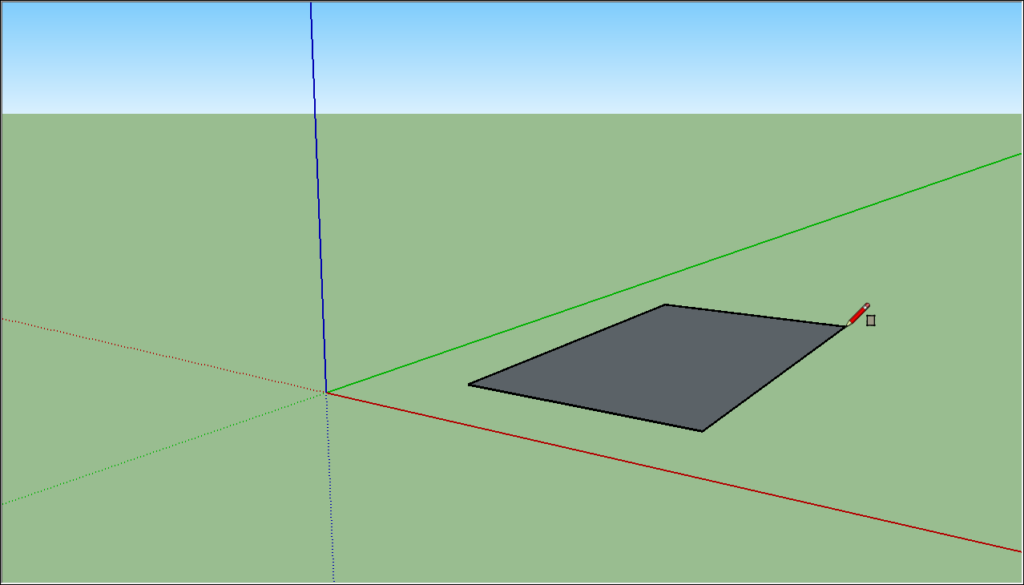
On the ground plane, in the space between the red and green axis, click the Rectangle tool cursor ( ). Then move your cursor to the right and click again. A rectangle appears on the ground, as shown here.
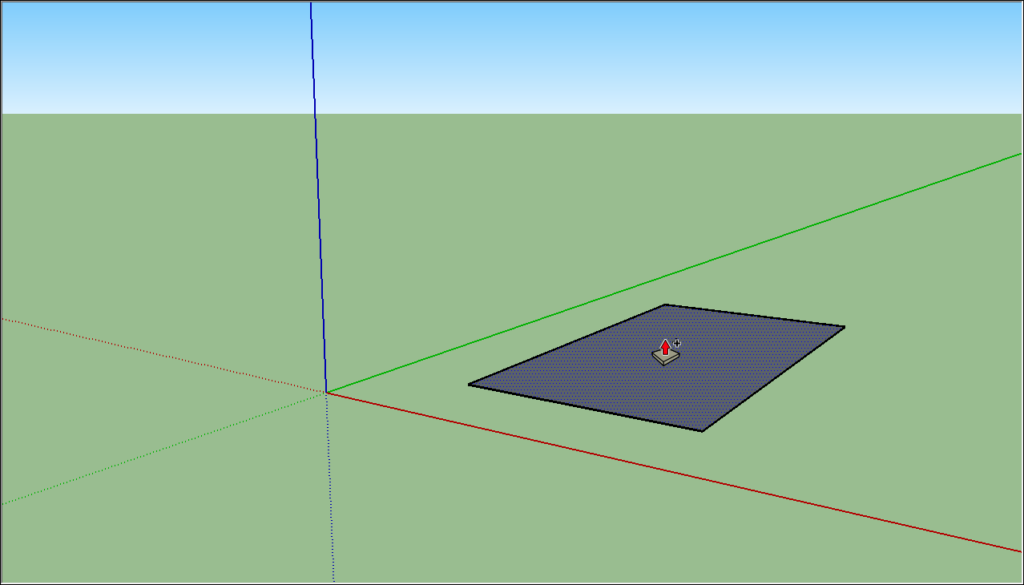
On the Getting Started toolbar, select the Push/Pull tool ( ), and place the Push/Pull cursor over the rectangle you just created, as shown in the following figure.
Click and drag your rectangle up into a 3D shape. Keep an eye on the Measurements box and release the cursor when your shape is about 5 feet tall.
Without clicking or selecting anything, simply type 6’ and press Enter. Notice how the height of your shape changed to exactly 6 feet tall, and the value you entered appears in the Measurements box.
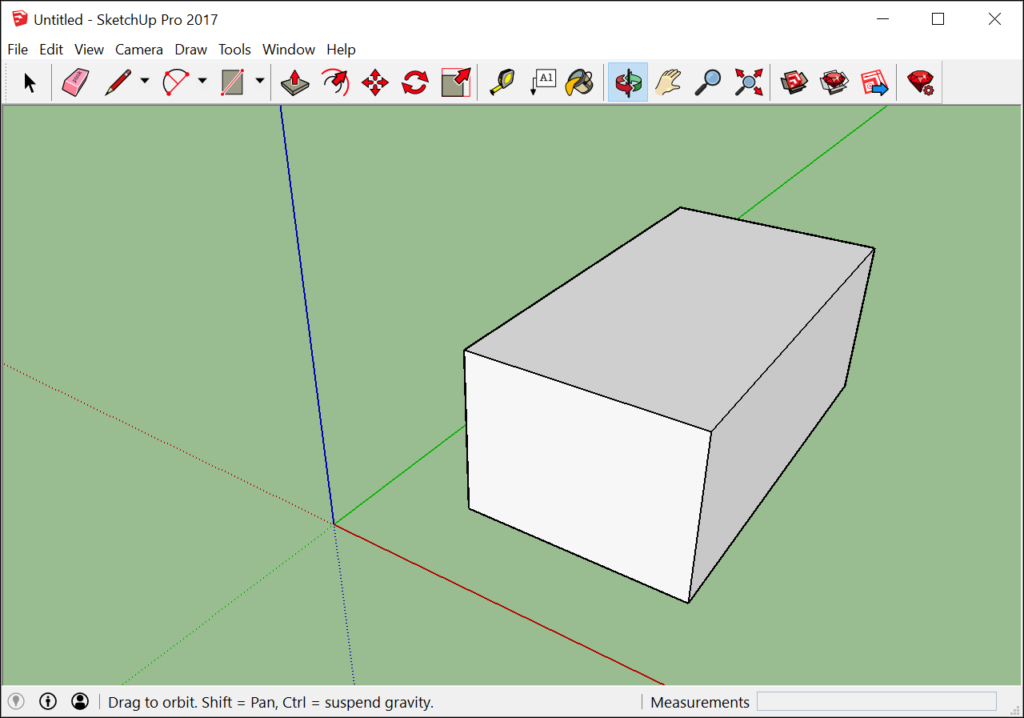
In the Getting Started toolbar, select the Orbit tool ( ). Place the Orbit cursor above your shape. Then click and hold while you move the mouse down. Notice how the view of your shape changes, as shown in the following figure. Practice clicking and dragging with the Orbit tool as much as you like. It’s a pretty fun tool!
In the Getting Started toolbar, click the Zoom Extents button ( ). If you orbit around until you lose track of where you are in your model, the Zoom Extents button is a handy way to reorient yourself.
If you have a scroll-wheel mouse, scroll down to zoom out a bit. Working in SketchUp is much easier with a scroll-wheel mouse. However, if your mouse lacks a scroll wheel, click the Zoom tool ( ) and you can zoom in and out that way, too.
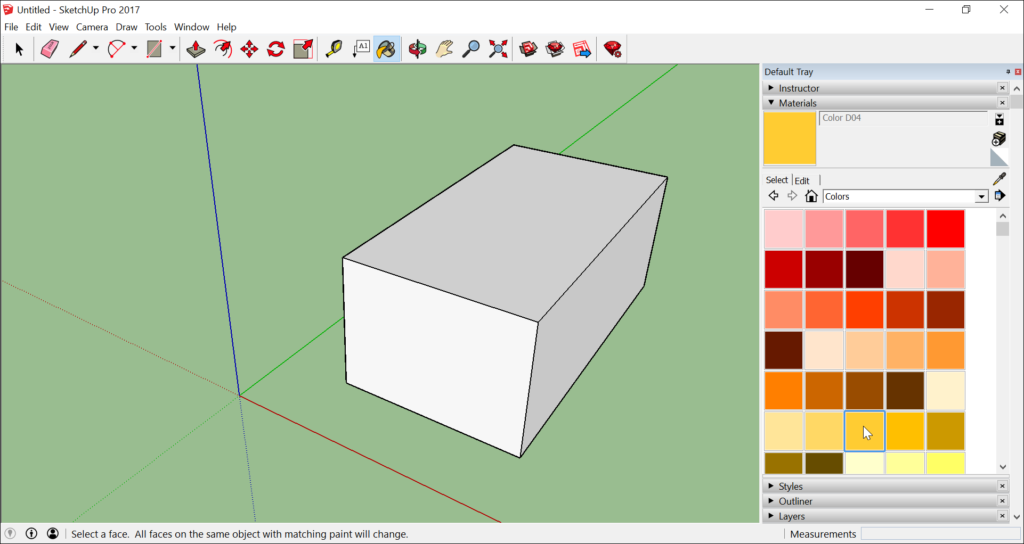
In the Getting Started toolbar, click the Paint Bucket tool ( ).
).
In the Materials panel that appears, select Colors from the drop-down menu, as shown here. Then select a color from the options that appear on the Select tab.