Carpentry Design Software Overview
Have you heard about Sketchup for woodworkers? If you’re searching for the best free woodworking design software it’s an excellent choice. As carpentry software goes it comes with many benefits. If you’ve ever spent time struggling to create a simple design on paper, the old-school way, you’ll already know it’s prone to errors. You don’t get any of the design support that’s integral to Sketchup, all the things it does for you automatically behind the scenes.
For a start it will save you huge amounts of time as well as making everything you draw a lot more accurate and reliable. As you can imagine, a drawing with the slightest inaccuracy can lead to wasting expensive materials, or at the other end of the scale not buying enough for the job. Easy-to-learn Sketchup Pro is a real asset to carpenters and woodworkers, exactly what you need to start presenting your work to clients in a professional and highly realistic way.
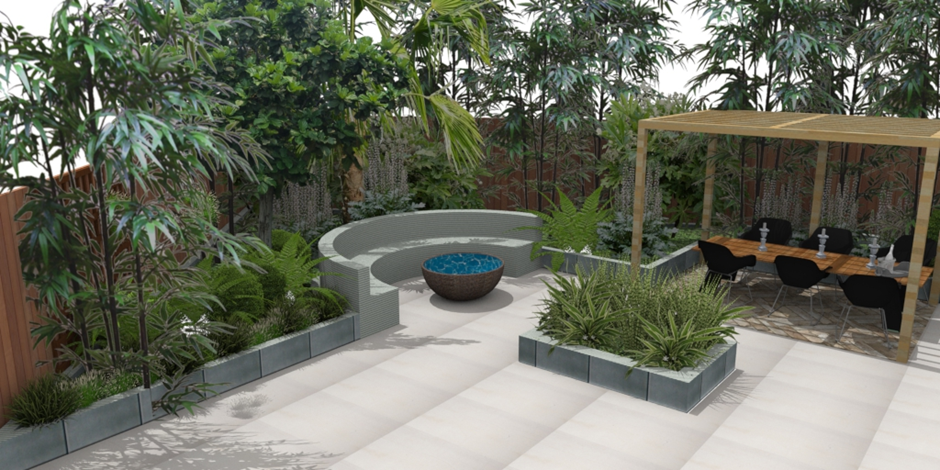
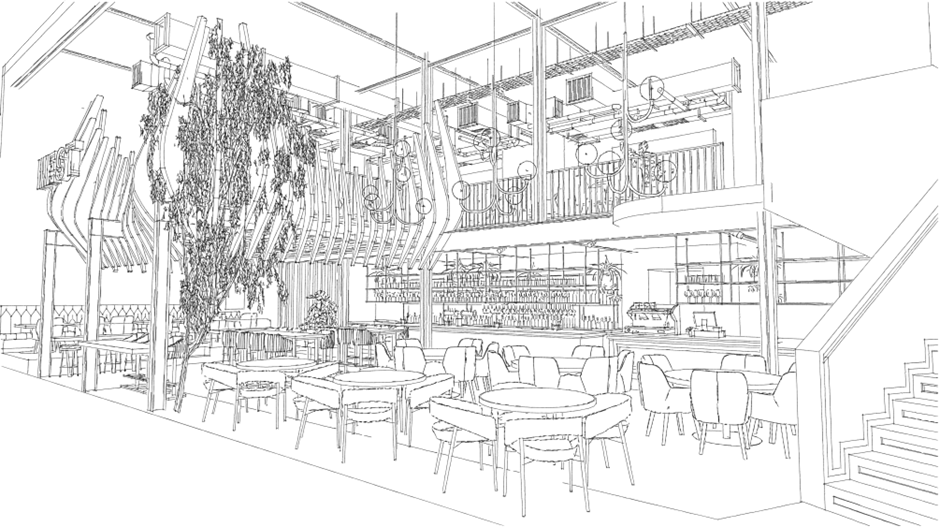
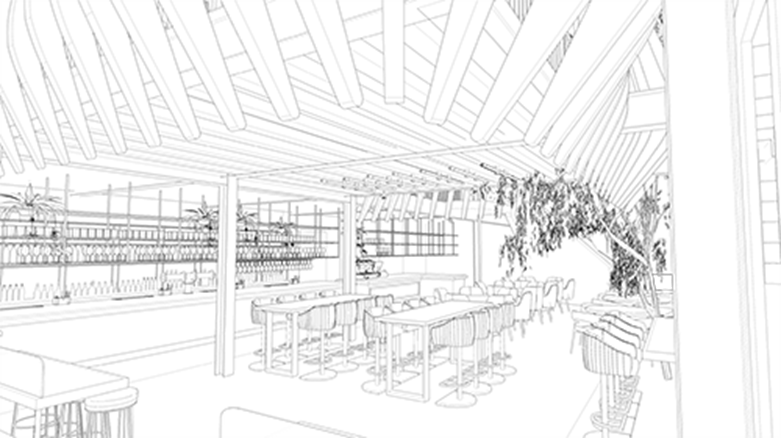
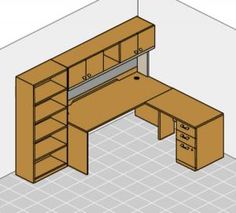
You’ll be able to create beautiful 3D Interior designs for rooms like kitchens, then tweak and manipulate everything quickly and simply using the software to get things perfectly right. You can even develop and present stunning furniture designs using Sketchup’s legendary 3D capabilities. Read on to find out why Sketchup woodworking design software is so popular.
3D Carpentry Design
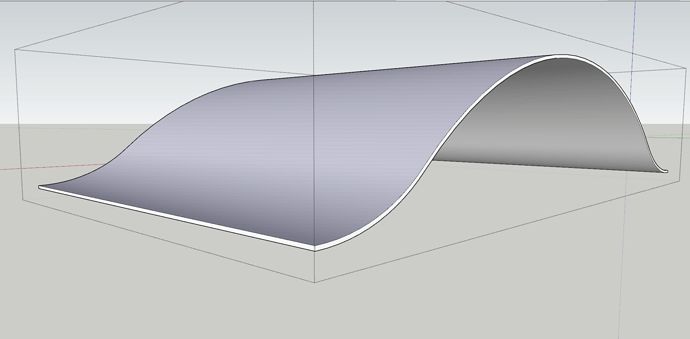
3D design software is beneficial for carpentry and woodworking. But why is Sketchup for woodworkers so good? For a start, it’s so much less stressful drafting and testing your 3D designs in a virtual environment, compared to creating real-life design mock-ups taking ages to build with lots of potential for mistakes. Sketchup 3D design software means you can know exactly how much material you need. It’s incredibly easy to turn 3D Designs into the 2D data you need to create components, for example using a CNC machine.
3D Design iterations are simple in Sketchup too, and it supports interaction and collaboration really well. This makes it an ideal choice for presenting beautiful designs to clients, convincing drawings they are happier to buy into because they can see how everything will work. All this means you’ve pinned down the fine details before embarking on the design implementation.
Easy to Learn 3D Design Software for Carpenters
If you’ve never tried free woodworking design software before, you might be feeling a bit nervous. Some carpenters and woodworkers are put off by the thought of learning how to use 3D design software. But don’t worry. Sketchup is genuinely incredibly easy to learn and use, which is one of the main reasons so many people like it so much. It’s widely praised for being simple, intuitive, and very powerful indeed.
If you’re concerned about the learning aspect, you’ll be supported by an abundance of excellent teaching resources, everything from video tutorials to follow to enhanced pdf courses stacked with embedded video, text and imagery. There’s something for everyone, and there’s even a book on the subject. However you like to learn there’s plenty for you to dive into and learn at your own pace. In our experience even the most tech-phobic, computer-hating carpenters and woodworkers quickly discover they actually love working with Sketchup. You design faster, make accurate plans, know how much material you need, and can change your designs in seconds rather than re-drawing that takes hours. And client presentations are a dream with such impressive output.
Quickly Visualise Carpentry Designs
You can see the idea in your head. You know exactly how you want it to look. But how do you transform a bright idea into a representative 3D design in Sketchup? Sketchup for woodworkers is fast, and that’s one of the best things of all. An idea occurs to you, you sketch it fast and accurately, then you can amend it, play with it, enhance it, all in no time at all. No faffing around with paper and pens, no messing things up and taking hours over it.
Whether it’s a piece of unique furniture or an interior design element like a set of smart hand-made wooden kitchen units, you’ll draft it quickly and enjoyably so it looks just as appealing as it does in your imagination. The 3D representations created in Sketchup are so much more appealing than standard 2D construction plans, easier for your clients to understand and decode. You can manipulate your models, examine them from every angle, make changes, adjust the size, colour, materials, you name it, all in record time, even as your clients watch. It’s a truly professional way to create, design, present, and ultimately build.
Create Construction Plans
Here’s something you’ll appreciate. Sketchup Pro isn’t just about creating engaging 3D woodworking design software models. It also generates all the necessary construction documentation, which makes it truly invaluable. All that hard work, calculating, counting, and figuring out is taken care of in the background. There’s no risk of getting it wrong as long as you’ve input the right information in the first place.
Complex 3d woodworking CAD designs can be readily represented in plan and documentation form, so every component can be accurately cut and made according to your plans. Imagine the stress-busting effect this has on your workflow, with so much more time for making and creating. Can you imagine how this would apply to your furniture design life, for example? The software will automatically create accurate cut lists for every element of your design, so you don’t have to struggle with it. Instead you can relax in the knowledge you’ve got it right the first time, every time.
Software for Carpenters and Woodworkers
You know the score. In your world you always need to measure twice to cut once. Plenty of people in your world end up measuring a lot more than twice in an effort to get things perfectly right, but things still go wrong with annoying regularity, especially when you’re busy or short of time.
You can think of woodworking design software as your reliable accuracy assistant. It provides exact 3D model representations of the items you design, including 100% accurate dimensions, so there’s far less chance for error. In this way, Sketchup supports accuracy and precision for carpenters and woodworkers of every kind, amateur to professional, teacher to learner. Can you see how much time and hassle it could save you? If you’ve ever mis-measured and ended up spending more than you should have on materials, you’ll appreciate it.
Free Carpentry Design Resources
Free resources are the name of the game with Sketchup woodwork software. For a start there’s a wealth of Extensions and Plugins. They’re extra tools created to speed up various Sketchup actions, and make them easier by either cutting out steps you’d usually need to take or adding extra functionality. They’re just as easy and fun to use as the main software, and there are thousands of them to choose from. If there’s a design challenge you’d like to overcome, there’s probably a plugin or extension to help you.
There are many excellent free extensions that support great carpentry. Take OpenCutList, which generates perfect cut lists and cutting diagrams for woodworking and all sorts of other projects. 3D RubyWindow is a top way to create stunning window frames and doors with ease and flair. They’re just the tip of the iceberg, along with loads of great tutorials to learn from.
There’s more. Make your way to the Sketchup 3D warehouse for even more free woodwork software resources to make your world a better place. You can download pre-made furniture designs, grab a load of wonderfully realistic materials and finishes, use ready-made accessories like potted plants to enhance your work and make drawings even more realistic. There’s a host of really good free woodworking plans as well, an alphabetical list containing every kind of woodworking design you can imagine, from furniture to bee houses to boats.
Carpentry Software FAQs
Finally, let’s look into some of the most frequently asked questions about Sketchup 3d carpentry software for woodworkers.
What is the best carpentry software? Sketchup regularly turns up at the top of the list in articles and posts about the best carpentry and woodworking software tools. The proof is in the sheer variety of professionals, hobbyists and educators who use it.
What 3D Design software do carpenters and woodworkers use? It’s no surprise that so many professional and amateur carpenters and woodworkers use Sketchup Pro to design and create amazing work. Unlike other software it’s perfect for every aspect of 2D and 3D design, not designed for a specific purpose like auto design with bolted-on functionality for other kinds of design.
Is Sketchup Free? There is an excellent free version, which is more than enough for many carpentry and woodworking applications. The Pro version, which you pay for, simply comes with more tools and capabilities. Give the free version, called Sketchup Web, a try, then you’ll know whether the Pro version is necessary.
Is Sketchup easy to learn and use? In a word, yes. Sketchup is widely recognised as not only easy to learn – but a lot of fun, which makes the learning process enjoyable. As long as you know the basics of using a computer you should be able to pick up the basics in record time, and that makes learning the finer details nice and easy too. Once you’re familiar with the way it works, you’re off.
Are there any simple guides and tutorials for carpenters? Yes, there are many popular, hard-working Sketchup for woodworkers courses along with lots of great Youtube tutorials covering all aspects of carpentry and woodworking design using Sketchup. Try an inspiring YouTube beginners course lasting ten minutes. There are tutorials about creating all sorts of objects from start to finish, and something for everyone whether you’re a beginner or already using the software.