
In the world of interior design, the ability to design and create a realistic and captivating rendering is paramount. These renderings serve as a bridge between clients and stakeholders, effectively communicating design concepts and bringing space to life in the mind of the client. This is where V-Ray for SketchUp comes to the fore, by empowering interior designers with advanced rendering capabilities that fit seamlessly into any existing workflow.
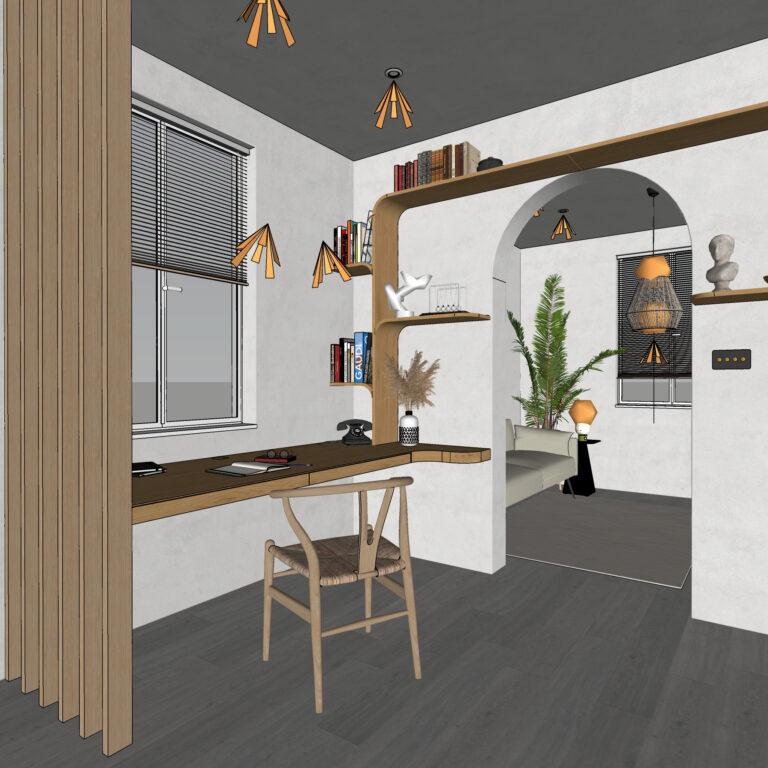
V-Ray for SketchUp unlocks a wide array of powerful features, from highly accurate light simulation to realistic material representation. V-Ray transforms design concepts into visually stunning realities, with the result being an intensely immersive rendering that can captivate clients and allow them to visualise the true potential of their spaces.
This article will bring you through everything you need to know about using V-Ray for SketchUp to supercharge your interior design work, from step-by-step tutorials to some advanced tips that will truly unlock the potential of V-Ray for interior design. We’ll showcase V-Ray’s ease of use and remarkable versatility, displaying that — despite its highly advanced capabilities — it’s suitable for designers of all levels. Discover how this incredibly powerful tool can transform your designs, impress your clients, and elevate your interior design projects to new heights of realism and visual excellence.
Mastering V-Ray Interior Rendering in SketchUp: A Step-by-Step Tutorial
V-Ray for SketchUp is a transformative tool for any interior designer. It can take your work to the next level with its massive arsenal of capabilities and features. Take a look at just some of the brilliant features on offer:
- Global illumination, accurate light simulation, and ray tracing all combine to create highly realistic and visually stunning renderings.
- V-Ray can accurately reproduce and map a whole host of textures, reflections, and refractions. All of this leads to photorealistic renderings that accurately capture the behaviour of light as it interacts with materials, giving surfaces a true sense of depth.
- V-Ray’s interactive rendering feature provides real-time feedback that allows you to preview the scene as any adjustments are made. This allows you to truly fine-tune every individual aspect of your design, safe in the knowledge that V-Ray has the capacity to handle extremely complex scenes with ease.
Let’s take a look at how you’d go about lighting an interior scene using V-Ray for SketchUp:
- Assess the Scene
Evaluate the space you’re working in and determine what type of atmosphere you’re trying to create with the lighting. Consider the purpose of the space, and what its defining features are.
- Choose Light Sources
V-Ray for SketchUp offers a wide variety of lighting options, so make sure to select the best source based on the scene requirements. Consider how a space like yours would typically be lit, and replicate the musing V-Ray’s deep library of light sources.
- Adjust the Light Intensity
Start with moderate values and then adjust as needed. Pay close attention to the light’s intensity in relation to its distance from objects and surfaces to achieve realistic illumination. Experiment with different intensities to create the desired ambiance and balance of lights and shadows.
- Fine-tune Light Color and Temperature
Consider changing the colour temperature of the light sources to match the desired mood. For natural lighting, warmer colours simulate the sun’s glow during morning or evening, while cooler colours represent midday lighting. Adjust the colour and temperature using V-Ray’s settings to achieve the desired effect.
- Utilise V-Ray Light Types
Leverage V-Ray’s light types for specific scenarios. For natural lighting, for example, use a Dome Light with an HDR image to replicate the sky. For artificial lighting, use Rectangle Lights or Sphere Lights to mimic common light fixtures. Experiment with different light types to achieve the desired lighting effects.
- Add Light Bounces and Global Illumination
Enable Global Illumination in V-Ray to simulate indirect lighting and light bounces within the scene. Adjust the settings to control the amount of indirect light and its impact on the overall scene. Global Illumination enhances realism by bouncing light off surfaces, creating subtle shadows, and improving the overall lighting distribution.
- Fine-tune Materials and Reflections
Consider the interaction between light and the materials in your space. Adjust material properties to ensure they react realistically to light sources, creating accurate reflections and highlights. This step enhances the overall realism of the scene and contributes to a more convincing lighting setup.
Of course, there’s so much more to V-Ray for SketchUp. The next step is to produce a rendering, and it’s extremely important that you optimise your settings to achieve the most realistic results. To do this you’ll need to do a whole host of steps, but here’s the basics:
- Determine the desired output resolution, trying to strike a balance between quality and time.
- Adjust the sampling settings to control the quality. Higher values will mean a smoother rendering, but they’ll also take longer to render.
- Check the Global Illumination (GI) parameters. Experiment with some of the different GI engines available in V-Ray to achieve the best looking result.
- Optimise your materials by choosing appropriate texture sizes, and by using efficient reflection and refraction settings.
- Take advantage of V-Ray’s denoising feature to reduce noise in your rendering. This should improve render quality without impacting massively on the time.
Finding the optimal rendering settings is more of an art than a science, and it will often take numerous tries before you get it right. Make sure you regularly test and evaluate your results and try different settings to achieve the best results.
Transform Your Design Workflow with V-Ray for SketchUp
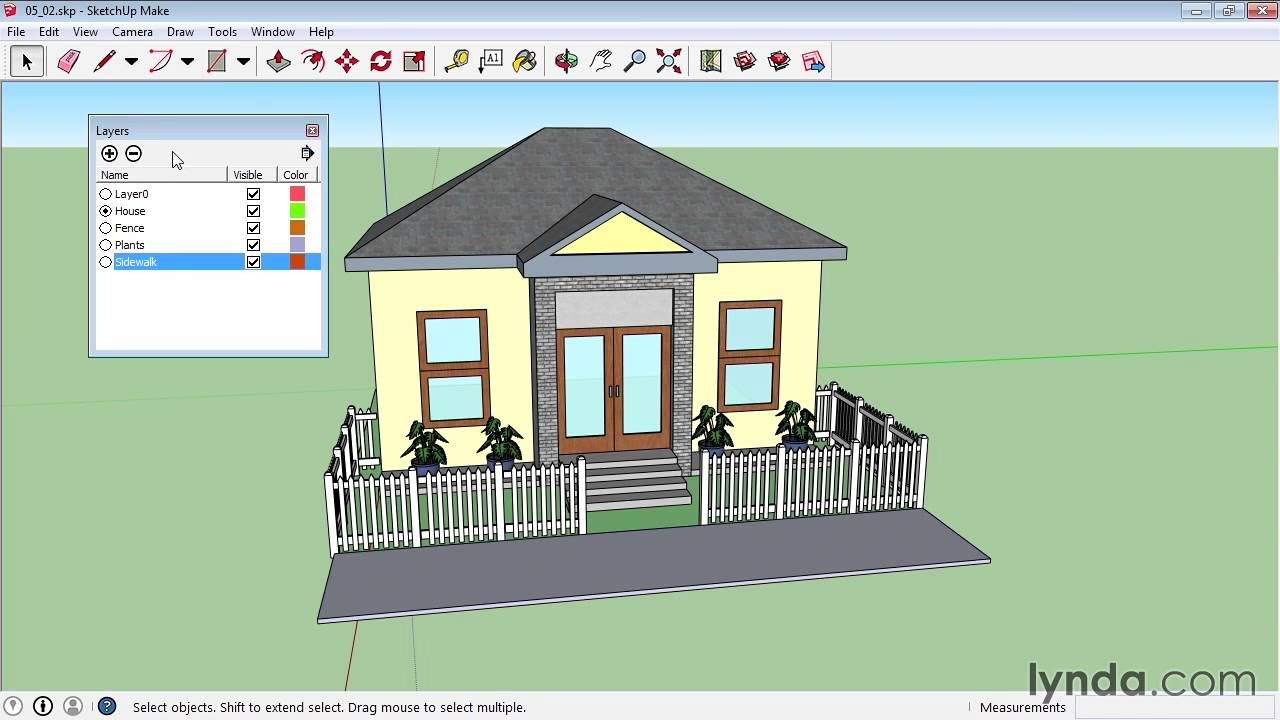
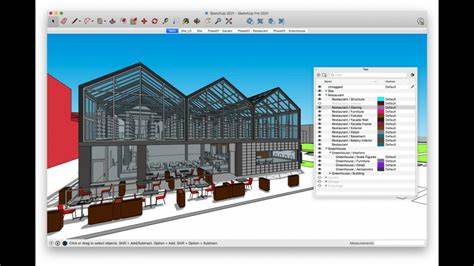
V-Ray for Sketchup has been designed from the ground up to enhance your existing workflow, It integrates seamlessly with the existing SketchUp interface, allowing you to easily switch between modelling and rendering, saving you valuable time and effort. You can access V-Ray’s tools and settings directly within the Sketch-Up interface, offering you a unified design and rendering experience. This means you can iterate quickly, visualising changes in real-time using V-Ray’s powerful feedback experience to adjust as you go and constantly test and retest. This facilitates better decision-making throughout the entire design process, allowing you to know you’ve made the most informed decision possible for your clients.
V-Ray can also transform your workflow outside of the design suite. Using its hyper-realistic renderings, you’ll be able to communicate your design ideas to clients like you never have before. The ability to quickly and effectively get your design across to any relevant stakeholders is one of the most crucial aspects of a design brief. It can often make or break a project. V-Ray speeds up that entire process without sacrificing quality — it actually enhances it!
Unlocking the Full Potential of V-Ray for SketchUp: Advanced Techniques
Adding V-Ray for SketchUp to your interior design workflow is a simple process, and it’s never been easier to start producing top-quality renderings in no time at all. However, to really take your renderings to the next level, you might want to take a look into some of V-Ray’s more advanced techniques.
One area where V-Ray truly ‘shines’ is its ability to create realistic lighting setups using HDRI maps and artificial lights. Let’s take a quick look at how you might be able to begin to utilise this extremely powerful feature:
- Setting up HDRI Lighting:
- Choose an HDRI map that matches the desired lighting scenario, such as a sunny day, an interior space, or a twilight setting.
- In the V-Ray Asset Editor, go to the “Environment” section and load the HDRI map into the “Texture” slot.
- Adjust and play with the HDRI rotation, intensity, and mapping settings to achieve the desired lighting effect. Experiment with different values to fine-tune the lighting scenario.
- Placing Artificial Lights:
- You should first identify areas in your scene that require additional artificial lighting. This could be lamps, ceiling lights, or spotlights.
- In the V-Ray Asset Editor, pick the appropriate V-Ray light type – for example, rectangle or sphere light – for the artificial light source.
- Then, place the artificial lights in your scene, considering their placement and intensity relative to the objects they illuminate. Use real-world references or design requirements to guide your decisions.
- Adjusting Artificial Light Settings:
- Fine-tune the intensity and colour of the artificial lights to achieve the desired effect. Use warm or cool colours based on the lighting scenario and the mood you want to create.
- Adjust the light cone angles, falloff, and other settings as needed to control the light distribution and shadows cast by the artificial lights.
- Balancing HDRI and Artificial Lights:
- Experiment with the relative intensities of the HDRI map and artificial lights to achieve a balanced and natural-looking lighting setup. Adjust the HDRI intensity and the intensity of the artificial lights accordingly.
- Pay attention to the interplay between the HDRI lighting and the artificial lights, ensuring they work harmoniously to create cohesive lighting.
- Iterate and Refine:
- Render test images and evaluate the lighting setup. Analyse the interplay between the HDRI map and the artificial lights, shadows, and overall mood of the scene.
- Make adjustments to the HDRI rotation, intensity, artificial light settings, or placement as needed. Iteratively refine the lighting setup until you achieve the desired level of realism and visual impact.
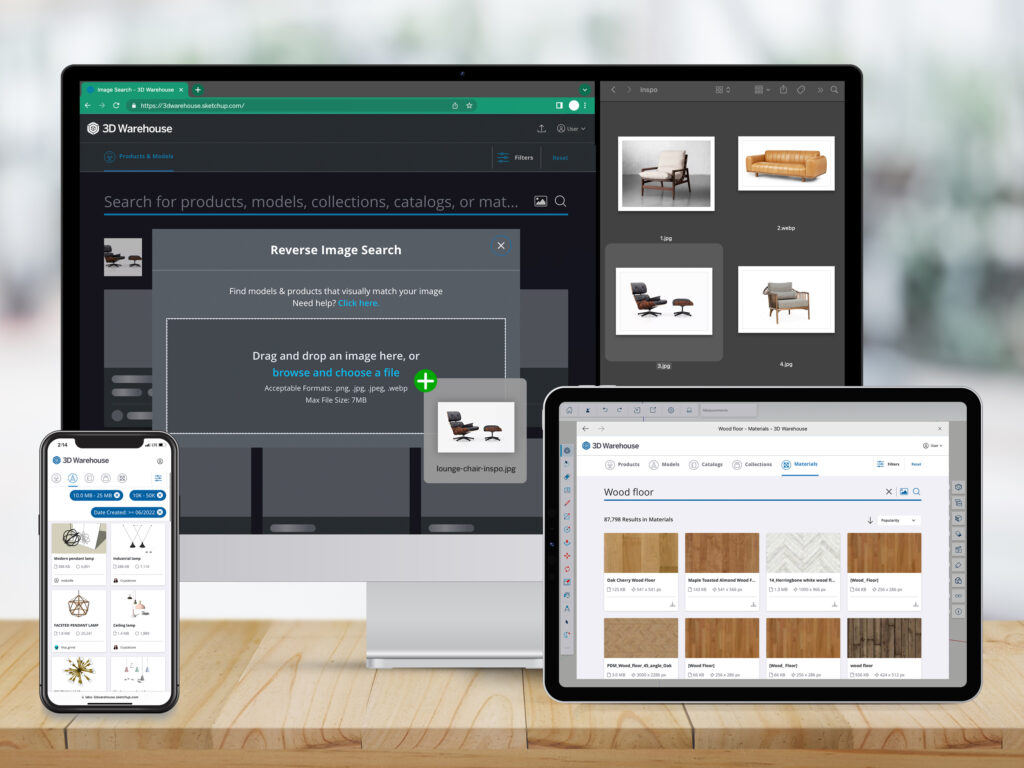
That should get you started when it comes to HDRI maps and artificial lights, but that’s just one of V-Ray’s incredibly powerful advanced techniques. Another that you should acquaint yourself with in order to discover new design heights with your renderings is material optimisation and texture mapping. By working on how you fine-tune material appearances, you can control how each aspect of your design interacts with the light in the space, creating a truly stunning visual to present to your clients.
All in all, V-Ray for Sketch-up is a tool that can massively enhance interior designs, create exceptionally realistic renderings, streamline many of your workflows, and ultimately improve your design communication. If you want to discover just how much it can add to your work, why not explore a free trial of V-Ray for SketchUp through Elmtec? Experience the true power of V-Ray for SketchUp, test its capabilities firsthand, and explore its potential in your own interior design products. Don’t forget, Elmtec also provides a wide range of support and resources for SketchUp users, including tutorials, documentation, and customer assistance.
Realistic interior renderings have the potential to truly transform the design process, foster better client relationships, and elevate the overall quality of interior design projects. Take your designs to the next level now, and see just how satisfied your clients are with your V-Ray-powered renderings.

