
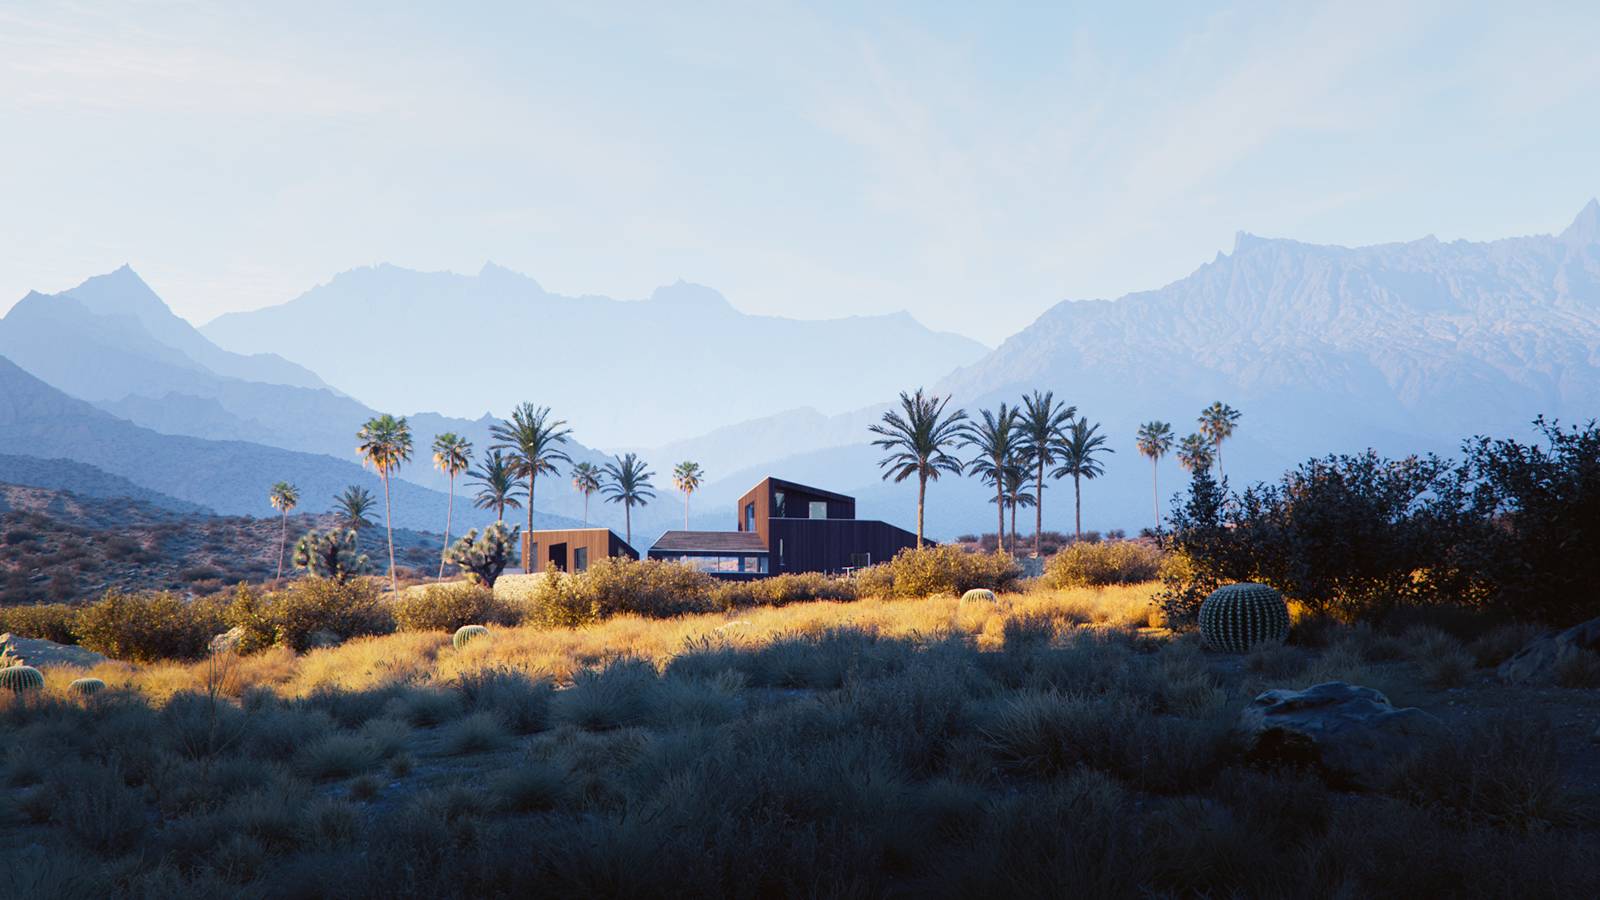
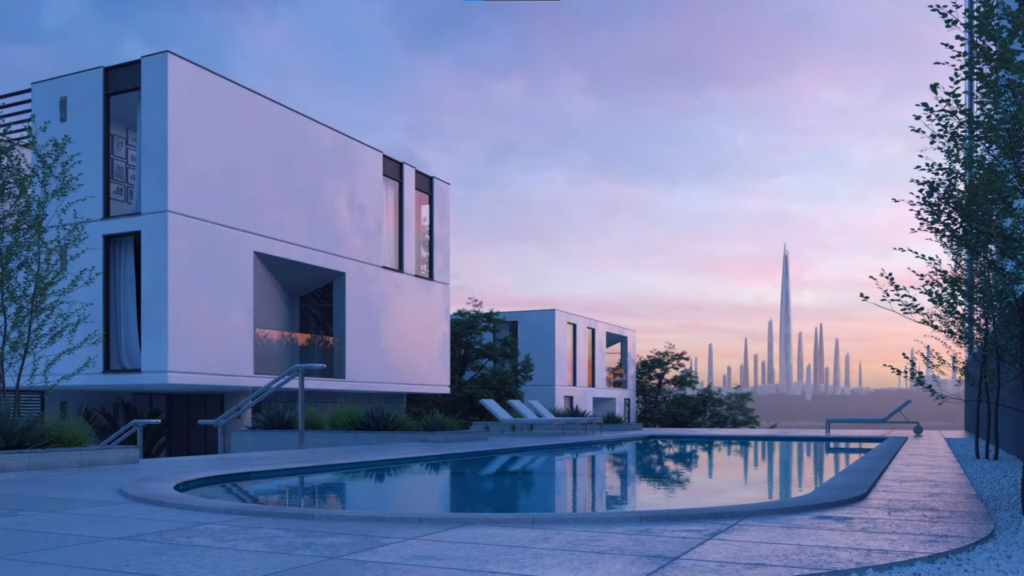
You absolutely LOVE V-Ray for SketchUp? You’re not alone. It’s a popular tool for rendering superb quality, convincing images of your designs, whether it’s a stunning garden design, a home build, an innovative product or a landscape design project. In this article we’ll dive deep into the magic of the best V-Ray render setting, the high quality render settings V-Ray SketchUp is famous for. And we’ll answer some popular questions about the software, including essentials like how long does V-Ray render take, how to export V-Ray render, how to improve V-Ray render quality and more. By the end you’ll have a good grip on the potential of this exciting design tool.
What are V-Ray Render Settings?
Let’s kick things off with the basics. V-Ray Settings give you full control over the parameters used to change and adjust the rendering process. You’ll find them via the Asset Editor in the Settings tab and as you’ll see, they’re organised in two panels. The main panel reveals the default options for the scene setup.
If the default Render Settings don’t give you the results you want, they’re adjustable. You can tweak the parameters. It matters because every project has slightly different render quality needs as well as differing deadlines. Sometimes you want fast renders for a meeting or presentation. Other times very high render quality is the focus. Because the criteria for speed and quality are different, so are the relevant render settings. Even making small tweaks to render settings can streamline the rendering process quickly and easily, and it’s fun to learn how.
Best V-Ray Render Settings
As we’ve mentioned, every design project’s render quality and timescales are different. V-ray’s render production focuses on either image quality or render time. To pin down the best compromise between image quality and render time, software engineers spent a lot of time measuring V-Ray’s performance on literally thousands of different scenes. This testing gave them a solid basis for the software’s optimised setup as well as a reliable starting point for a wide variety of designs and projects. The end results are always impressive.
It’s interesting to know what happens behind the scenes. The render quality and time are driven by the number of calculations per pixel and whether the calculations are time-limited. That’s why V-Ray has two image samplers, Progressive and Bucket. The software creates the perfect balance using Max.sudivs and Noise Threshold parameters, basically the intelligence controlling the quality versus time ratio.
For a better quality image you can increase the Max.sudivs value and/or decrease the Noise Threshold. Do the opposite to render faster, decreasing your Max.sudivs value and/or increasing the Noise Threshold. Just bear in mind the Render Time (min) parameter is exclusive to the Progressive Image Sampler.
When you increase the Render Time (min) you get progressively better image quality because you’re letting V-Ray take longer to sample the image, and vice-versa. But how do you find the ideal settings? For the best results change one parameter at a time then run a test render to check the direction. The same goes for the value of every parameter. It’s best to stay within two times more or less than its original value.
How Long Does V-Ray Render Take?
Another important question about V-Ray is this: how long does V-Ray render take? Considering how incredibly complex the back-room calculations are, it’s not bad. Most early-stage renders are ready within 30 seconds, more than good enough for designers at every stage of a project except the final, ultimate design.
The quality of image you’d maybe want to present to a client for final sign-off or inspire someone to hand you a new project might take three or four hours. If the image is a whopper at more than 5 megapixels you could be looking at an overnight wait. And it’s well worth the wait, as you’ll know when you start using it.
You can check out the render time using the Stamp option in the V-Ray Frame Buffer, and get more detail in the V-Ray Frame Buffer’s Stats > Timing rollout.
How to Improve V-Ray Render Quality
Next, how to improve V-Ray render quality. For better image quality you need to increase the Max. Subdivs parameter for either the Bucket or Progressive Image Sampler. If it isn’t quite what you’re looking for try turning the Noise Threshold parameter down a bit. Over time you’ll probably develop a favourite set of parameters that suit the way you work, the things you design, and the design-to-production process.
There’s another way. In V-Ray for SketchUp you can boost the render quality just as easily by dragging the Quality slider to a higher-quality preset. If you want to increase the sampling limit to boost the image quality, it takes a bit longer to render.
To improve image quality without slowing down the render process, use the V-Ray Denoiser tool, perfect for denoising rendered images and included in your V-Ray install. Denoising’s clever post-rendering process helps remove noise in the image without affecting the render time. Or quickly denoise an image once it’s rendered.
You can boost a completed render’s quality without rendering from scratch. Combine the Progressive Image Sampler with the Resumable rendering feature. The feature lets you stop and start whenever you like, mid-render, without having to start again every time.
How to Know When V-Ray Render is Complete
You’ll want to know when the render is complete. How to know when V-Ray is done rendering? It’s very simple. As soon as your render’s ready it’ll appear on your screen, there for you to save, use or share. With initial renders taking half a minute to complete, you can render and save multiple versions to show clients the alternatives, compare, discuss with teams, and store to inspire future projects.
How to Render Material ID in V-Ray SketchUp
Next, how to render material in V-Ray SketchUp. Use the Material ID Colour render element to make a mask based on the material ID Colour parameter you’ve chosen. First, add the Material ID attribute using the Add Attribute button. Then choose the colour’s Opacity and texture, both supported by the Material ID Colour channel.
You set the Material ID Colour afterwards. The software sets an automatic colour which you change easily in Asset Editor. The V-Ray colour picker is an intuitive way to choose the colour ID you want and the choices are infinite.
How to Speed Up V-Ray Rendering
It’s good to know how to speed up V-Ray rendering. For faster render times simply turn down the Max. Subdivs parameter for your Bucket or Progressive Image Sampler. If you’re using a Render Time (min) limit, all you do is nudge the time limit value down.
Remember when you cut down your render time, you usually create more noise and the image quality decreases: one directly impacts the other. Tinkering with these values lets you come to the best quality and speed conclusions for the stage the project is at, what you’re designing, and the people you’re presenting it to.
How to Export V-Ray Rendering
How to export V-Ray render? There are a couple of ways to export V-Ray Rendering and they’re both nice and easy. To export the whole scene, open your Asset Editor. Left-click on the arrow in the bottom left hand corner of the render button. Then click the Export V-Ray Scene File button.
You can do it through the Extensions menu, too. First create a proxy through the V-Ray Objects Toolbar, then pick the group or component to export. The icon doesn’t work until you select an object from your scene. Once you do, the Export Proxy button becomes active.
To export a geometry selection, select the geometry then click Export Proxy. Choose Proxy Scene from the drop-down menu and click Export to export the geometry itself, the shaders, and the lighting.
How to Save Rendered Image in SketchUp V-Ray
Knowing how to save rendered images in SketchUp V-Ray is also very easy. Find your way to the Settings tab in the V-Ray Asset Editor and it’s all very familiar. Using ‘Save Image’ lets you set or change the File Path. The file path specifies where the file lives on your machine and suggests file extensions. Once you’ve set your file path, the File Type option pops up. File Type is simply the file format, and you have the choice of png, bmp, tga, hdr, sgi, jpg, exr, pic, tif, and vrimg files.
V-Ray and SketchUp Pro - Plans and Pricing
Inspired? Ready to give it a go? Find out more about the free and Pro versions of SketchUp here, and treat yourself to a free trial of SketchUp Pro here, which is also where you can subscribe to SketchUp Pro. There’s a wealth of exciting and informative tutorials and learning resources to explore here, free to use, and a good choice of different SketchUp licensing options for commercial use, higher education, and schools.


