You already know that visualizing your SketchUp model in Enscape is simple. You click a button, and ta-dah, a high-quality render of your project appears within seconds! But there’s so much more that you can do to add more depth to your visualization with just a few tweaks to lighting.
We’ll guide you through the basics to help improve your SketchUp and Enscape workflow and brighten up your visualizations. We’ll cover how to:
- Change the position of the sun
- Place different light types into your model
- Add colored lights, self-illuminated materials, and skyboxes
Before we get started:
- Make sure you’re using the latest versions: Enscape 3.3 and SketchUp 2022.
- Download the free sample project and follow along.
- Check that your GPU drivers are up to date.
- New to real-time visualization? Sign up for a free 14-day Enscape trial.
- New to 3D modeling? Sign up for a free 7-day trial of SketchUp.
Adjusting sunlight in Enscape and SketchUp
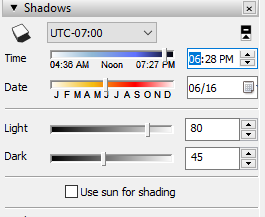
Sunlight can impact the look and feel of your project. Therefore, it’s essential for you to know how to adjust it. It’s possible to move the sun’s position in the Enscape rendering window, and Enscape can also take the geolocation and time of day/year settings from the Shadow and Location toolbars in SketchUp.
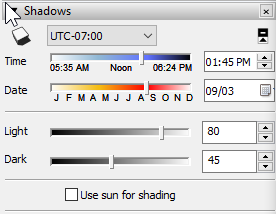
You can adjust these settings and see the real-time changes in the Enscape window. Set the time of day per scene, and then when you switch scenes in Enscape (via the view management tab), you will see different times of the day. You can change the time of day inside of Enscape by holding down the shift + right mouse button and moving your mouse left and right to the desired time of day. Pressing the HOME button will reset the sun back to the settings from the Shadow and Location toolbar in SketchUp.
TIP: You can also adjust the sun in a few other ways:
Time of Day: Press U or I
Solar Angle: Press Shift + U or I
Solar Rotation: Press CTRL + U or I
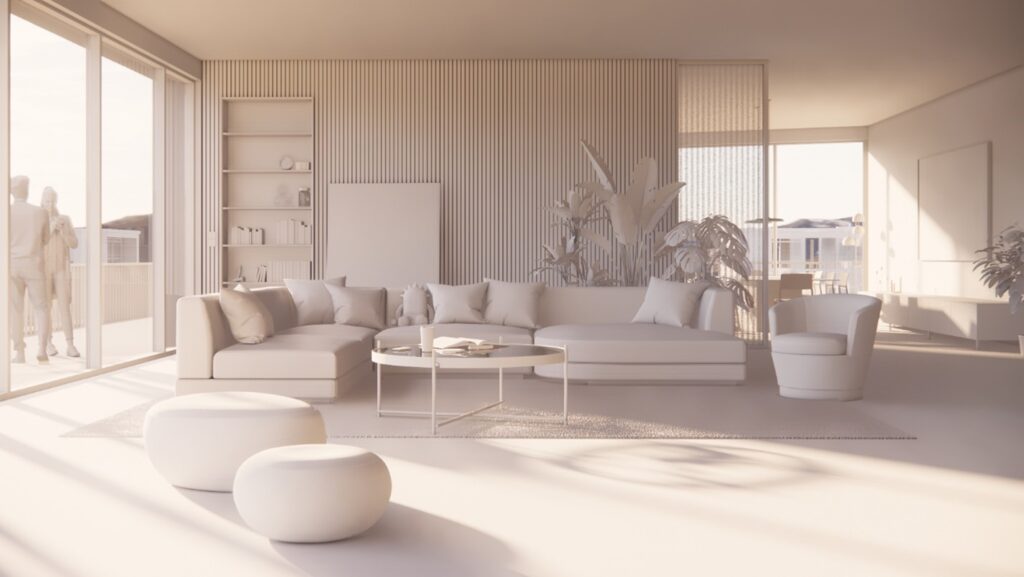
TIP: For softer shadows and a more natural diffused look to your scene, try increasing the density of the clouds and changing other settings in the Clouds section (under Visual Settings > Sky) to block out the sun (like clouds do in the real world).
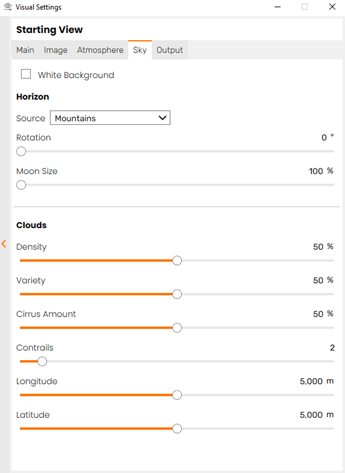
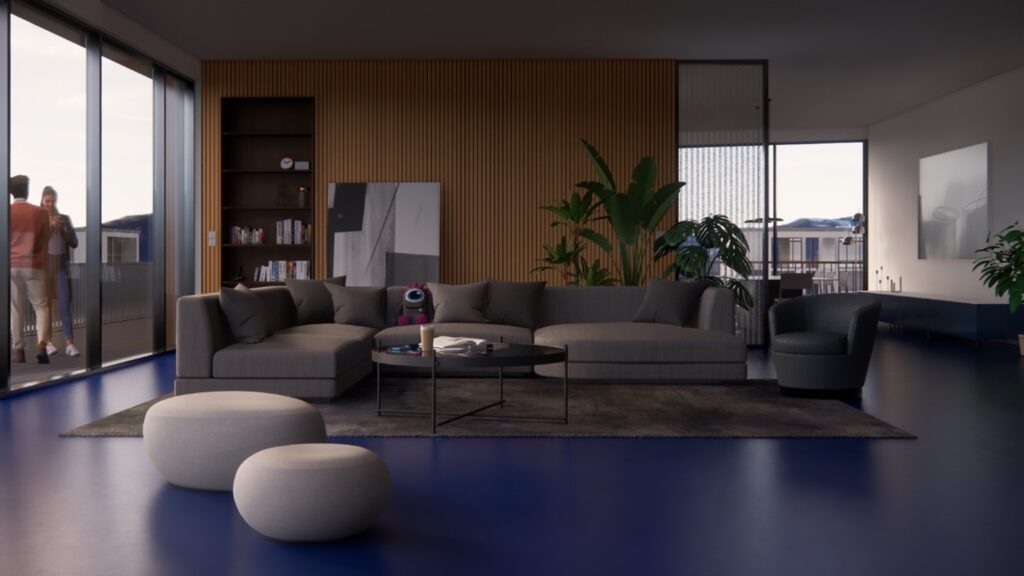
Before cloud density was increased.
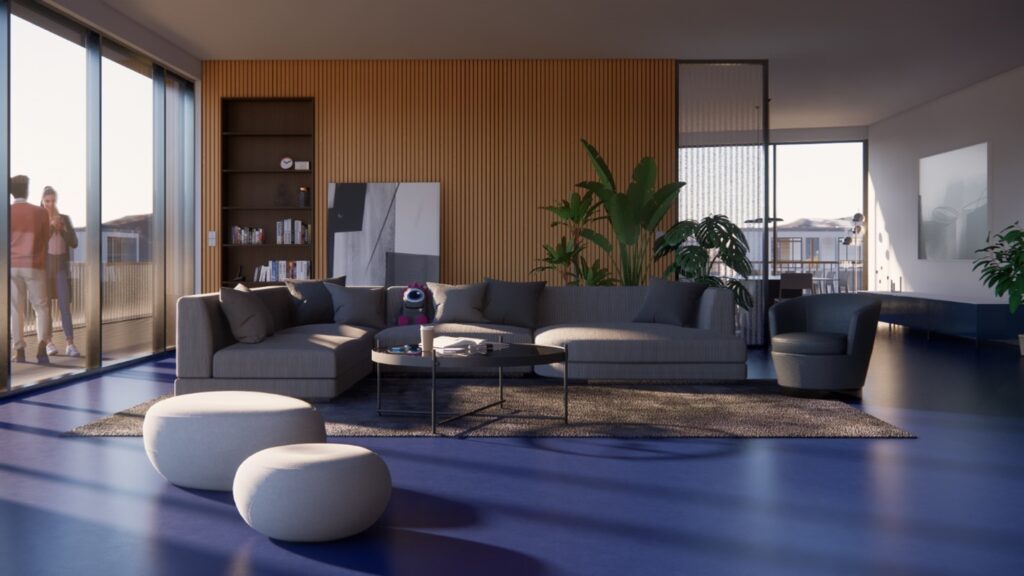
After cloud density was increased to block out the sun. Now softer shadows have been achieved.
Adding lights in SketchUp and Enscape
Five lighting types come with Enscape: Sphere, Spot, Linear, Rectangular, Disk. They can all be found under the Enscape Objects button on the Enscape toolbar.
It’s important that the light source is not placed on the surface of your geometry, as setting it directly on an object’s surface could result in the light being obscured. Instead, place the light source just next to it. The click system (each type of light has a different system; see below) ensures the light source is placed away from an object’s surface. You can also set the axis direction by using the left, up, and right arrow keys between the first two clicks.
Let’s look at how to add each type of light to your SketchUp model.
Spotlight

When placing a spotlight, you’ll need to make four clicks to position the light.
TIP: When placing lights, draw a reference line of where you would like the light to be and hit.
1st click: This will determine the base point for the light. Click on the surface or axis of the object you would like the light to be placed.
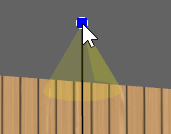
2nd click: This will determine where the light will be placed on the surface. Move the light along the surface or reference line to the desired location.
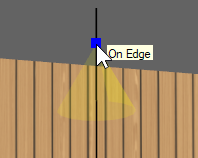
3rd click: This will determine the surface the light will be hitting. Click on the surface you would like the light to hit.
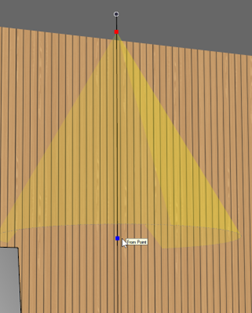
4th click: This will determine the position of where on this surface the light will be hitting. Click and move the light to the desired place on the surface.
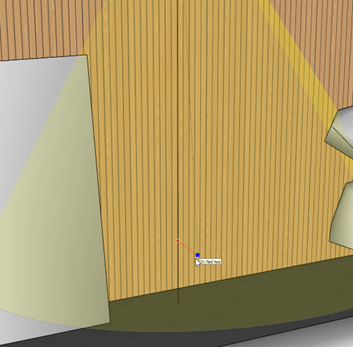
Once the light is placed, you will notice some red dots at the end of the light beam. These are here to give you control over the “Focal Point,” “Target,” and “Beam Angle.” You will also notice that you now have more options in the Enscape Objects tab for this spotlight.
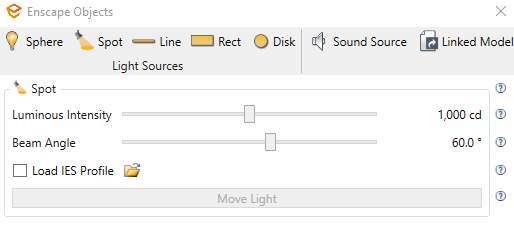
These controls will allow you to adjust the Luminous Intensity and Beam Angle. Notice you will also get the option to load an IES Profile.
TIP: The maximum length of the spotlight cone is 23 meters.
IES Profiles
IES files describe how a specific light is distributed throughout a space. These files can help add more realism to the model and give an accurate representation of what the actual space will look like when it is built.
Here are some resources where you can find IES profiles:
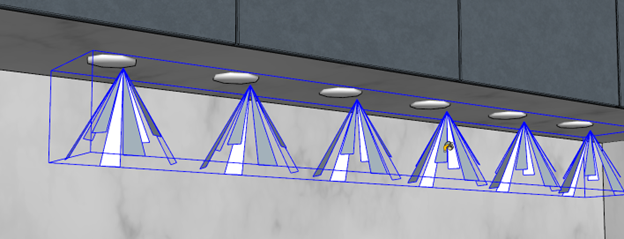
TIP: You can tell when a light has an IES profile assigned to it by how it looks:
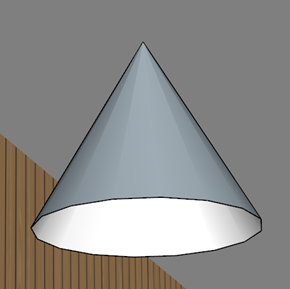
Without IES profile.
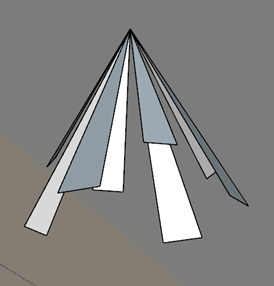
With IES profile.
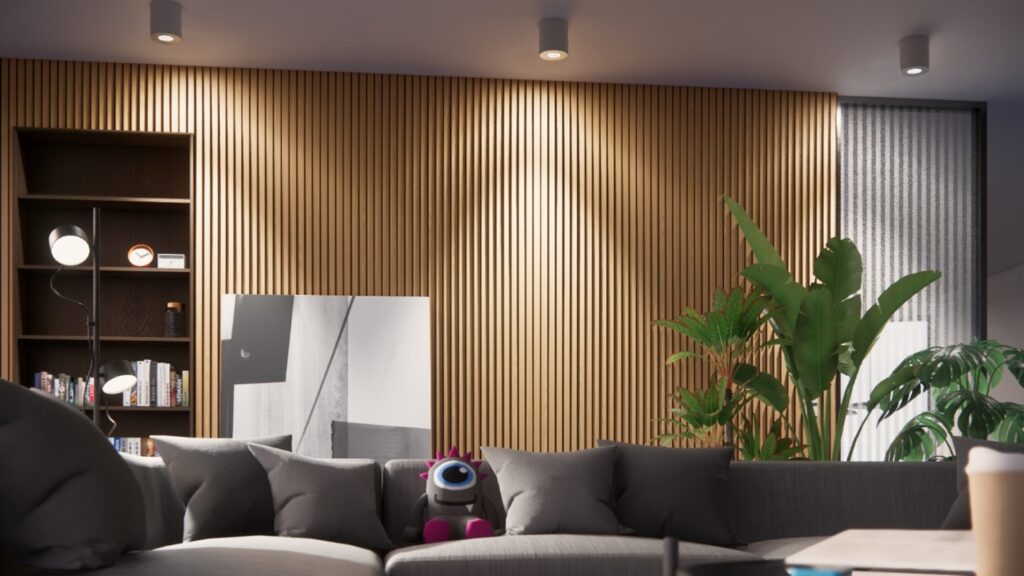
Sphere light

When placing a sphere light, two clicks are required to position the light.
1st click: Will determine the base point for the light.
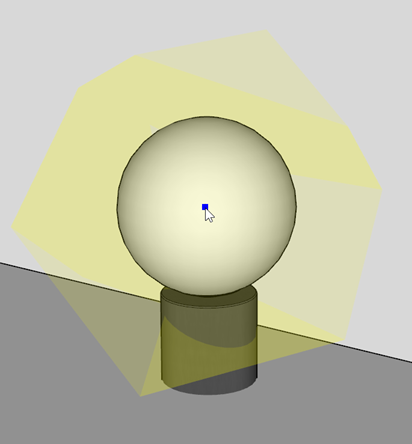
2nd click: Will place the light.
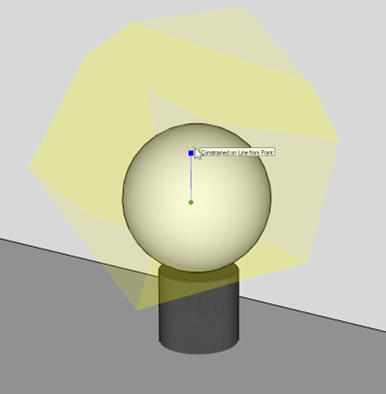
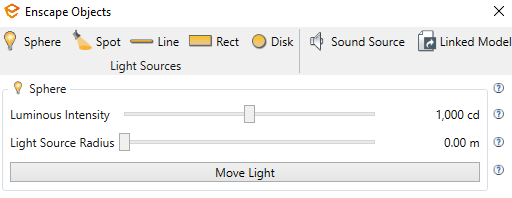
Once the lights are placed, you will see the options to adjust the light settings in the Enscape Objects window:
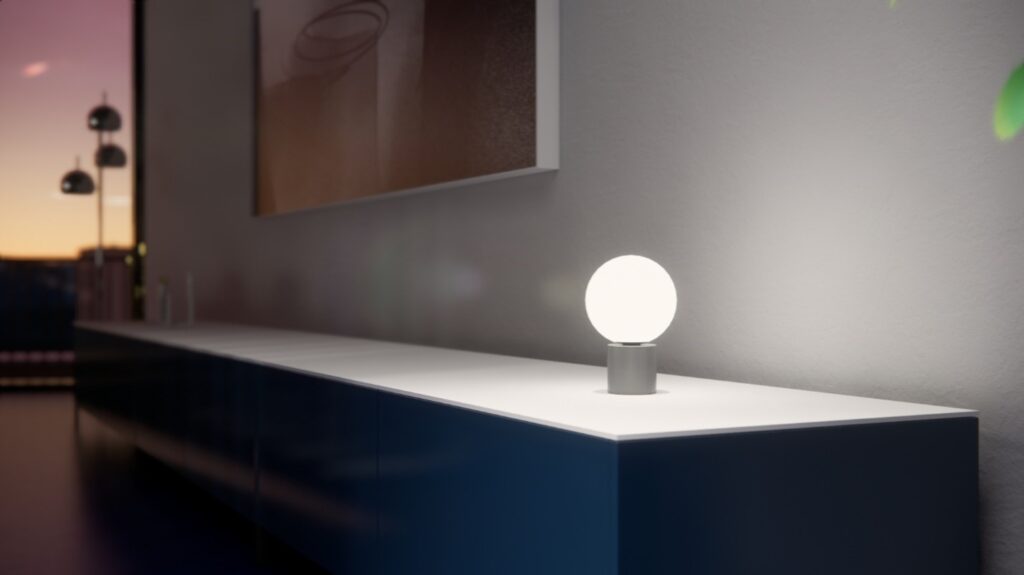
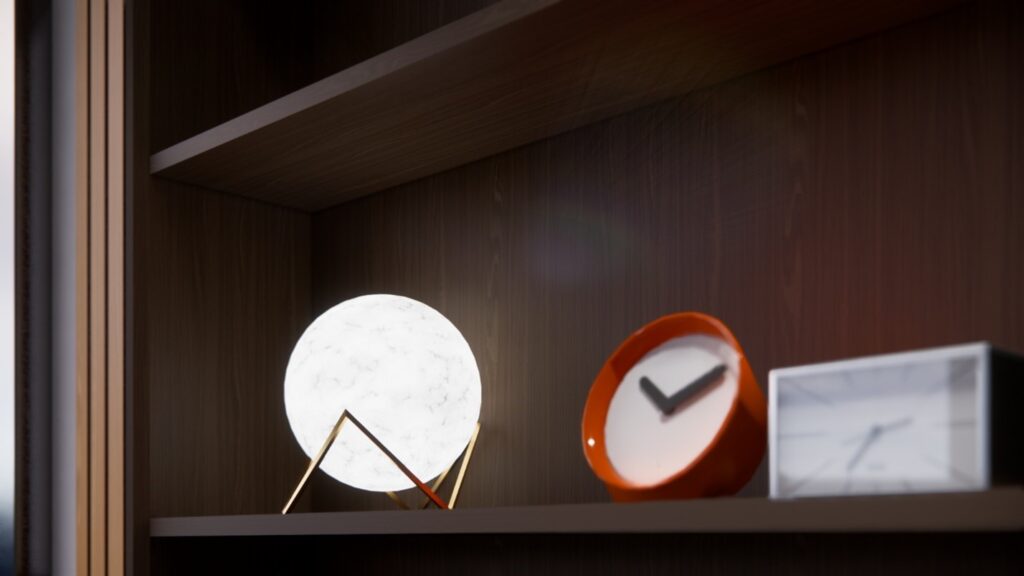
Sphere light and self-illuminated material.
Line light

When placing a line light, there are two clicks you will need to make to position the light.
1st click: Will determine the base point for the light.

2nd click: Will place the light.

Once the lights are placed and rotated correctly, you will see the options to adjust the Luminous Intensity and Length in the Enscape Objects window.
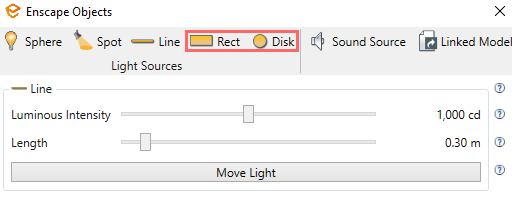
Rectangular/disk lights in Enscape
Place these lights using the same four-click process as the spotlight:
1st click: Will determine the base point for the light.[GFDS1] .
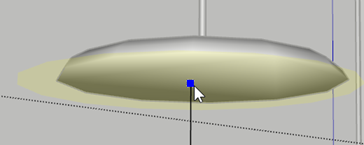
2nd click: Determine where on the surface you want to place the light. Then, simply move the light along the surface to the desired location.
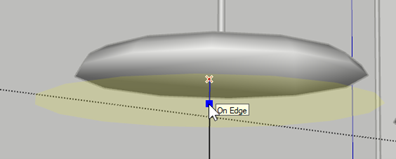
3rd click: Click on the surface you would like the light to touch.
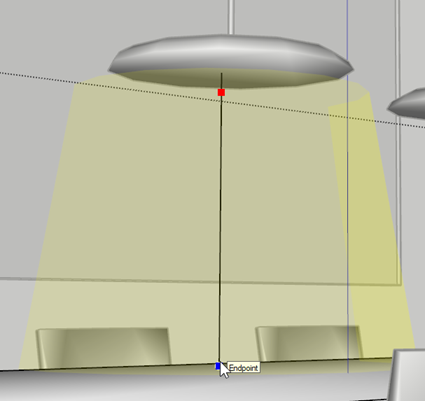
4th click: Click and move the light to the desired place on the surface.
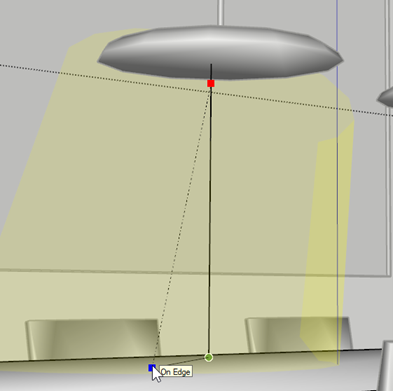
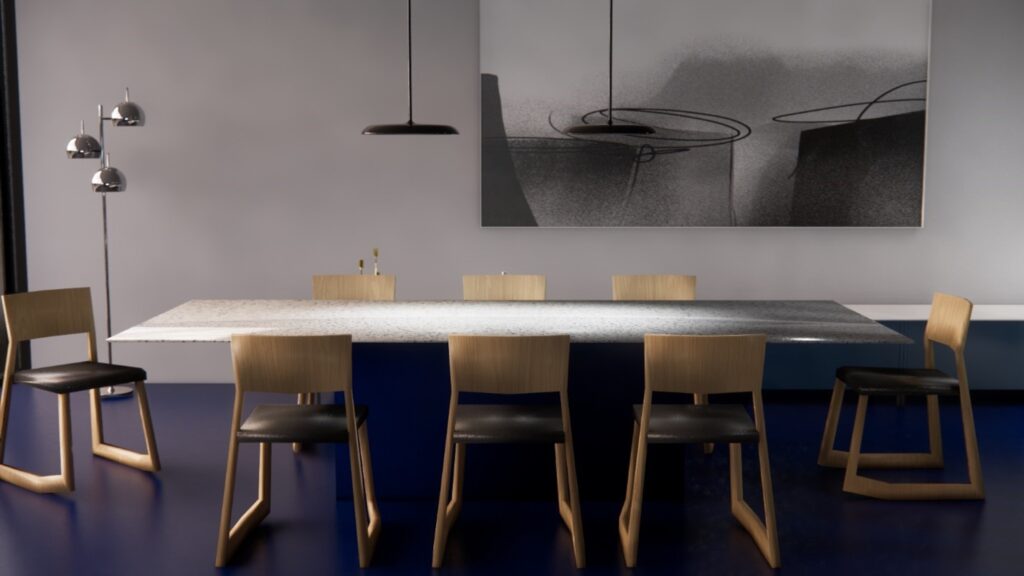
As with the other light types, once you place the rectangular/disk light you can see the adjustment options available. For the rectangular light, it’s possible to change the Luminous Power, Width, and Length. For the disk light, the Luminous Power and Light Source Radius can be changed.
TIP: For optimal workflow efficiency, it’s possible to copy and paste all of the different light sources. Once you have placed a light, select and copy it using CTRL-C or the Copy option in the Edit menu. Then paste the copied light using either the CTRL-V or the Paste option in the Edit menu.
Changing light colours in Enscape
TIP: To change the color of a light, pick the color you would like from the SketchUp materials and paint bucket the light.
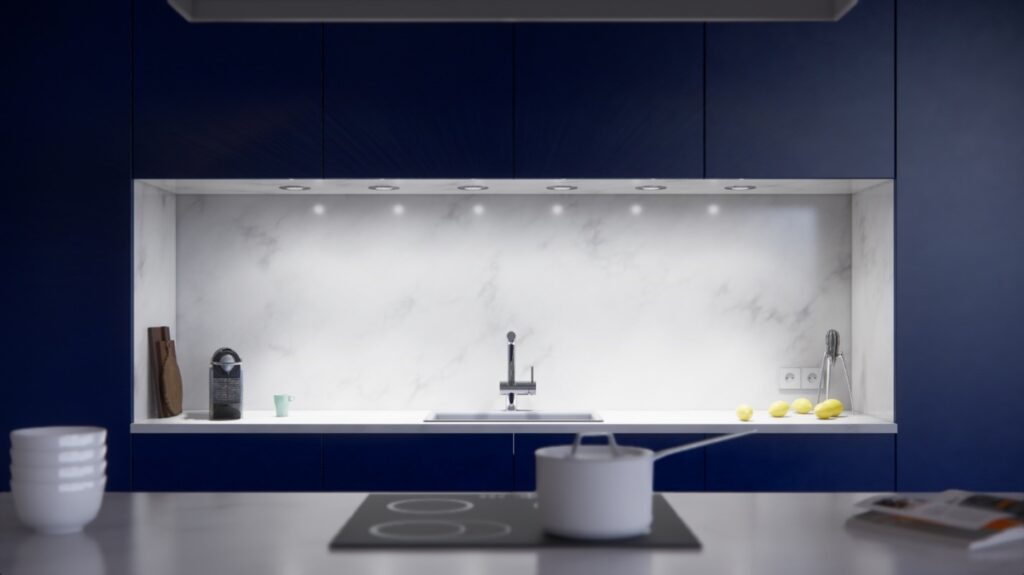
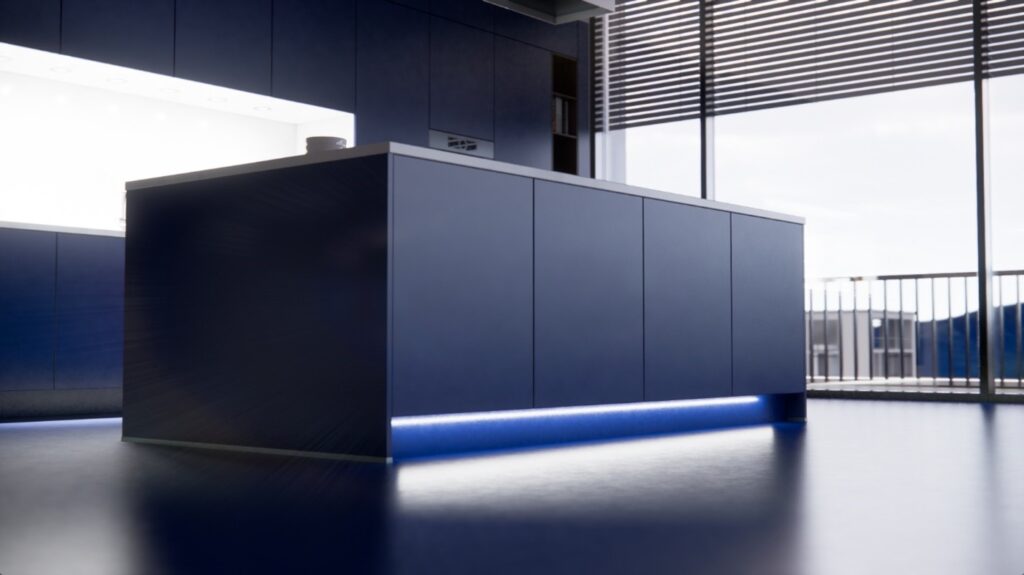
White light underneath a kitchen cabinet.
Use the paint bucket to adjust the color of the light.
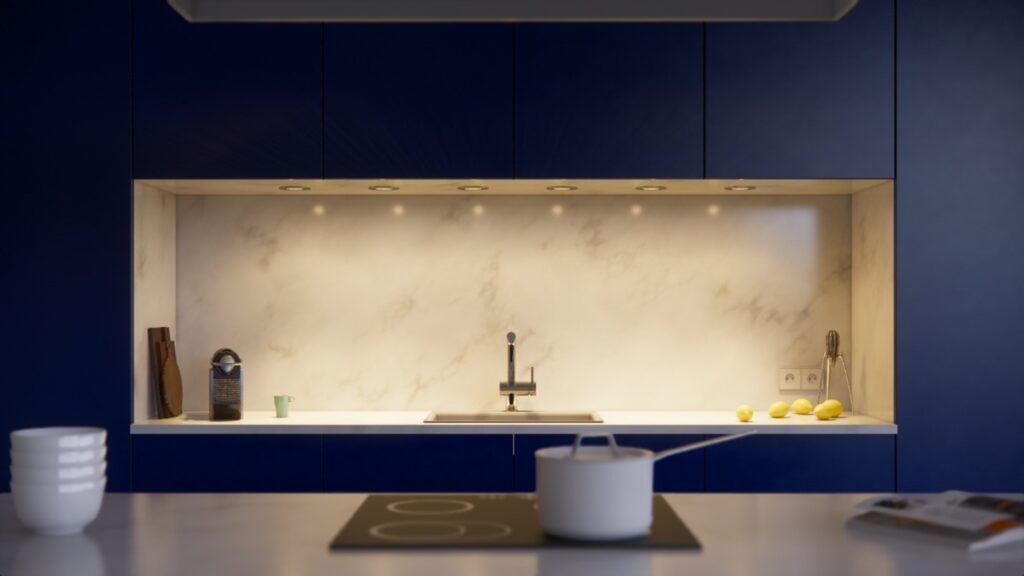
Colored light applied and visible.
Self-illuminated materials
Self-illuminated materials are another way to impact the lighting of a scene. A designer can use them for custom lighting fixtures, TV screens, fireplaces, and more. Use self-illuminated materials in combination with Enscape lights to give the appearance of the light being on during the day. To make a material self-illuminated, open the Enscape Material Editor.
Select a material, change the Type to Self-illuminated, and you will notice you now have a new option to control the self-illumination parameters of this material:
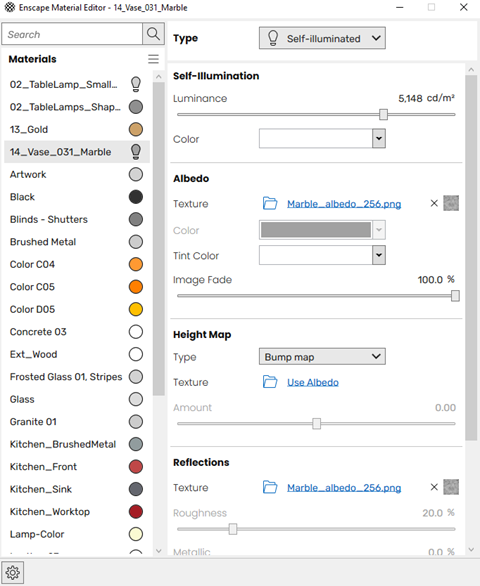
On the left side of the screen in the Materials section, the material icon will change to a lightbulb. This determines what type of material each one is. Check out this article for more information on self-illuminated materials in Enscape and SketchUp.
Skyboxes for lighitng in Enscape
Another way to light a scene and add more realism to a rendering is to use a skybox, which acts as a background image for your project. Pre-loaded skyboxes can be found in the Enscape Visual Settings tab > Sky > Horizon > Source > Skybox:
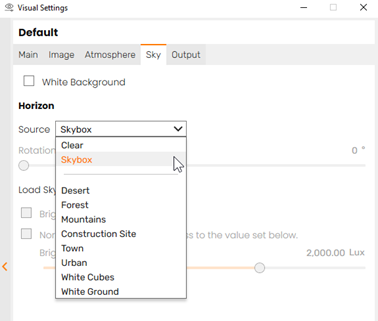
You can choose from one of the skyboxes listed above or upload one you have created or downloaded.
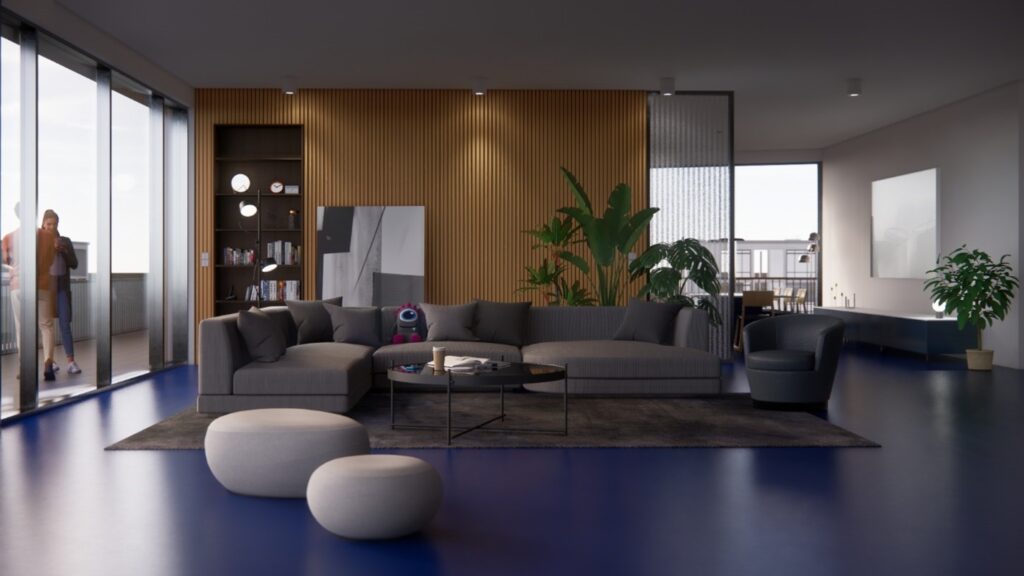
No skybox applied.

Skybox applied. Notice how the brightness and shadows have changed.
In the Visual Settings tab, under Sky > Horizon, the ‘Normalize the average brightness to the value set below/Brightness’ slider will darken or brighten the overall brightness of the skybox.
Using the ‘Brightest Point as Sun Direction’ option will connect Enscape’s sun to the brightest point of the skybox (which in most cases will always be the sun) and add more realism to the scene.
One thing to remember when using skyboxes is that they will block out the Enscape sun, and you will not be able to change the time of day.
Here are some free resources where you can find HDRIs (custom skybox files) to download and add to your scene:
Final thoughts on SketchUp and Enscape lighting
By simply adjusting the sun’s position and time of day, as well as adding the right lights and a skybox, you can make a difference to the look and feel of any project. We hope this basic guide to lighting in SketchUp and Enscape has provided you with some tips and ideas to implement within your own projects.
There are many great tutorials on YouTube, depending on your level of experience, and additional resources contain other best practices. Here are a few worth checking out:
- Video Tutorial: How to Create Realistic Lighting in SketchUp and Enscape
- Lighting Best Practices in Enscape for SketchUp
- How to Create a Custom Skybox in Enscape
Have fun exploring lighting in SketchUp and Enscape! We can’t wait to see what you create. Remember to tag us on social.
P.S. Enscape for Mac and SketchUp will be available soon! Sign up to our dedicated Mac mailing list to hear the news first.

