
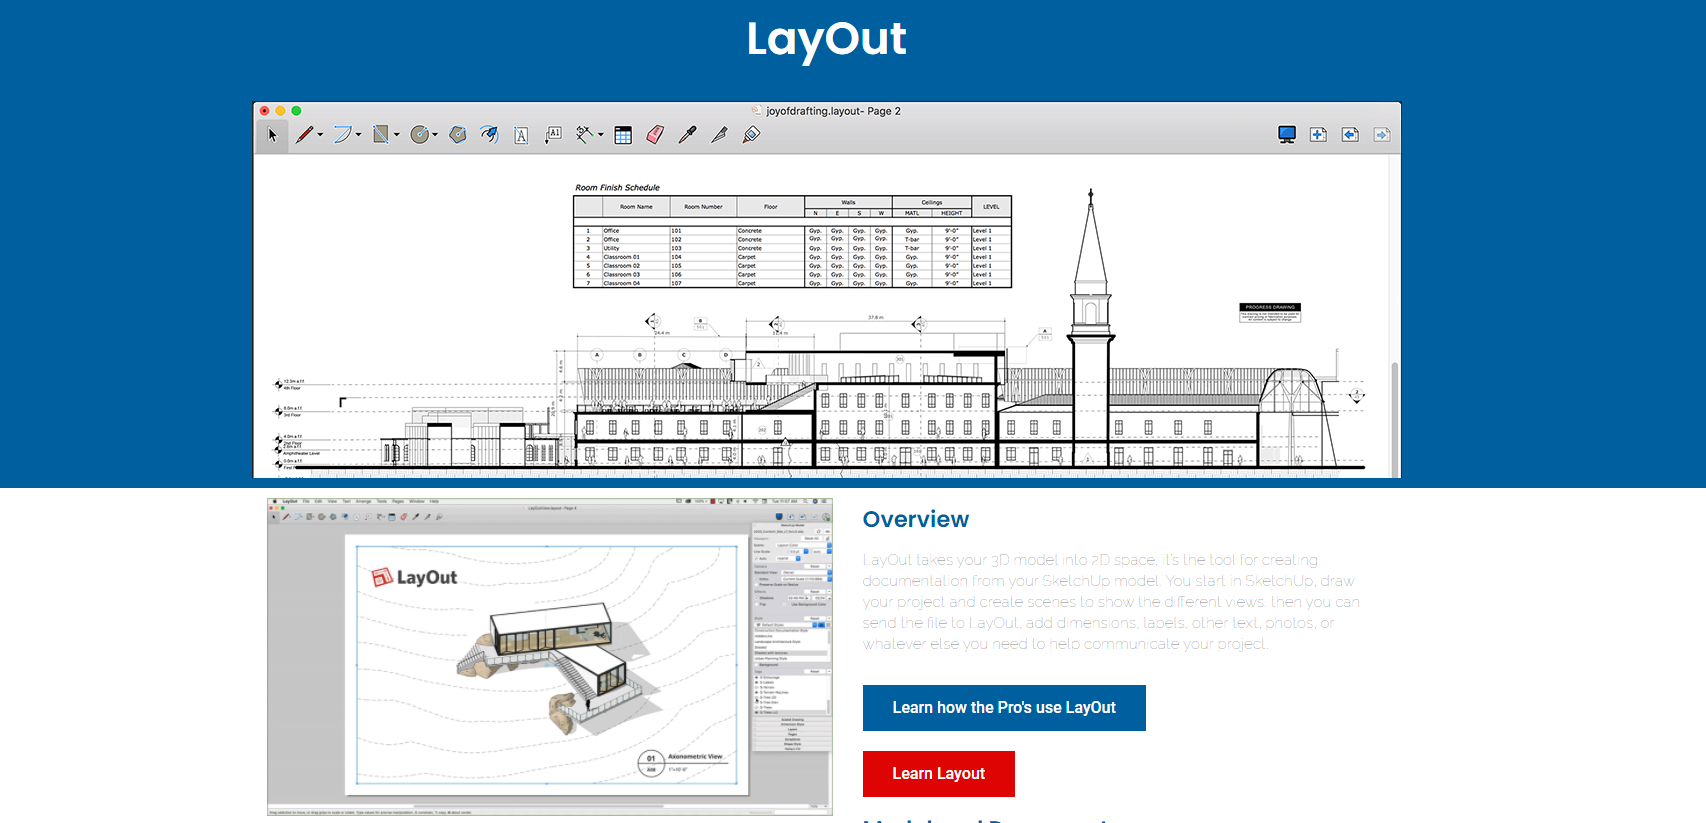
It’s one thing creating a fantastic design. It’s another thing to have the collateral you need to wow your client at a presentation. SketchUp LayOut is a brilliant SketchUp tool designed to create detailed 2D Architectural documents from your 3D SketchUp models. It quickly, accurately makes beautiful layout documentation from your SketchUp models.
This is how it works. You begin your project in SketchUp, drawing it and creating different scenes to reveal alternative views. You send your file to LayOut, adding extras like the dimensions, labels, text and photos. Then LayOut cleverly exports a beautiful PDF file for you to send to a client or use to wow your audience at an on-screen presentation.
LayOut and SketchUp Pro are a match made in heaven, built to collaborate, enhance your SketchUp workflow and boost productivity. And it’s so flexible. When you want to update your original SketchUp model, you can do so in LayOut and it syncs all the details automatically, saving you time and effort.
What’s the Difference Between SketchUp and LayOut
LayOut is a fantastic tool for creating accurate documentation from SketchUp models. It’s only available via the SketchUp Pro package, not as a stand-alone app. While SketchUp itself is a genius at 3D modelling, LayOut is its 2D partner. Can you imagine being able to quickly, easily transform the 3D models you’ve created in SketchUp into professional-looking 2D drawings? It makes such a difference to your client-facing responsibilities.
Can you use LayOut without SketchUp? The answer is no. They’re a team, and like all great teams, they’re only effective when they’re working together. You’ll need Sketchup Pro to access LayOut.
Creating 2D Designs with LayOut
It’s genuinely easy to create 2D drawings using LayOut. Here’s how to section a model, for example, a model of a house, create a ‘plan’, access the ‘plan’ scene in LayOut, and create a floor plan view ready for annotation.
- Set your view to ‘parallel Projection’ in the Camera menu to create a straight-on view for the plan
- Go to ‘Window’ and pick the Scenes console – you can hide the Section Plane in your LayOut document by opening the window in SketchUp then editing the scene’s default style
- Click the ‘+’ button to create a scene called ‘Plan’
- Access your SketchUp model in LayOut using File > Insert
- Right-click on the SketchUp window and choose ‘Scenes: PLAN’
- Right-click and go to Scale = 1mm:50mm
- Your LayOut scaled plan is ready for dimensioning and annotating
Creating Floor Plans with LayOut
Sketchup and LayOut create fabulous 2D floor plans, too. Here’s how to create a room layout:
- Create a top view of your model
- Centre it on your screen
- You’ll need to use the parallel projection view to avoid perspective distortions. Adjust the camera settings so you’re in parallel projection and it removes perspective from your drawing
- Click ‘add’ to create a scene showing the view you’ve set up
- Rename it, for example ‘floor plan’
- Take a section cut through the building so you can see the doors and windows – go to the large tool set or the tools section plane then add a section plane
SketchUp LayOut Tutorials
You’re never left to figure things out on your own with SketchUp. There are all sorts of top class SketchUp tutorials and LayOut tutorials available on YouTube, and more to enjoy at SketchUcation as well as in the excellent SketchUp tutorials library.

