How to Add Materials in SketchUp
You want to enrich your models with extra detail and realism, to help your clients understand and get inspired by your work. SketchUp lets you easily paint a huge variety of different materials on the faces of objects. These materials behave a lot like paints, with a colour and optional texture all defined in a simple image file. You might want to choose red roof tiles or a metallic roof, an oatmeal coloured carpet or slate tiles. This guide reveals everything you need to know about adding materials in SketchUp.
What are SketchUp Materials?
How to use materials in SketchUp? It’s genuinely exciting, adding so much extra interest to a design and making it unique. After you’ve applied various materials to your model, there’s so much more you can do.
You can easily replace one material with another, for example replacing grass with pebbles in no time, in just a few clicks. You can edit the materials if you like, creating something nobody else uses. The colour and texture code is separate, which means you can change the colour and leave the texture as it is, change the texture but leave the colour alone, or change them both. The resulting materials can be more or less infinite in variety.
It’s also easy to play with the opacity of the material, from completely see-through to totally opaque. SketchUp even calculates exactly how much of a chosen material you’d need in real life to actually build the model. It reveals the area of the roof or siding to match your precise model perfectly. You’ll find an enormous SketchUp materials collection waiting for you in the SketchUp materials warehouse. All you do is add imagination and stir in some creativity.
Where to Find SketchUp Materials.
Where are SketchUp textures stored? You’ll find them in the SketchUp 3D Warehouse, an inspirational resource that adds so much extra potential to your modeling. Instead of having to download an entire bulky component, all you do is download the material itself. Here’s how:
- Open the model material’s Details page
- Find the Stats panel
- Click the Materials link for a list of materials, each with a short description
- Click the Download link
- If you arrived in the 3D Warehouse from SketchUp 2017 itself, the system will automatically retrieve your Material and activate the paint bucket tool ready for you to use
- If you arrived at the 3D Warehouse via a browser, an .SKM file downloads automatically, which you simply add to the relevant local content folder
The SketchUp material library is a superb resource, packed with brilliant materials to manipulate and use. But you can also find loads more materials in other places, from other websites. Here are eight of the best sites to find even more SketchUp Materials.
How to Use SketchUp Materials
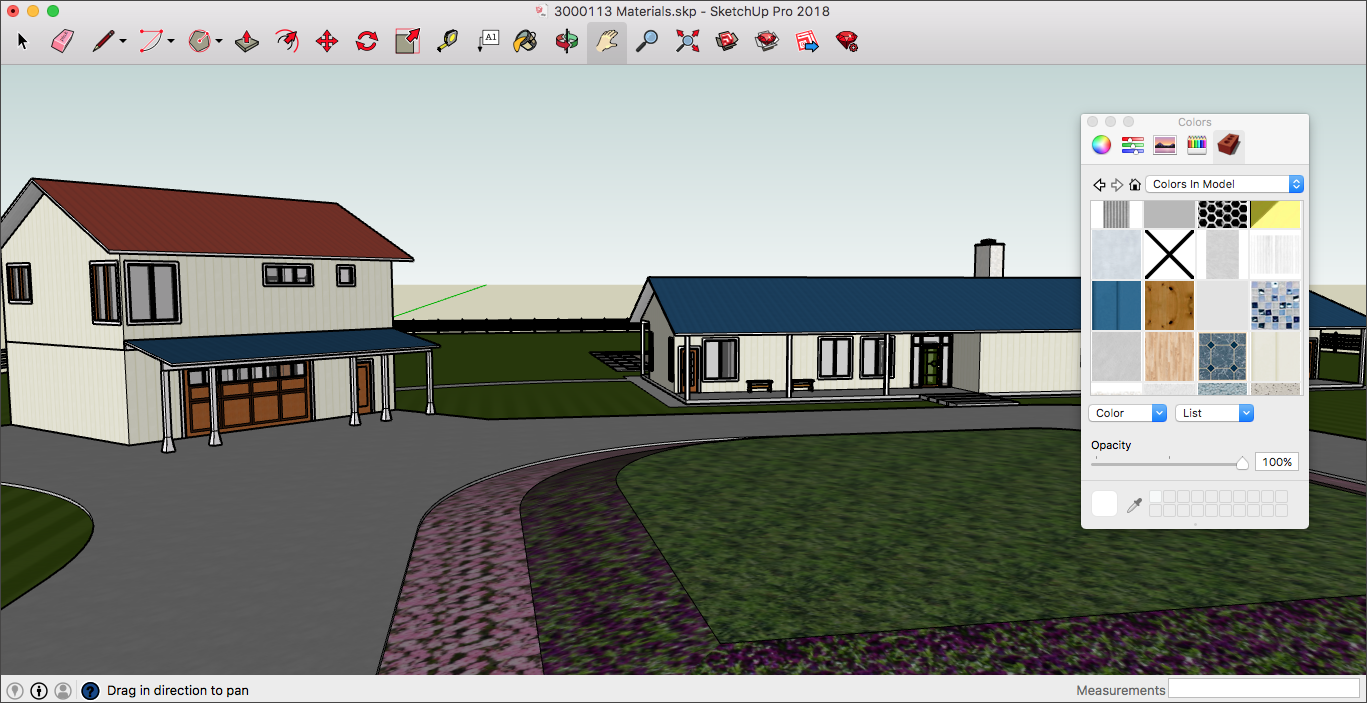
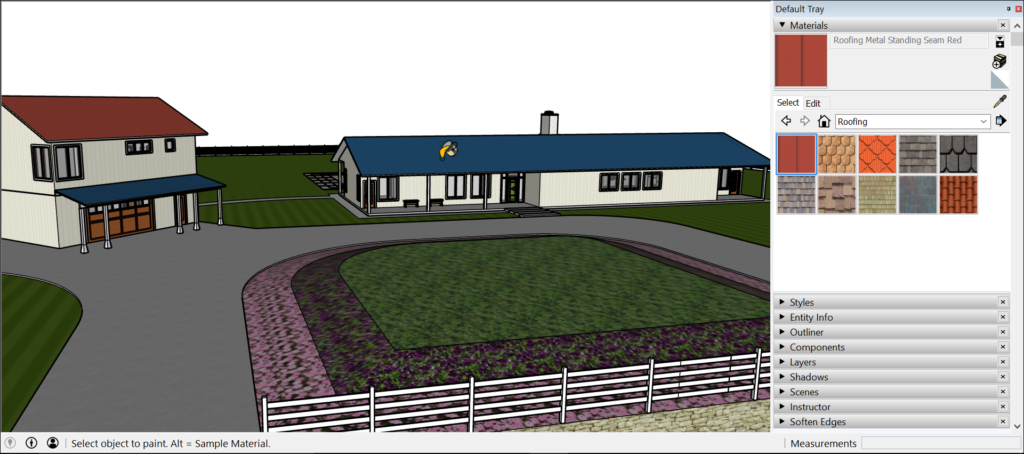
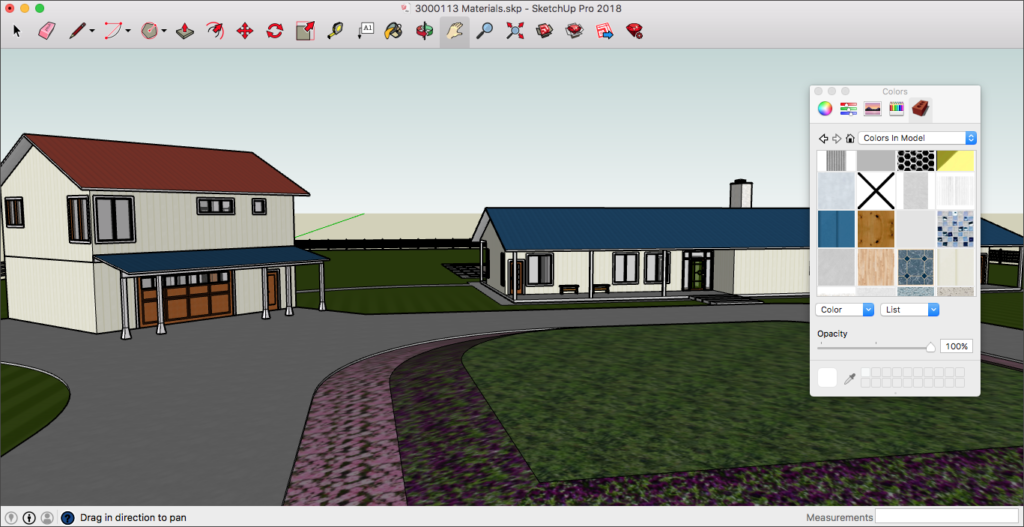
So how are materials used in SketchUp? You can achieve the exact same amazing effects in Windows and in MacOS. The SketchUp interface lets you model materials using the Paint Bucket tool and Materials panel if you’re using Windows. On a Mac it’s the Colors panel. The Materials or Colors panel also lets you view, manage, and organize your materials as you wish, and it even lets you keep track of the materials in your model. This is the place where you make your own custom materials.
Some people like to switch between Windows and Mac machines. If that’s you, bear in mind the Materials and Colors panel interfaces are different on each operating system.
So how do you download more materials for SketchUp? Again, it’s a simple process. Open the details page of the model where you want to download material from. Click ‘Materials’ in the Stats panel. Find the material you want then click ‘download.
Once you’ve done that it’s incredibly easy to apply materials to your model using the paint bucket tool.
- On a Windows PC: Find the paint bucket tool either in the Getting Started, Large Tool Set, or Principal toolbar, or in the menu bar under tools-paint bucket. Select the tool. Open the materials panel, then choose a collection of materials and click on the material you want to use
- On a Mac: Find the paint bucket tool in the Large Tool Set toolbar, the tool palette, or in tools-paint bucket. Select the paint bucket and a colors panel appears. Choose a colour using one of four colour picker tabs or use the materials collections. Choose the materials collection you want to use, then click the particular material you want to apply to your model
You can click and drag material swatches around your design, applying it to faces, and it’s also really easy to swap one material for another.
SketchUp Architectural Materials
SketchUp materials have a huge positive impact in the context of architectural design. There’s a vast choice of building materials available including handrails and wooden doors, lighting, elevators and staircases, furniture for every imaginable room, roofing and flooring materials, grasses and plants, flowers and trees. All of these make it so much easier for your clients to visualise your models clearly in a way that’s as inspiring as it is accurate and realistic.
Material textures really bring architectural designs to life, too. Choose from a vast range of brick textures, stone, concrete, glass and more, all high resolution and superb quality. You can even add fine detailing like peeling paint, moss and ivy, adding atmosphere and personality as well as making your models look like they’re worn by time and weather.
It’s super-easy to create lush colours as well, easily changing the colour of a material. Click the Paint Bucket tool, choose the colour, then click to paint the face. You can double click on the colour and change it in an external editor if you like, saving the new image before importing it. To change all instances of a colour, double click on the colour to bring it up in a colour window. From here you can use a slider, a colour wheel and various other tools to change the darkness without restoring to the paint bucket.
All this and more is easily available for you to manipulate, change, and play with to create your own unique look. The SketchUp materials list includes wood, glass, tiles, stone and many others, all designed to make the architectural design process easier, faster, and a whole lot more creative.
SketchUp determines how much of a specific material you need to build the design in real life accurately, but obviously, you need to make sure your model is 100% accurate in the first place, created to the correct scale. This is another big benefit for the architectural design process. One of the simplest ways is to right click on a material in the model browser then pick ‘area’ to get the total area of a specific material in the model. You can also use an extension like CutList to make a report including both the quantities and the total length of any components, or select a component, use Entity Info to provide the total number of instances of the material, and manually multiply that by the component length.
Get Started with SketchUp
Are you excited by the potential of SketchUp materials? Why not visit the Downloads area to download a free 7 day trial of SketchUp Pro? There’s also a wealth of great tutorials and other learning resources to tap into, here and here.